

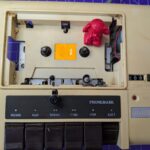
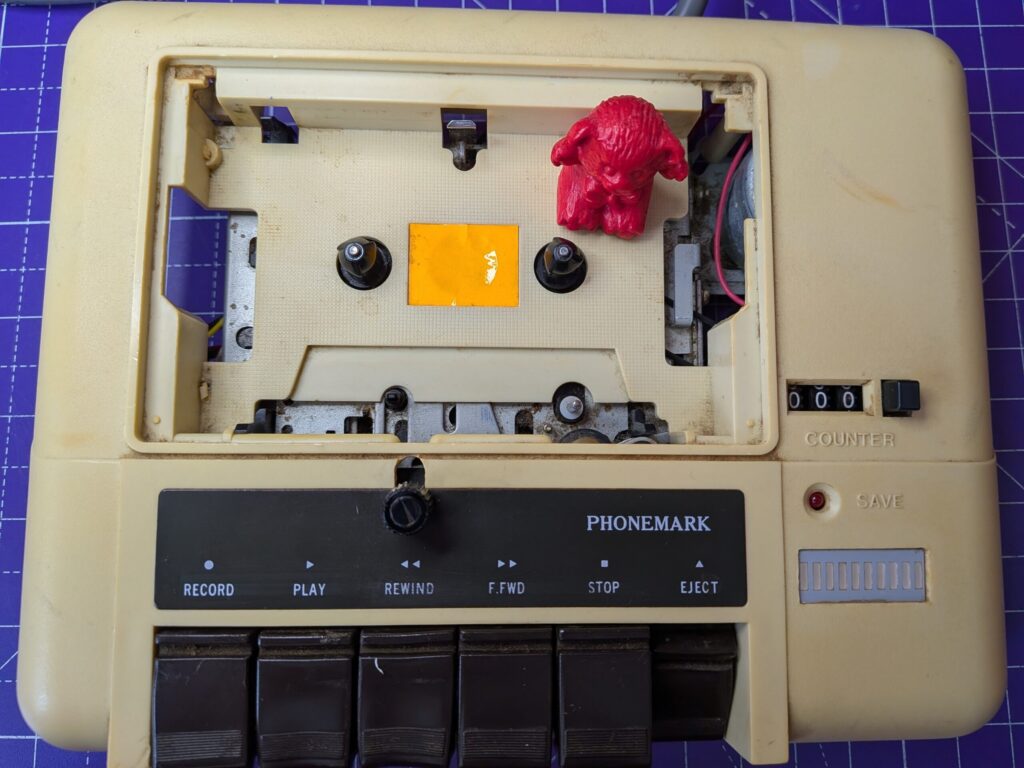
Something different this time, this is a Phonemark Load-It style datasette for the Commodore 64. It’s in a bit of a rough shape.
A Datasette is just what Commodore like to call the data recorder. Data recorders are cassette recorders designed for loading data. Cassettes are… This is making me feel soooo old!
It’s normally not economical to do much with the C64 Datasettes as they are still quite cheap to pick up and they’re plentiful. They’ll usually need a new belts and a bit of a service but they’re otherwise fairly reliable.
This is a special one though, with adjustable azimuth with a little knob on the outside and an LED level meter to tune it with. It holds many memories for its owner, so we’ll do what we can within the budget.
Spoiler: Actually spent more time on this one than I should have.
It came in as not loading games and the level meter not working. Also one of the buttons flopped down, not doing anything, and the lid missing.
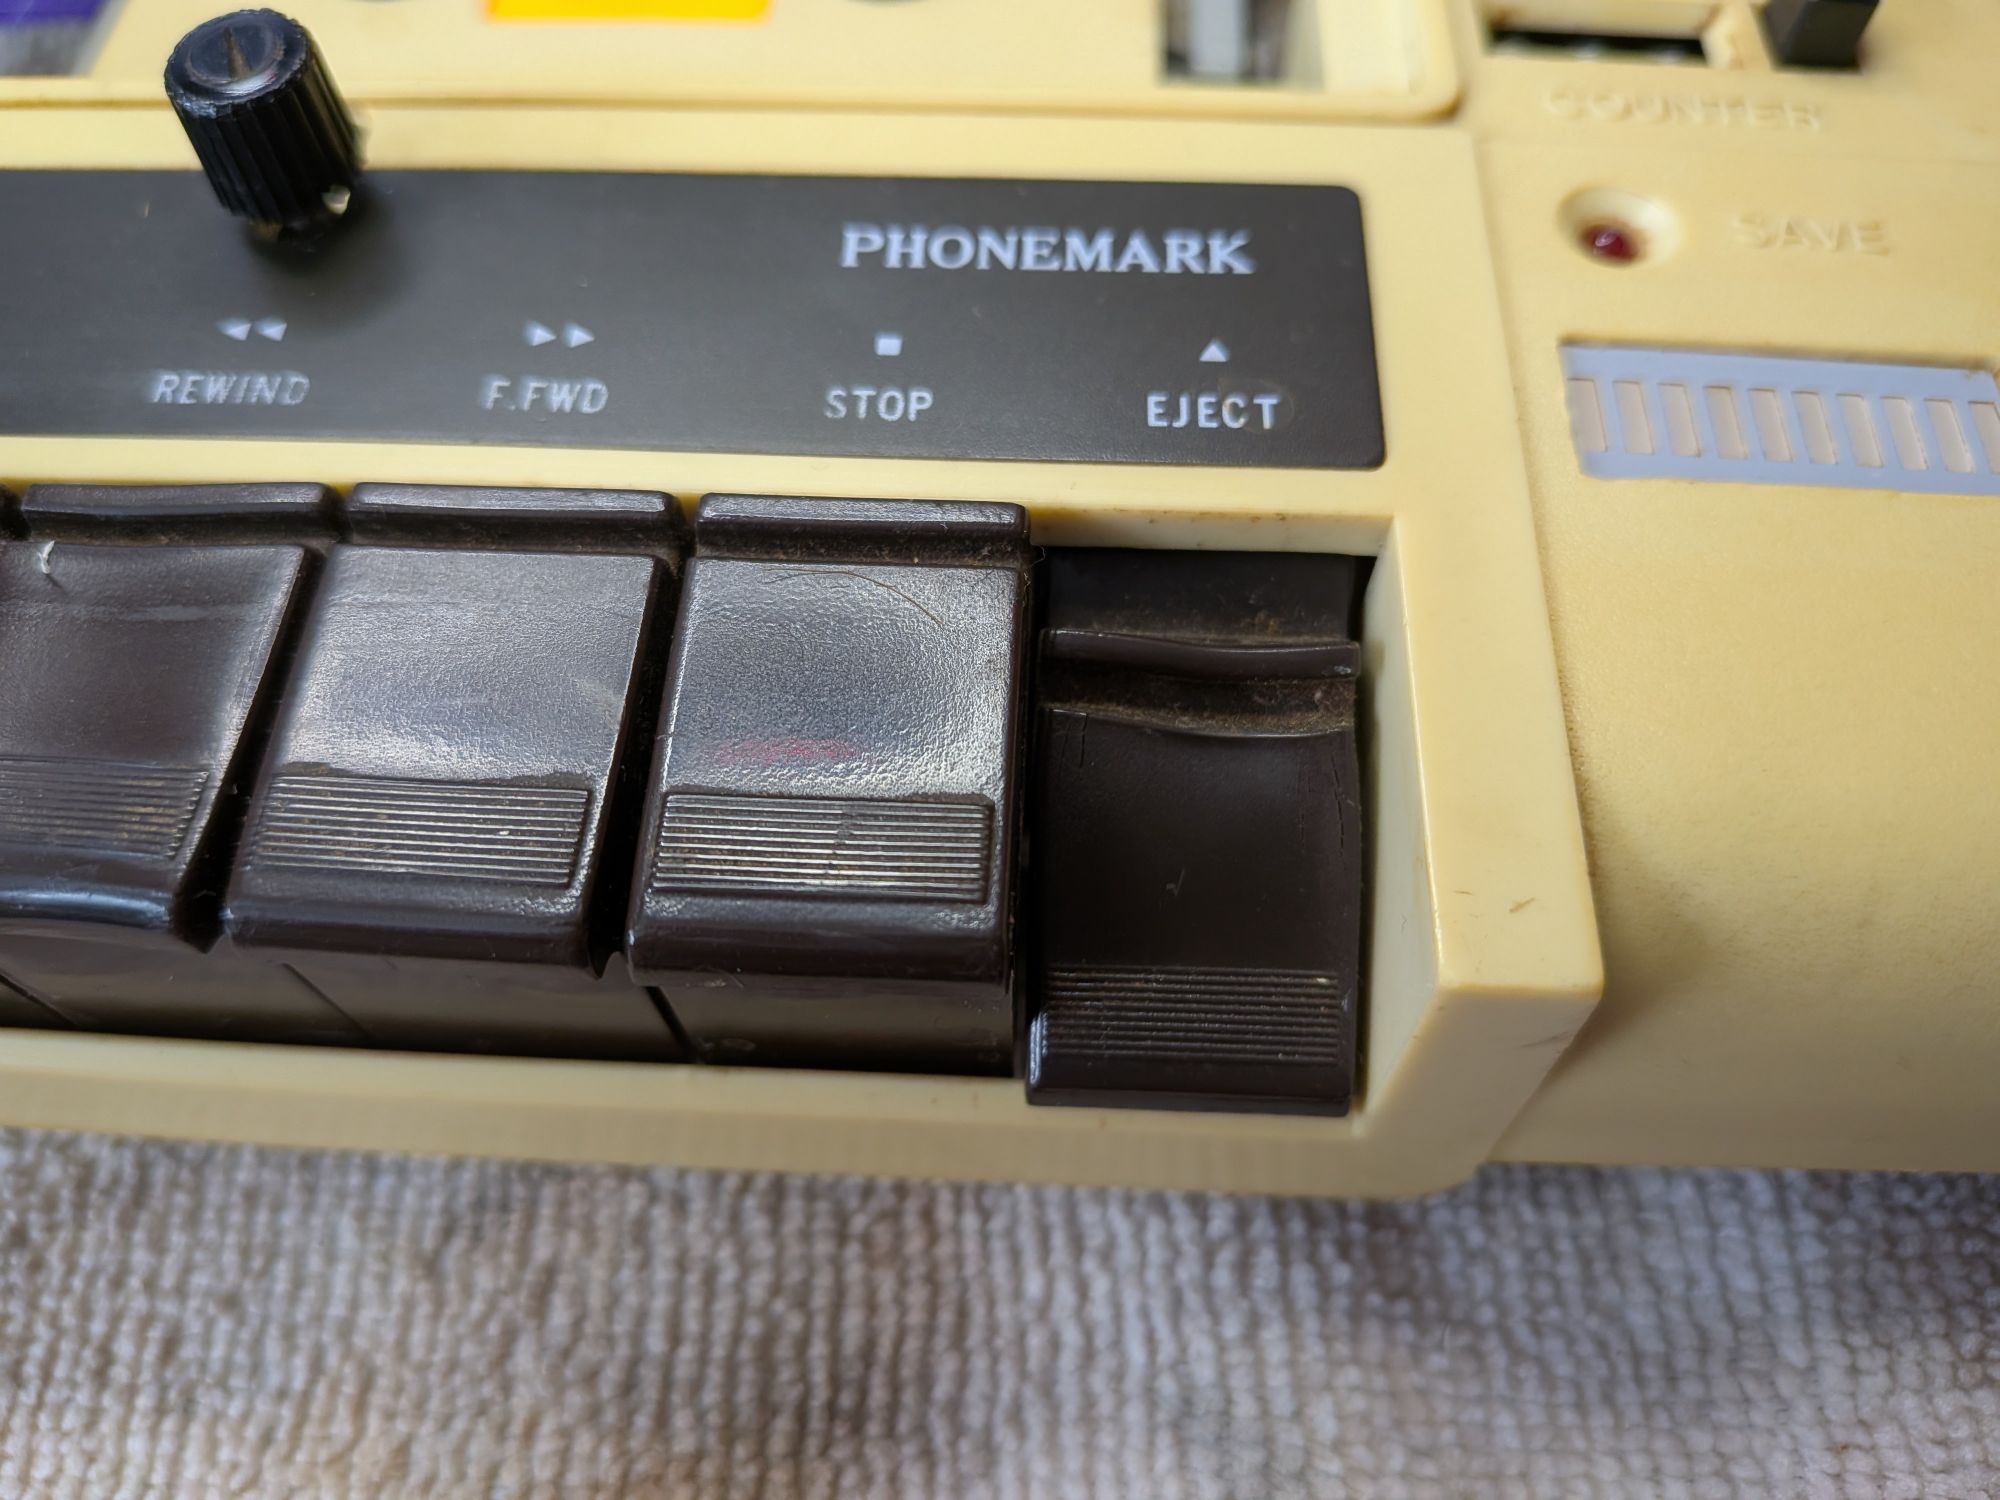
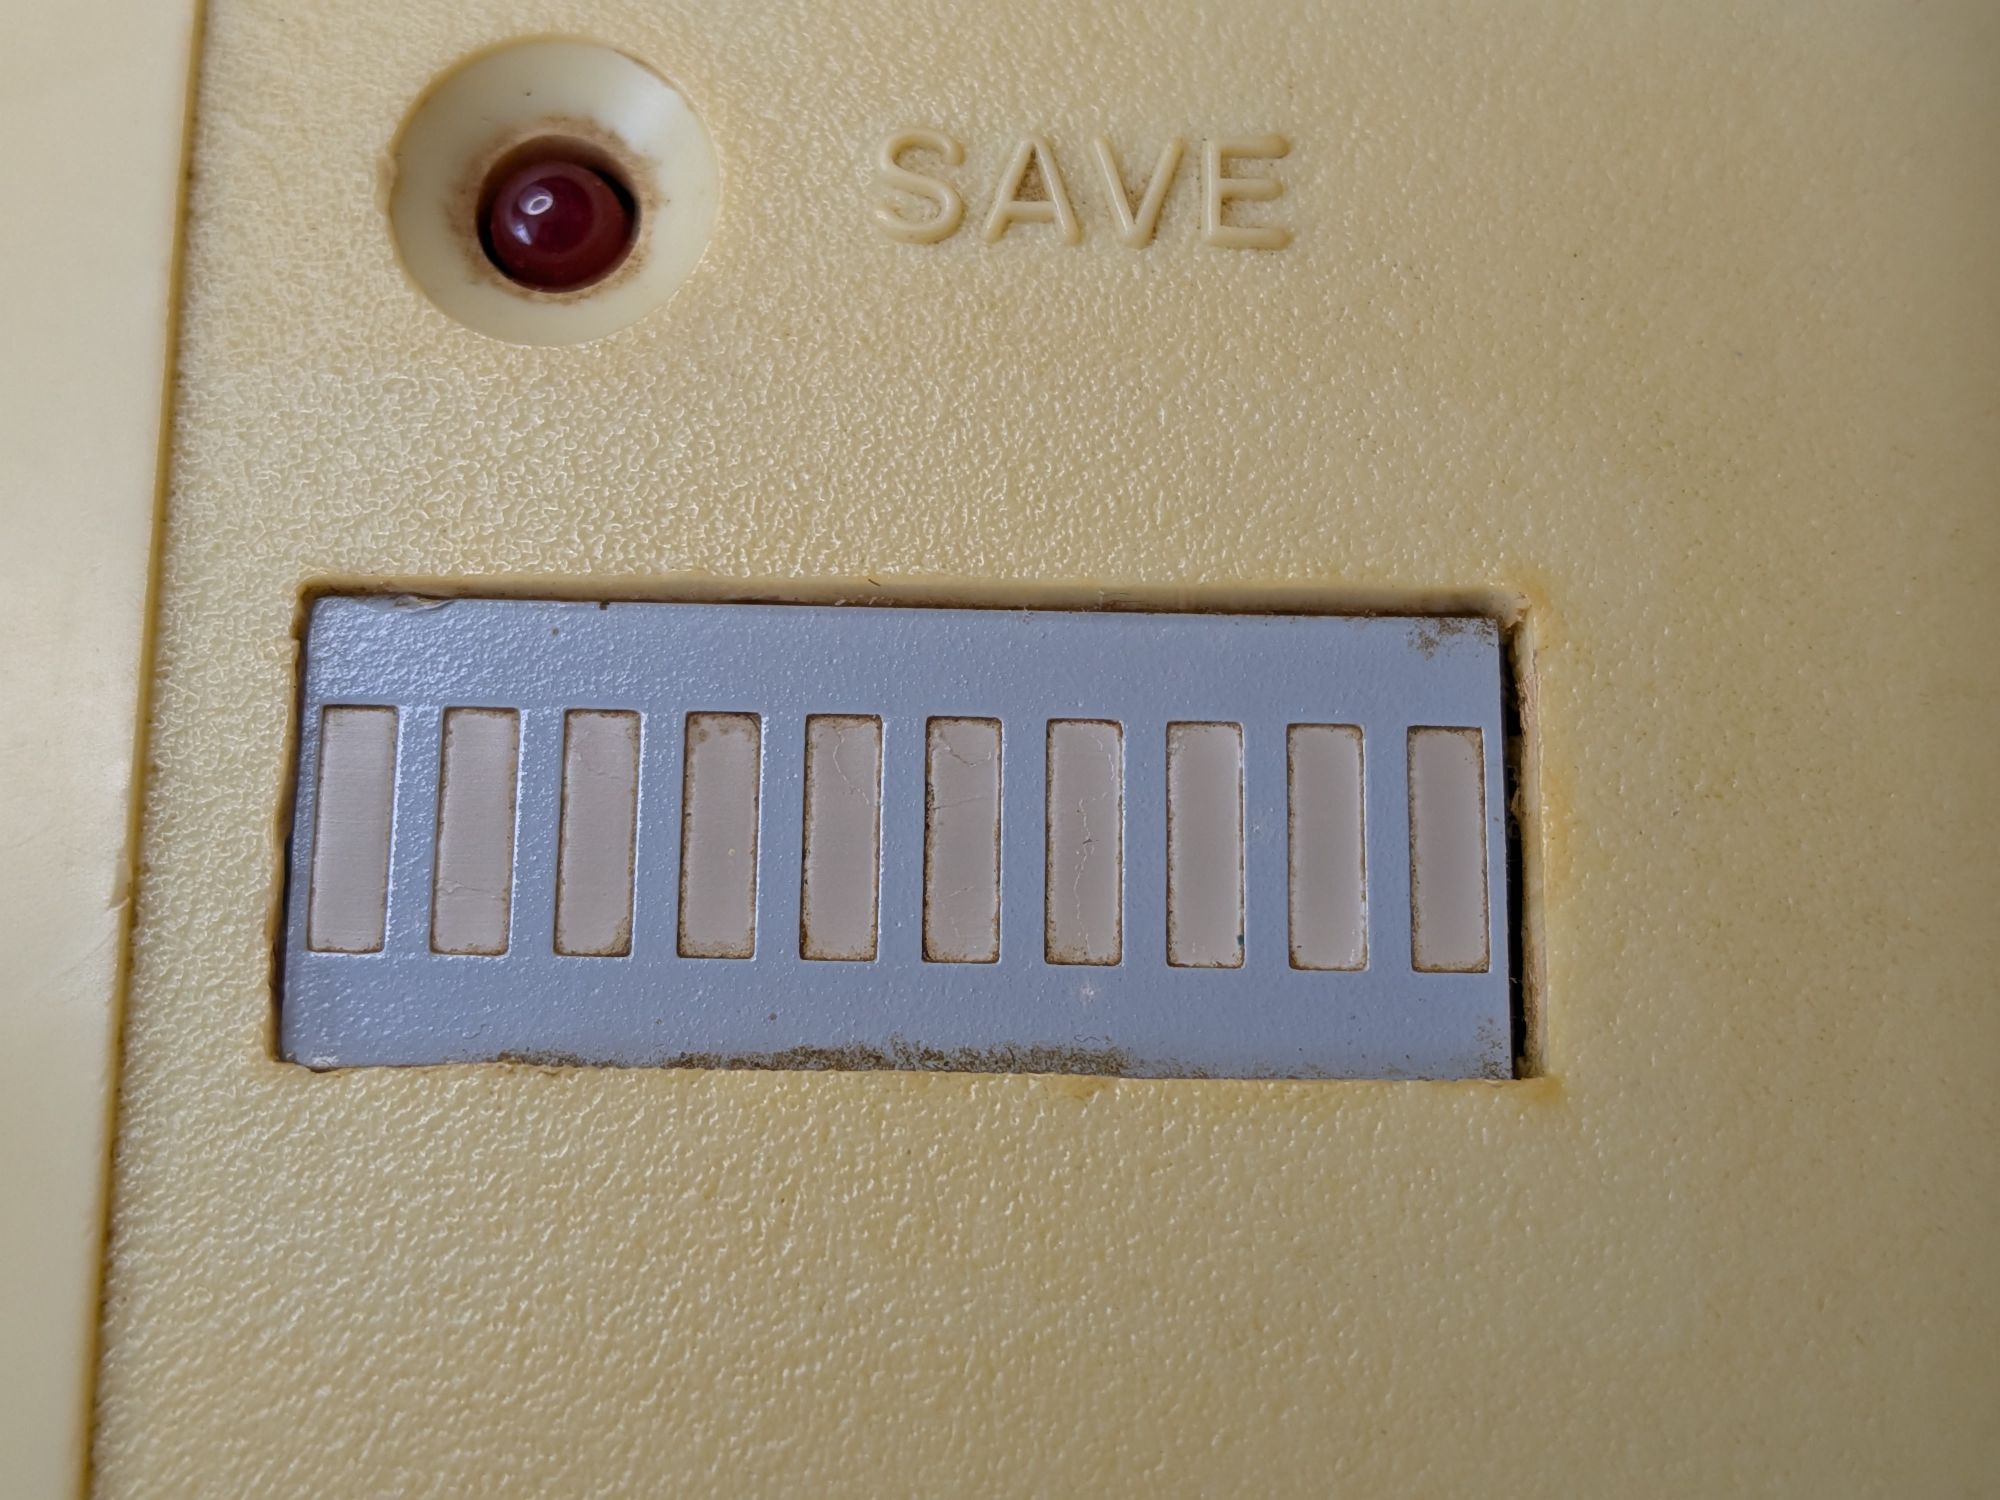
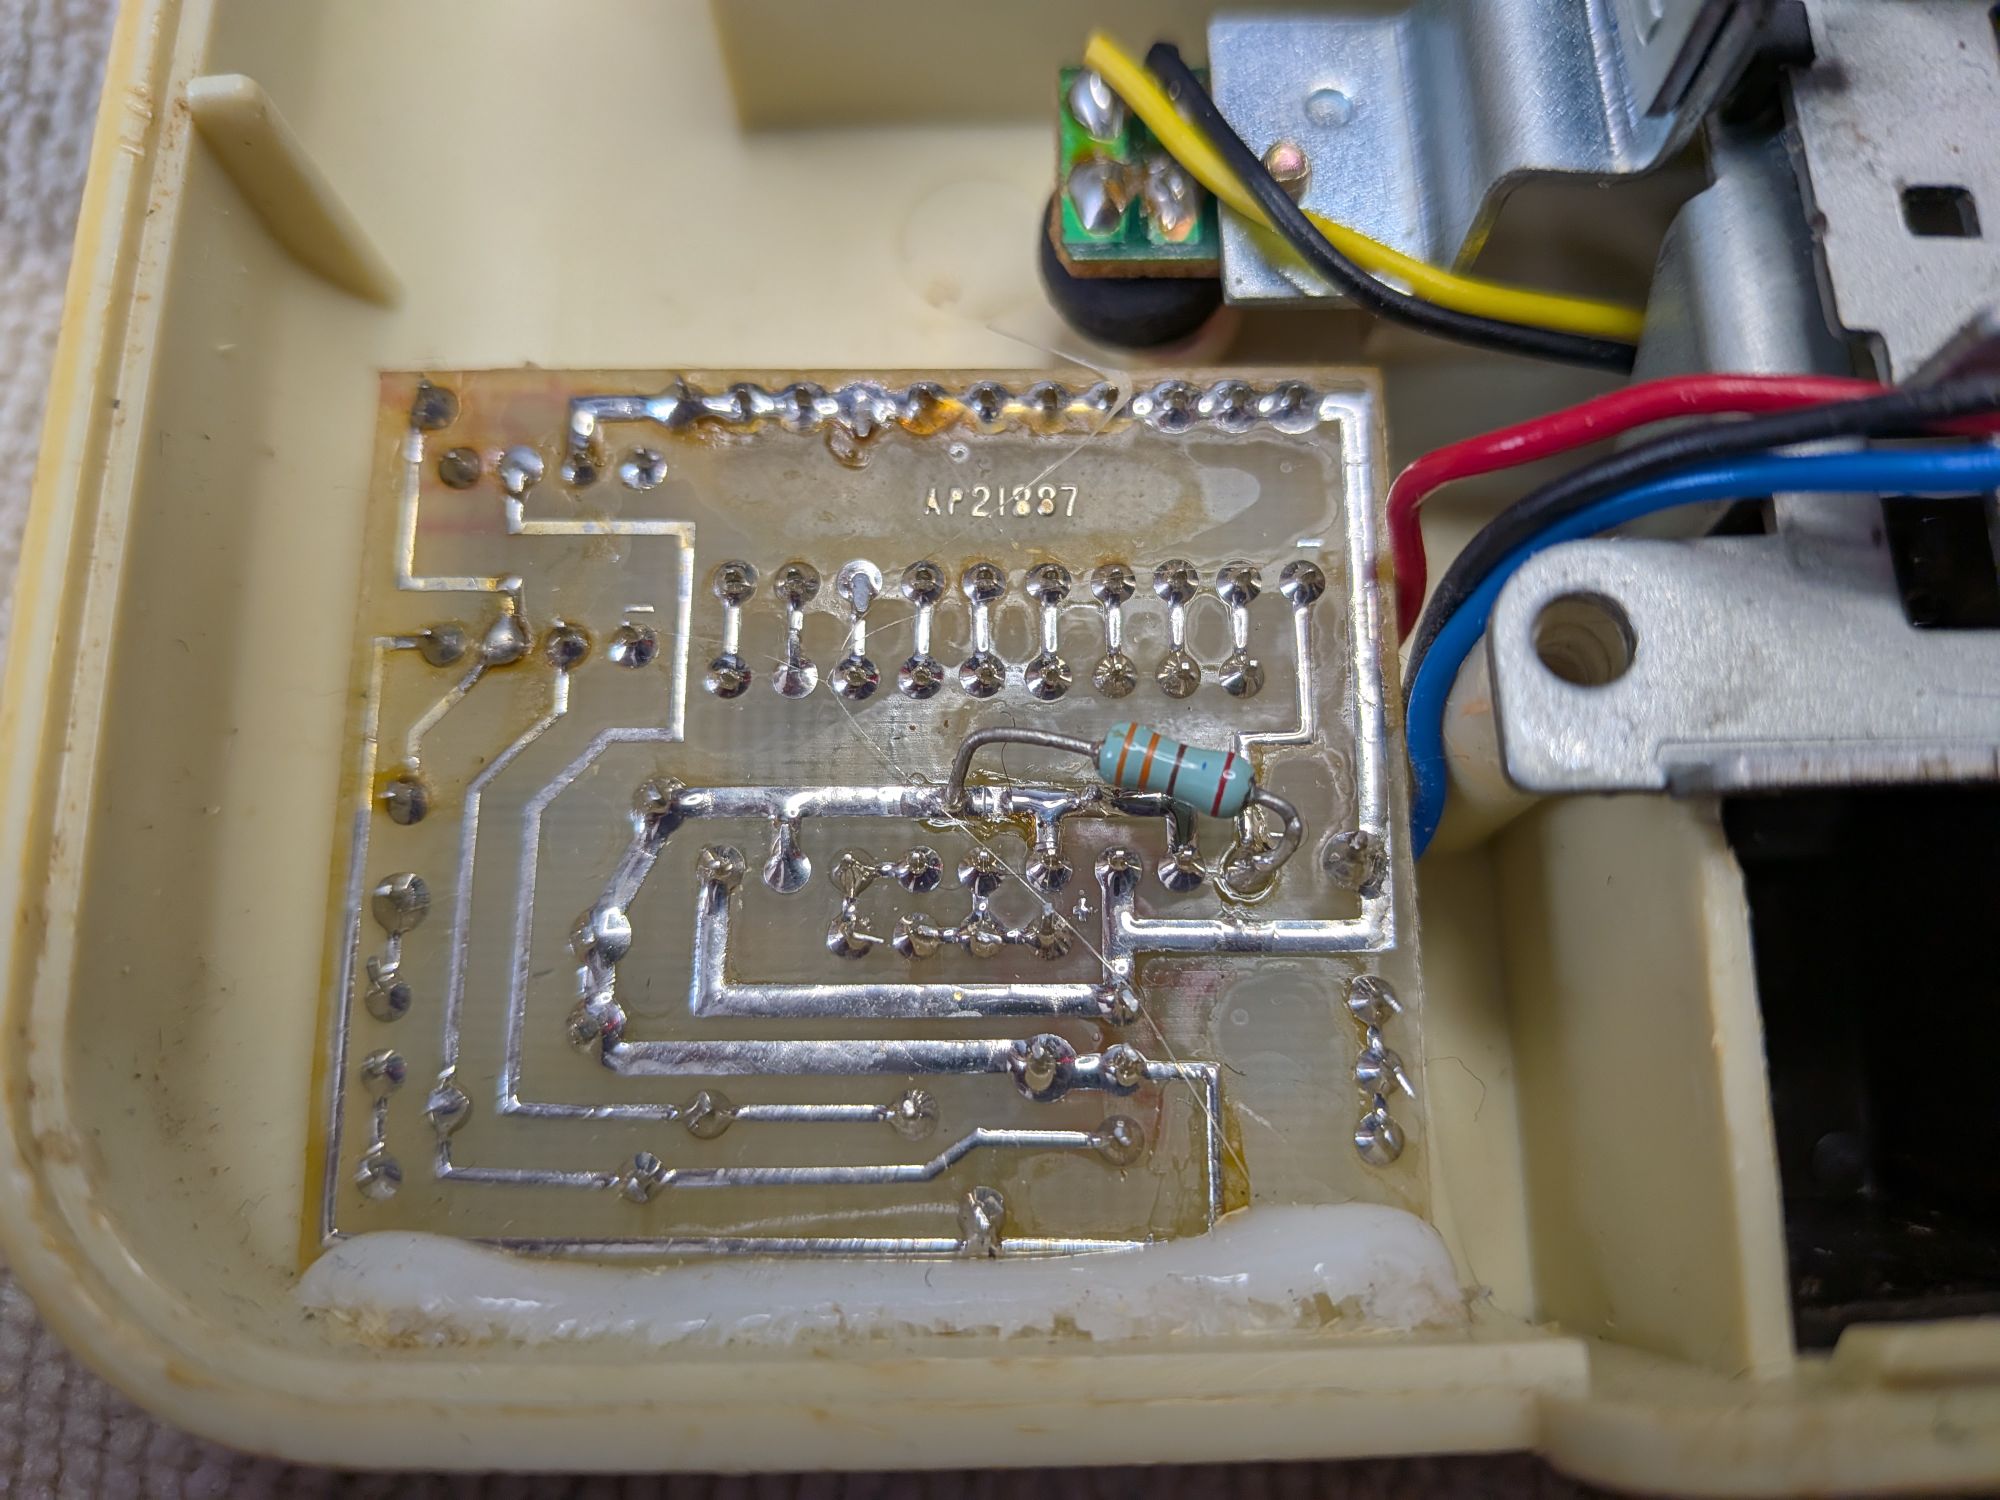
The pics show the slightly melty and floppy Eject button, the LED level meter and the separate board they’ve added inside. The last pic looks like nothing but it’s the reason the lid couldn’t be replaced.
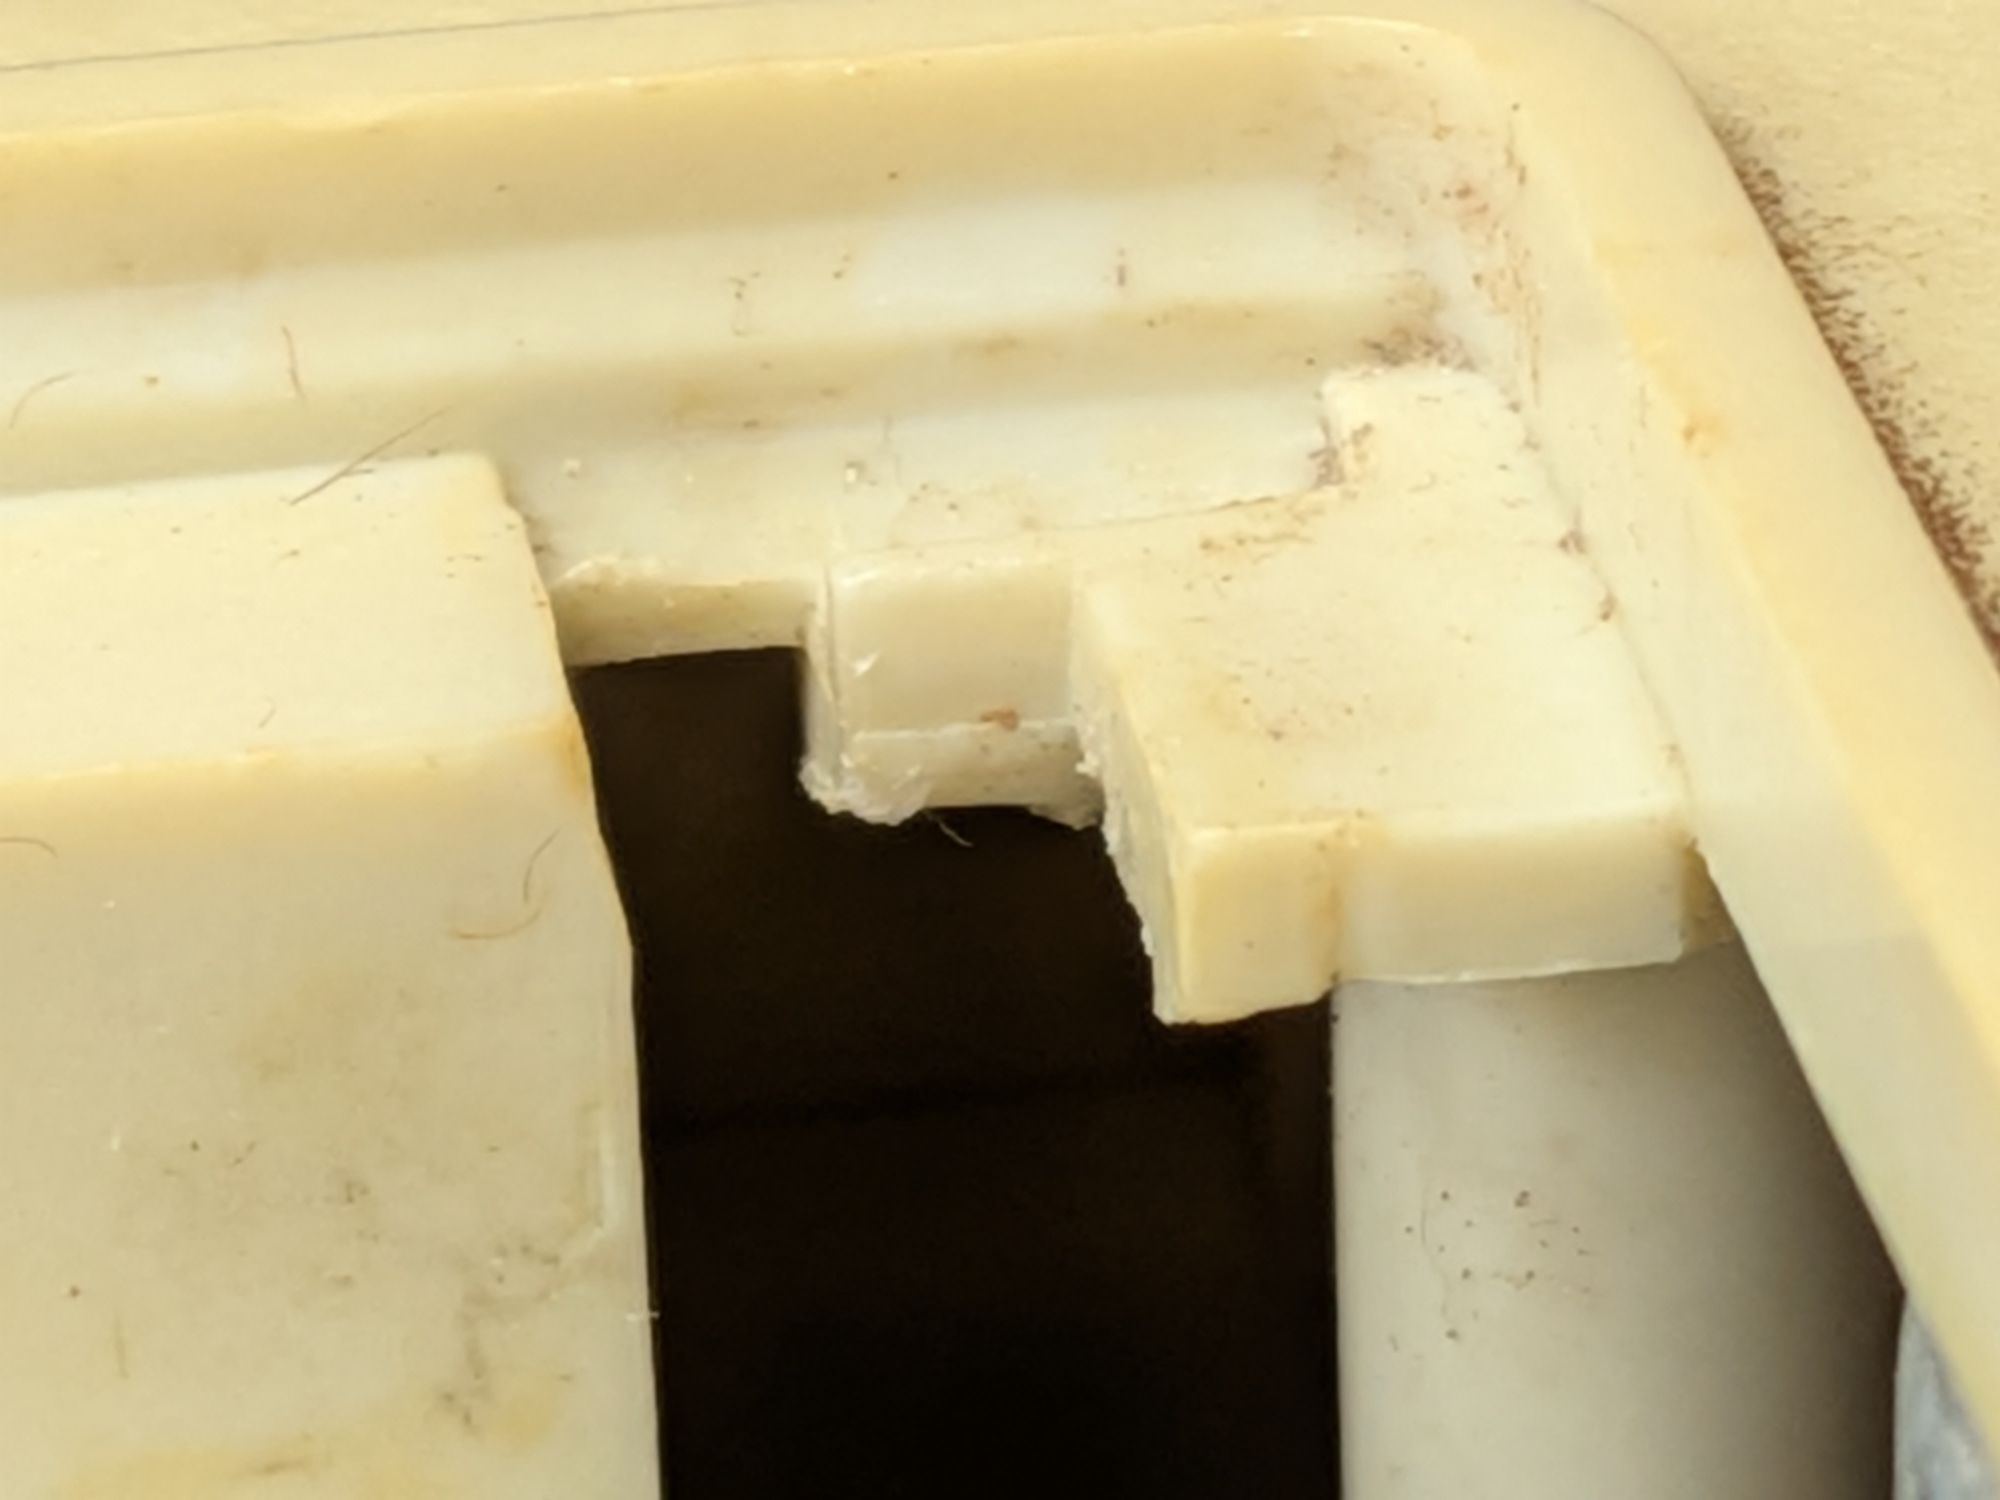
The lid has a horizontal cylinder that slots into the slot you see towards the top of the pic. Below there is a sticky down nub, which traps the cylinder in its slot. The lid is shaped so that it slots in with the cylinder above and a part underneath, so it kind of clips in. That is all that holds it in.
Here you can see the sticky down nub has worn slightly. That is enough to prevent it from holding firmly, so although it will fit it just slips out again when the lid is opened.
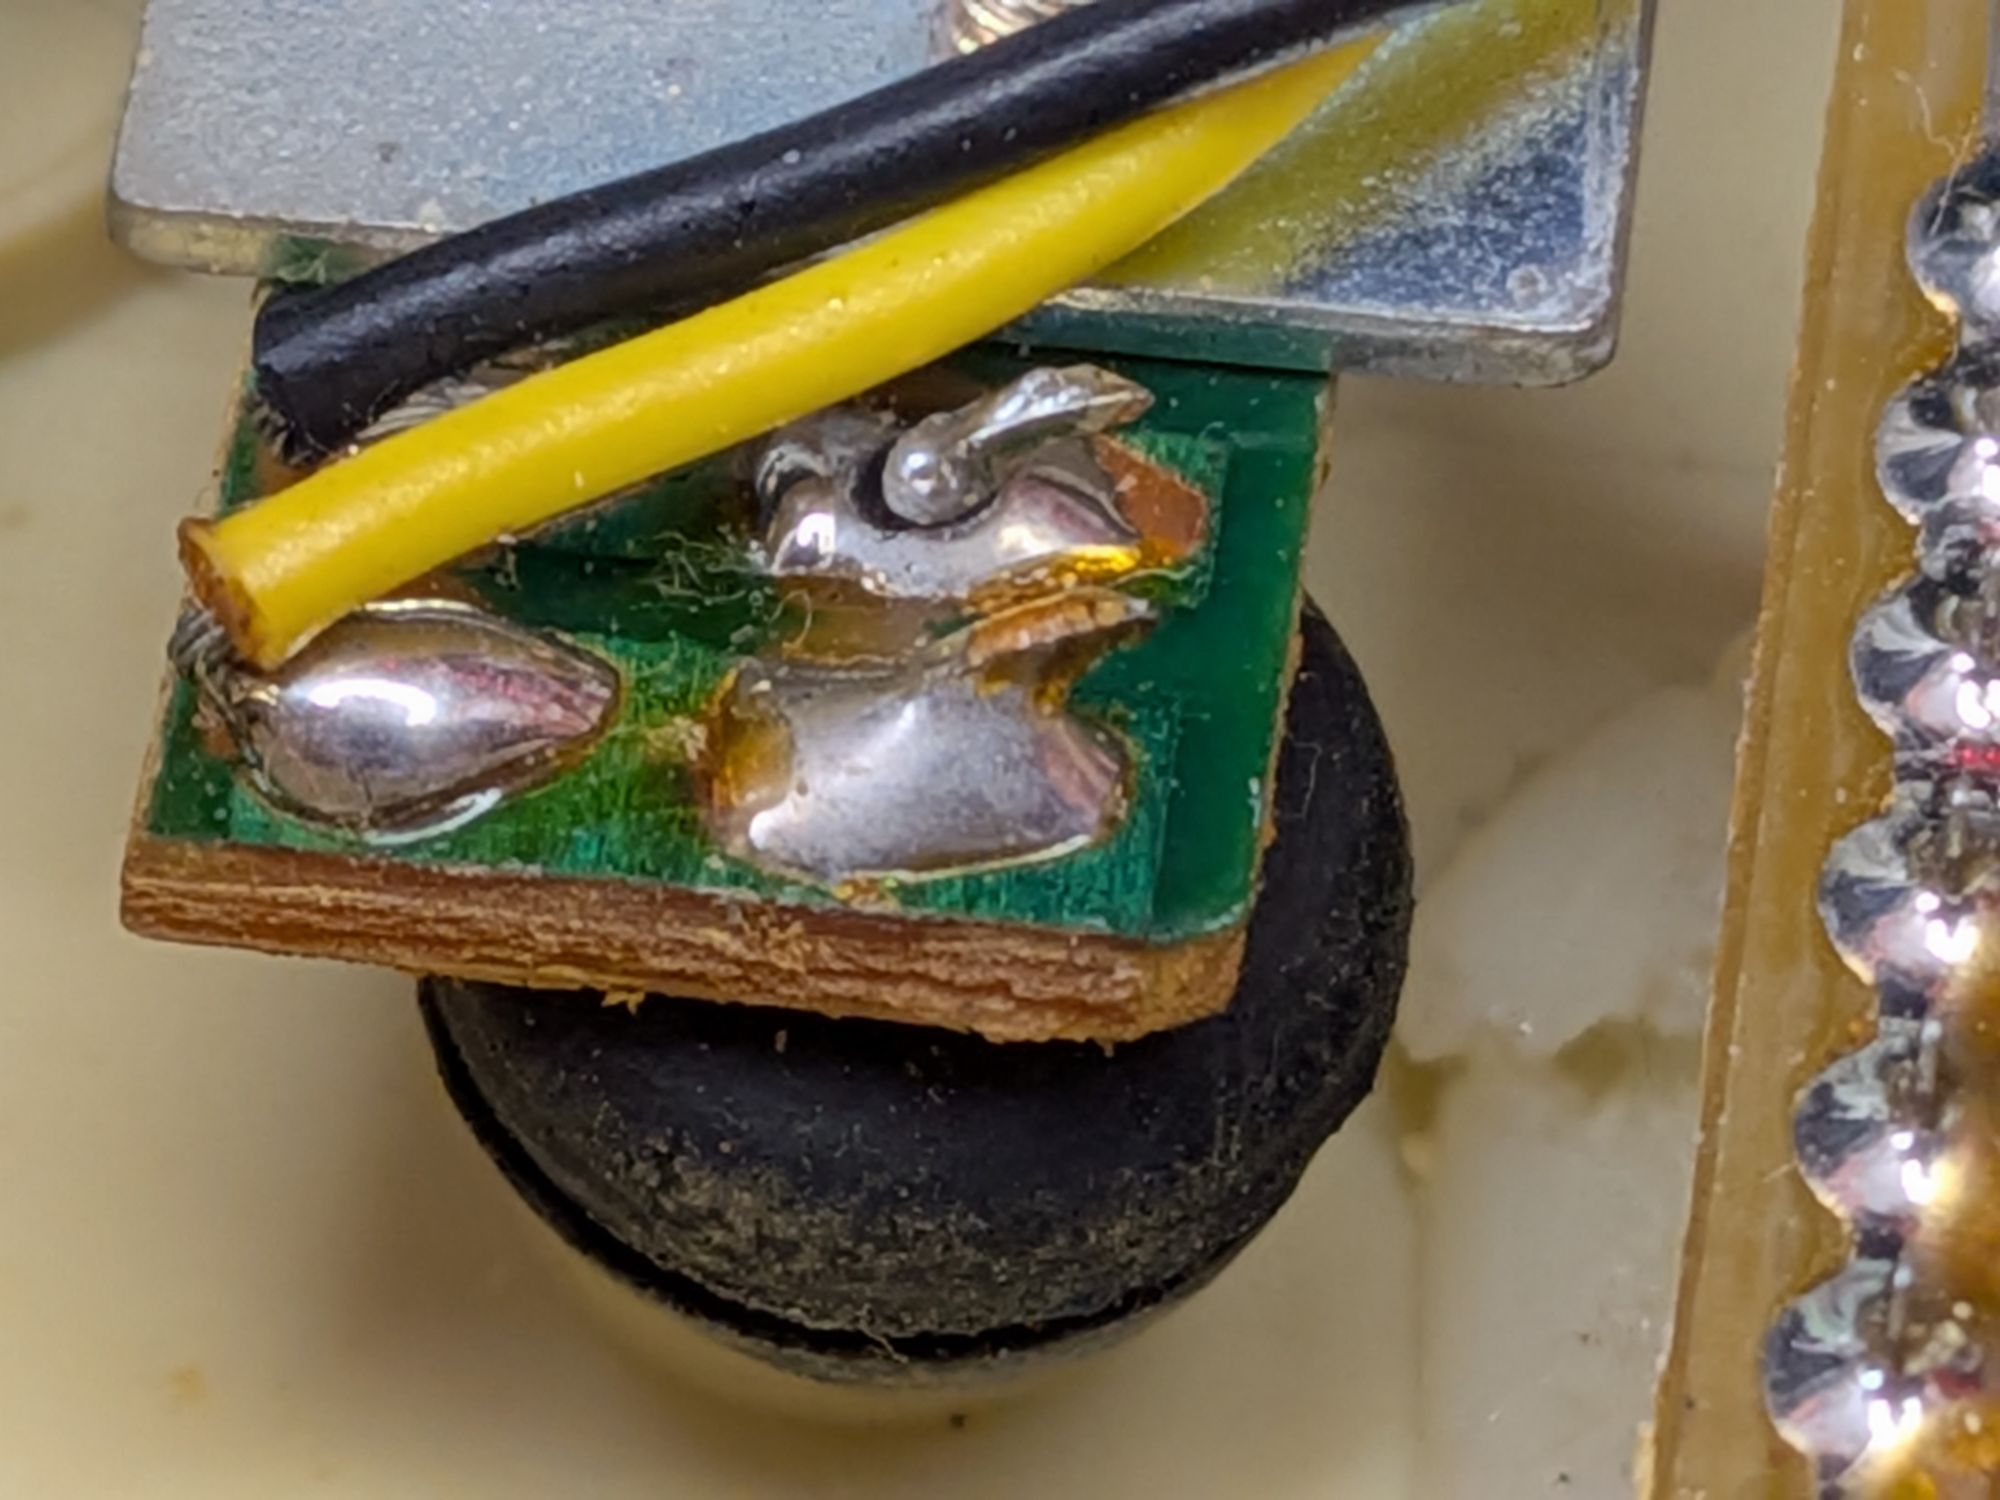
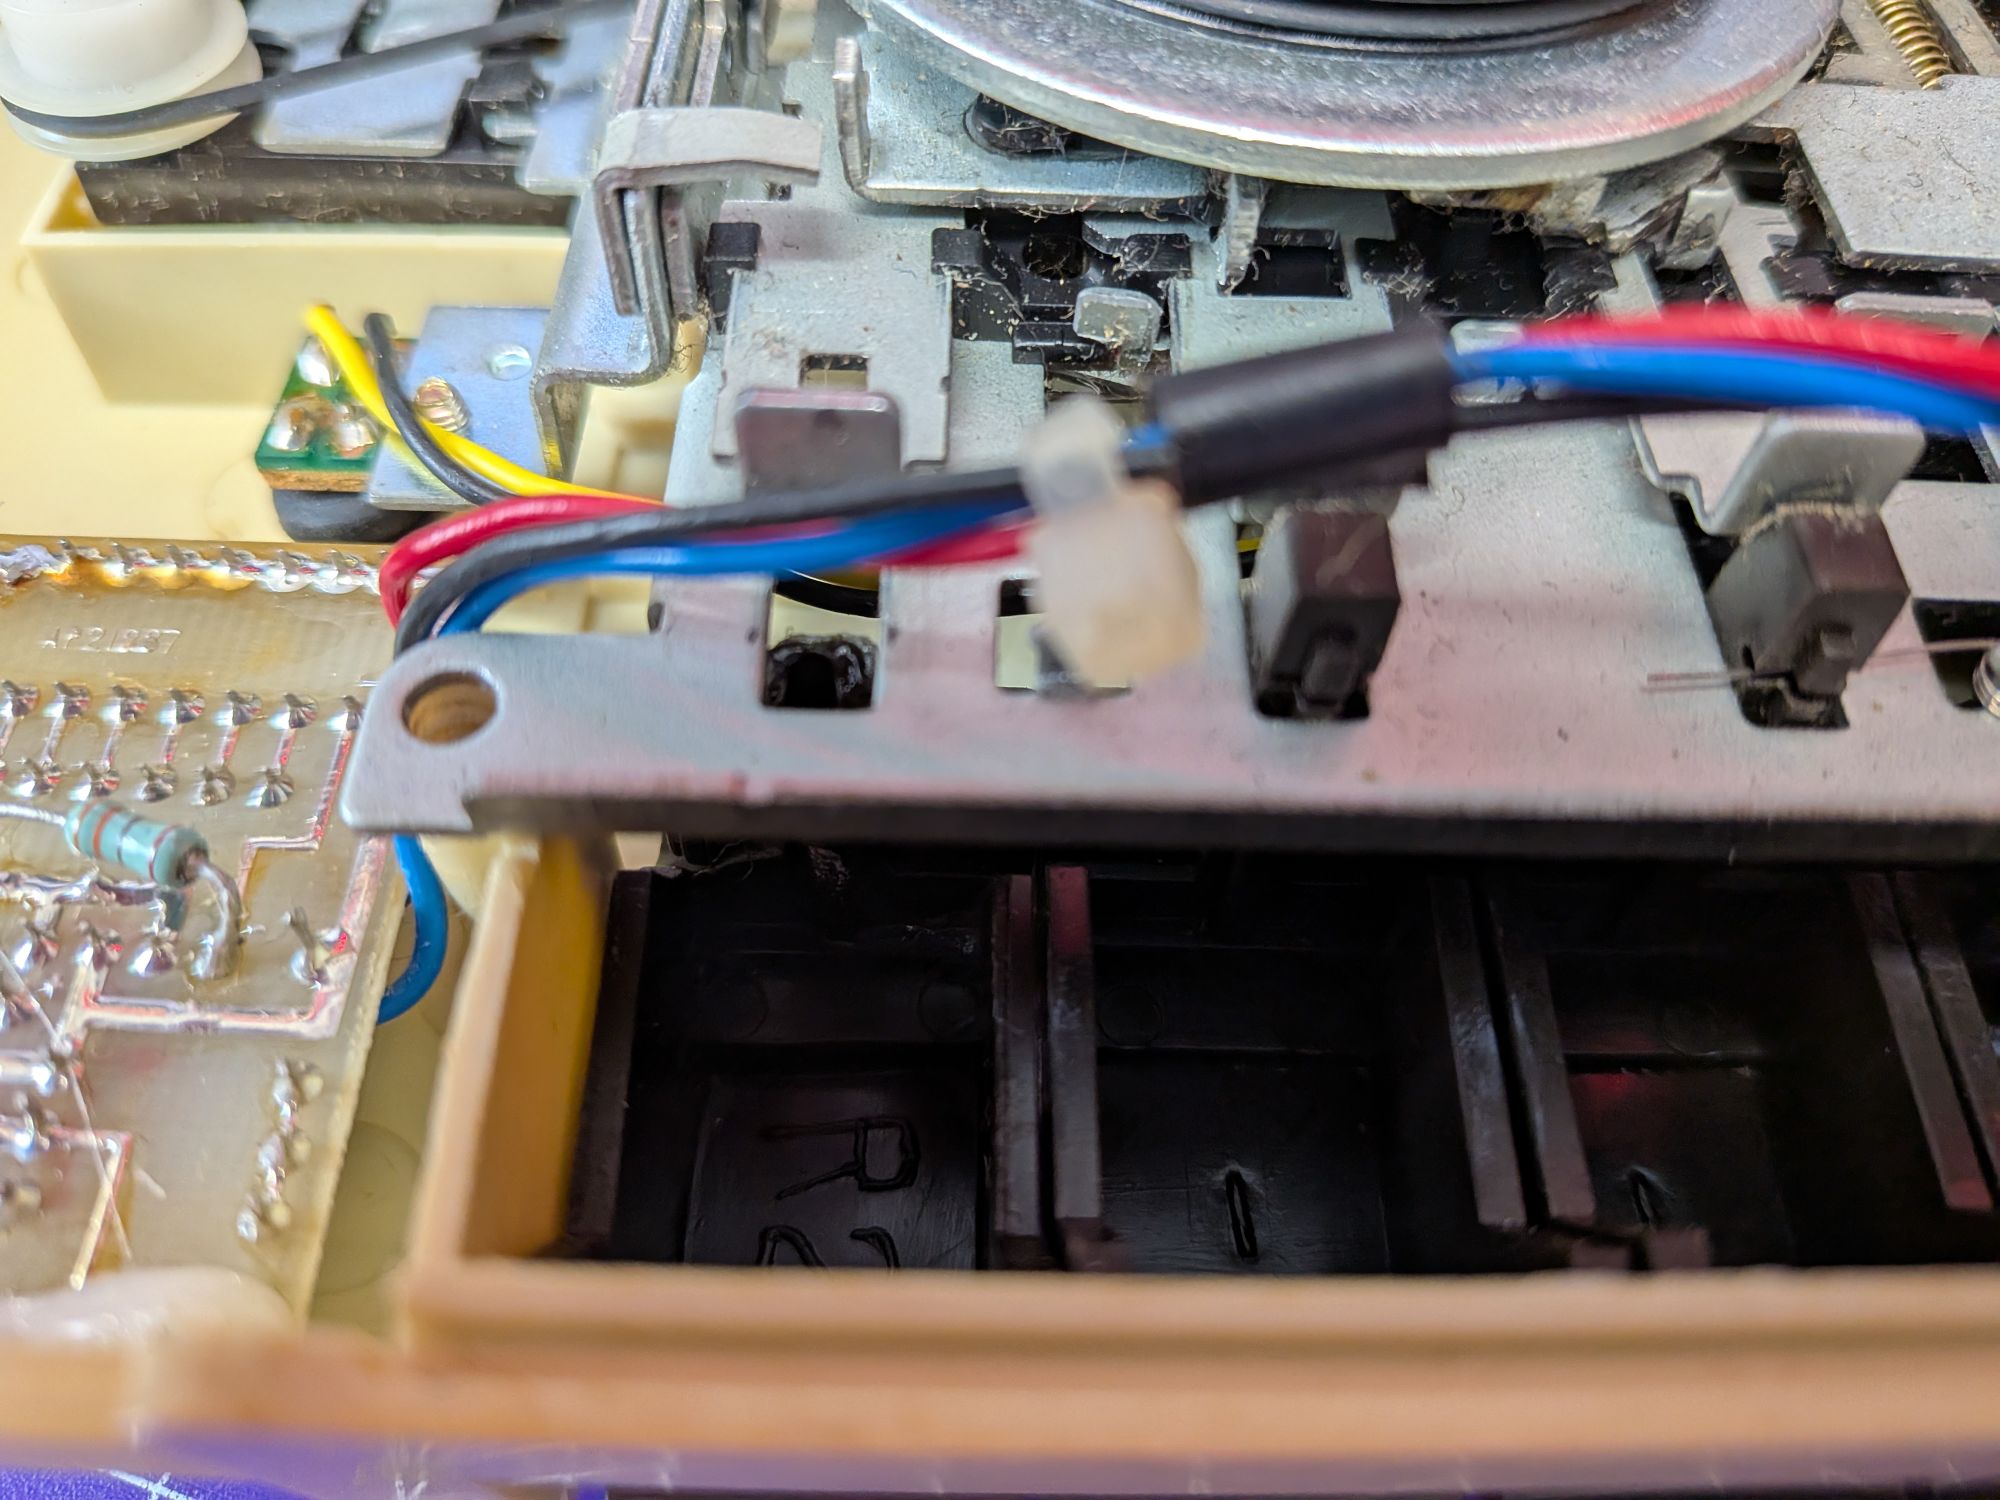
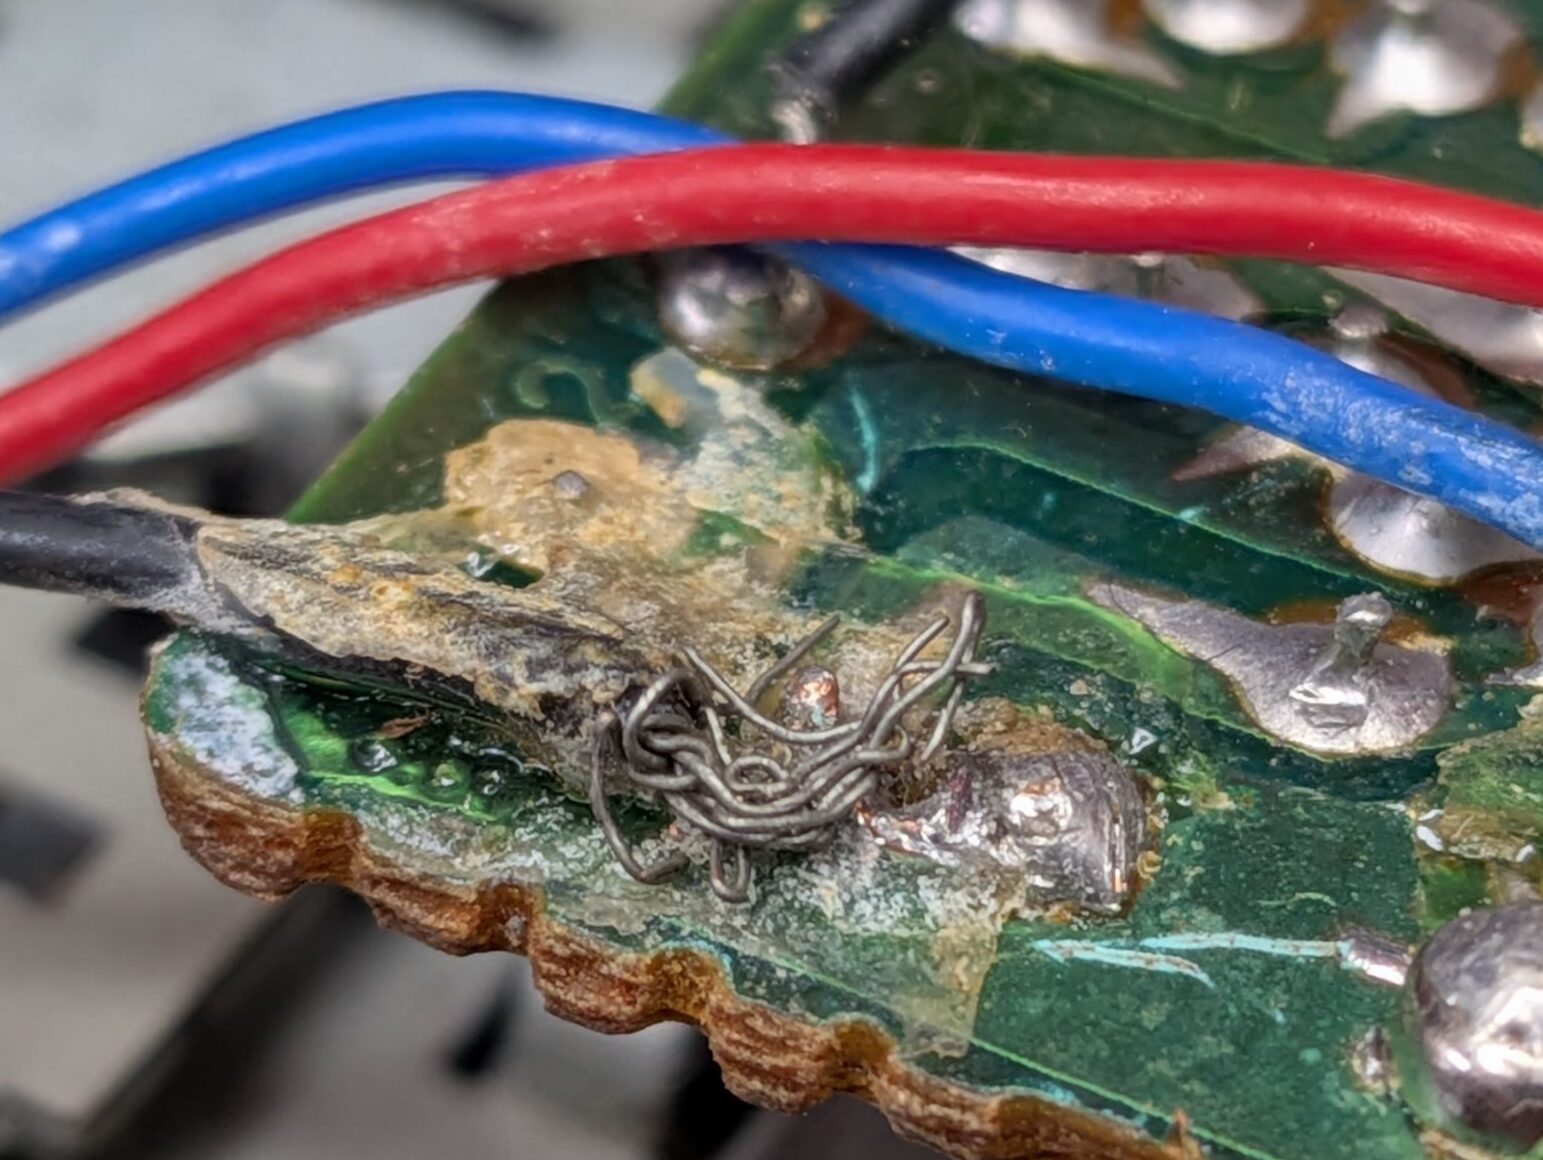
A look over the internals showed a few issues. Unrelated to the reported problems, the red Save LED that comes on when a program is being saved has a bad solder joint. The actuator on the other end of the floppy button is snapped off and the tiny return spring is missing, causing it to flop and do nothing. One of the wires going from the main board across to the LED meter was not really connected. It looked like it was being held on with glue, and there was a black wire floating around inside, connected at one end in a place that didn’t really seem would be connected to anything else.
The main board in this is a custom made one. Tracing it through, it seems to be similar to one of the official varieties but built slightly differently. Initially I thought the wires had been connected in the wrong locations. After tracing the board though though and realising pin 1 of the amplifier was actually at the other end – d’oh! – it made more sense.
I was able to find some images of the top of the LED level meter, which enabled me to test the LEDs were good and there were no shorts, everything looked to be fine there. The board is held in with some old circuit glue and possibly destructive to remove it so working a bit in the blind I was able to work out what it was doing, with the help of those images.
Rather than remove the meter board I trimmed the glued on wire short and replaced it with the floating one that connected nowhere, soldered to the back of the board.
To be able to service it properly the cassette mechanism needed to come out. It would normally just lift out in these but as this had an azimuth adjustment knob outside the case it wasn’t able to be lifted. The knob just didn’t want to come off. As it’s connected directly to the tape head, it’s not a good idea to use unreasonable force. After contacting the owner though I was assured it had been off recently, wasn’t glued on and should come off with a bit of reasonable force, which it eventually did.
As I had a donor unit here the simplest fix for the bad buttons was to simply replace them. The are slotted on to a round bar which is held at one end with an “E” clip. Once the clip has been levered off, assuming it hasn’t flown across the room, the bar slides out and the buttons are then free.
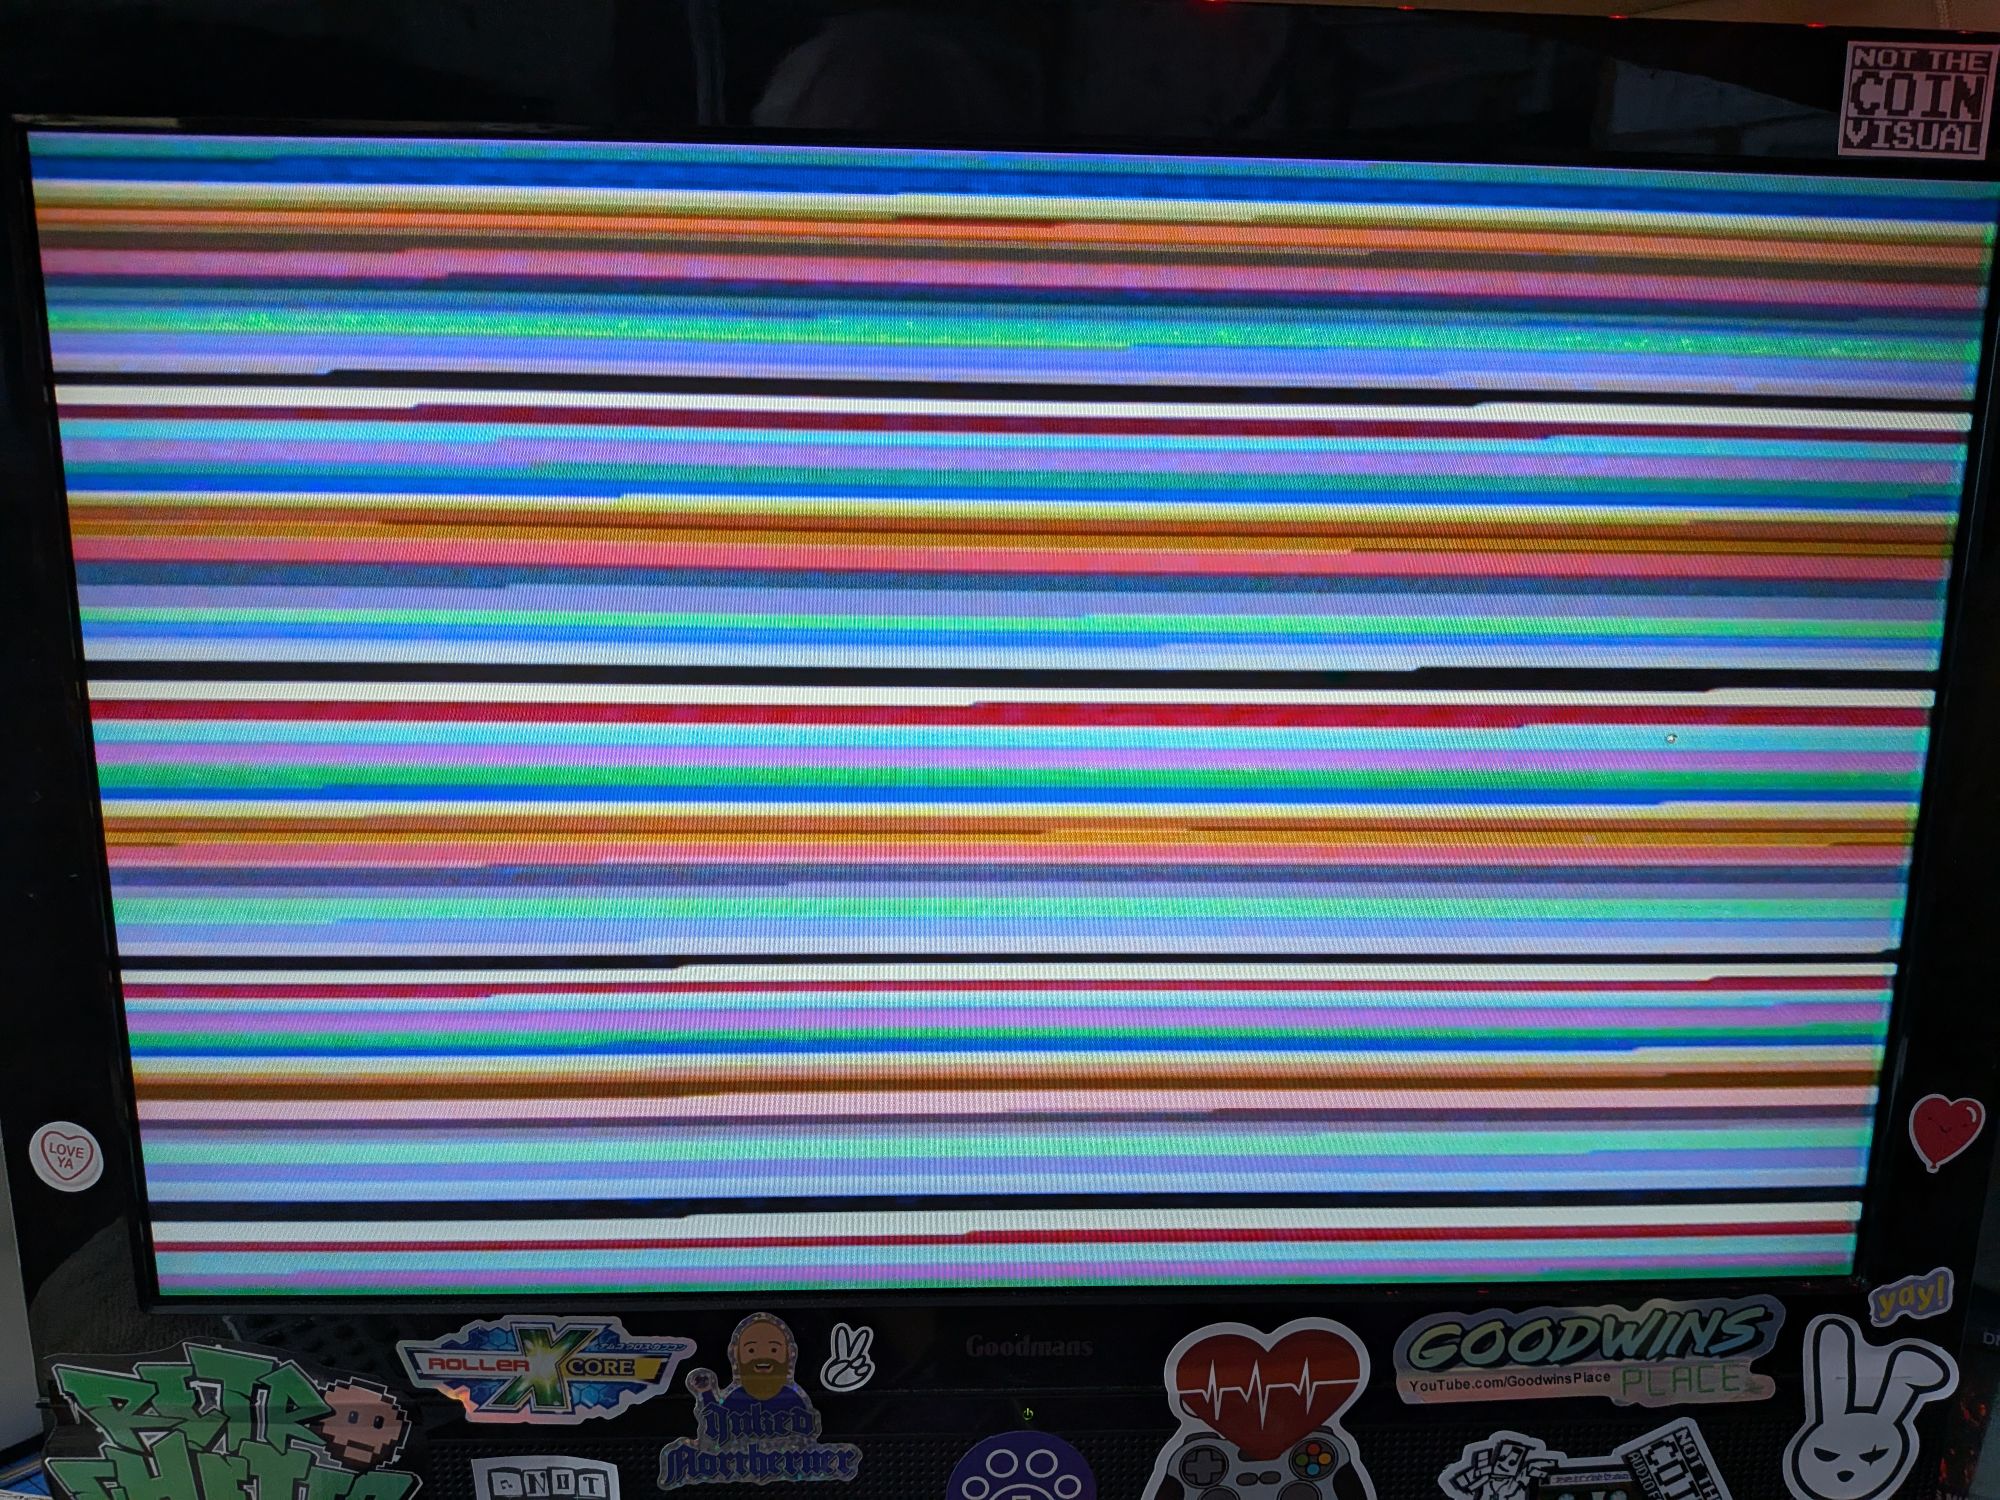
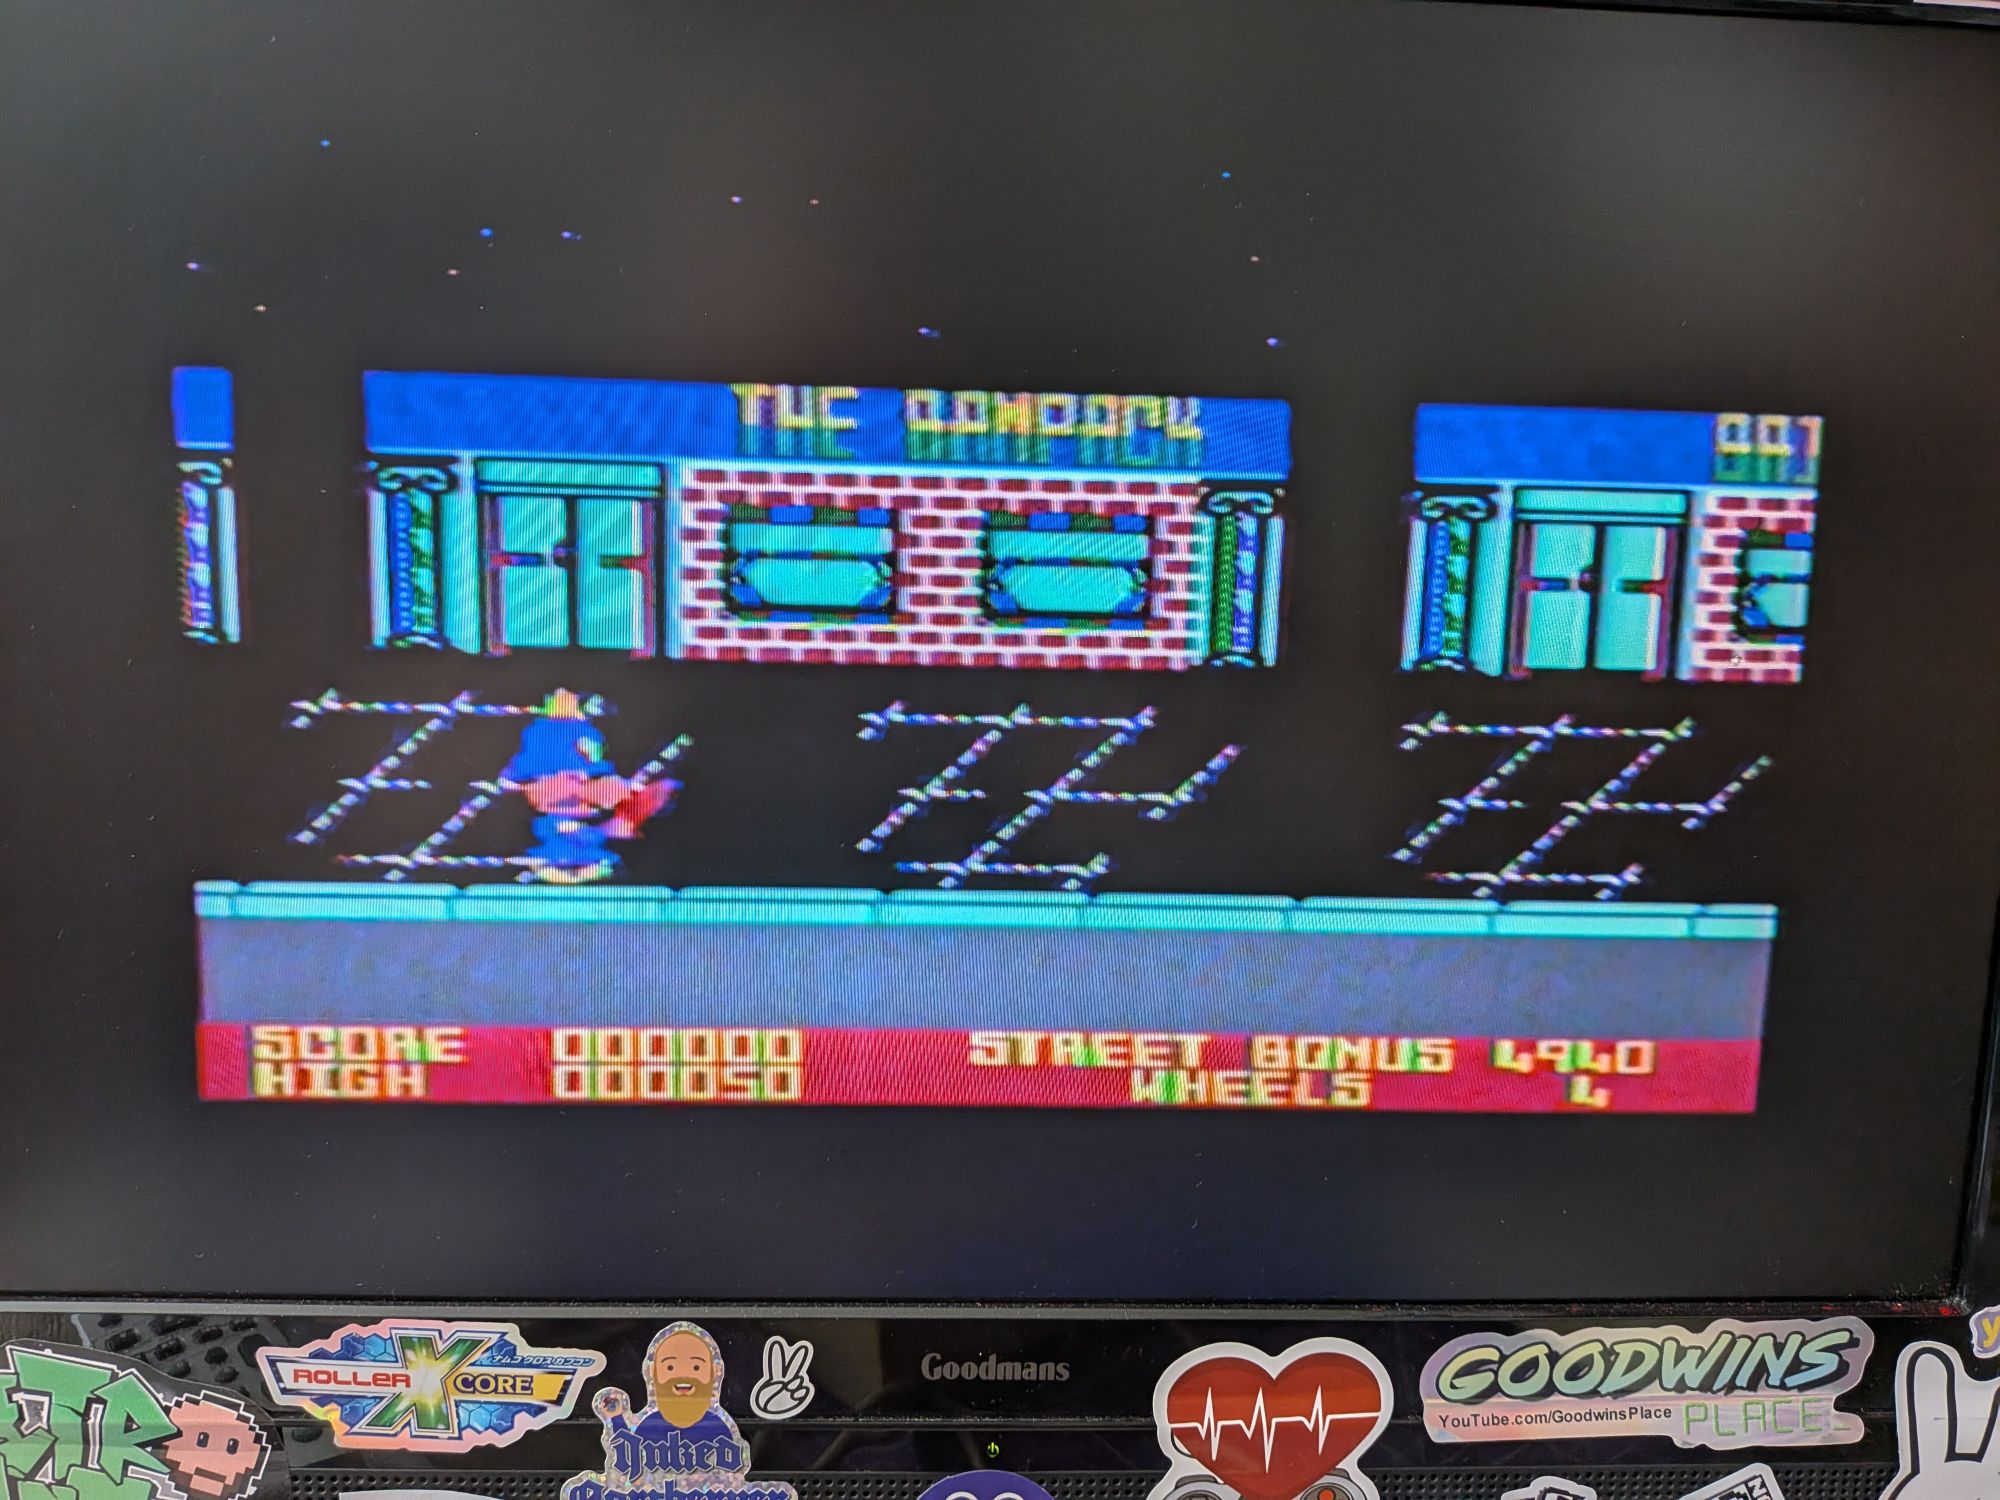
Replaced the two belts, cleaned the mechanism and applied some fresh lubrication. The heads, capstan and pinch roller were all quite dirty. Deep cleaned and refreshed the pinch roller with some Rubber Renue, which works wonders, then it was time for some well earned “Play Testing” 🙂
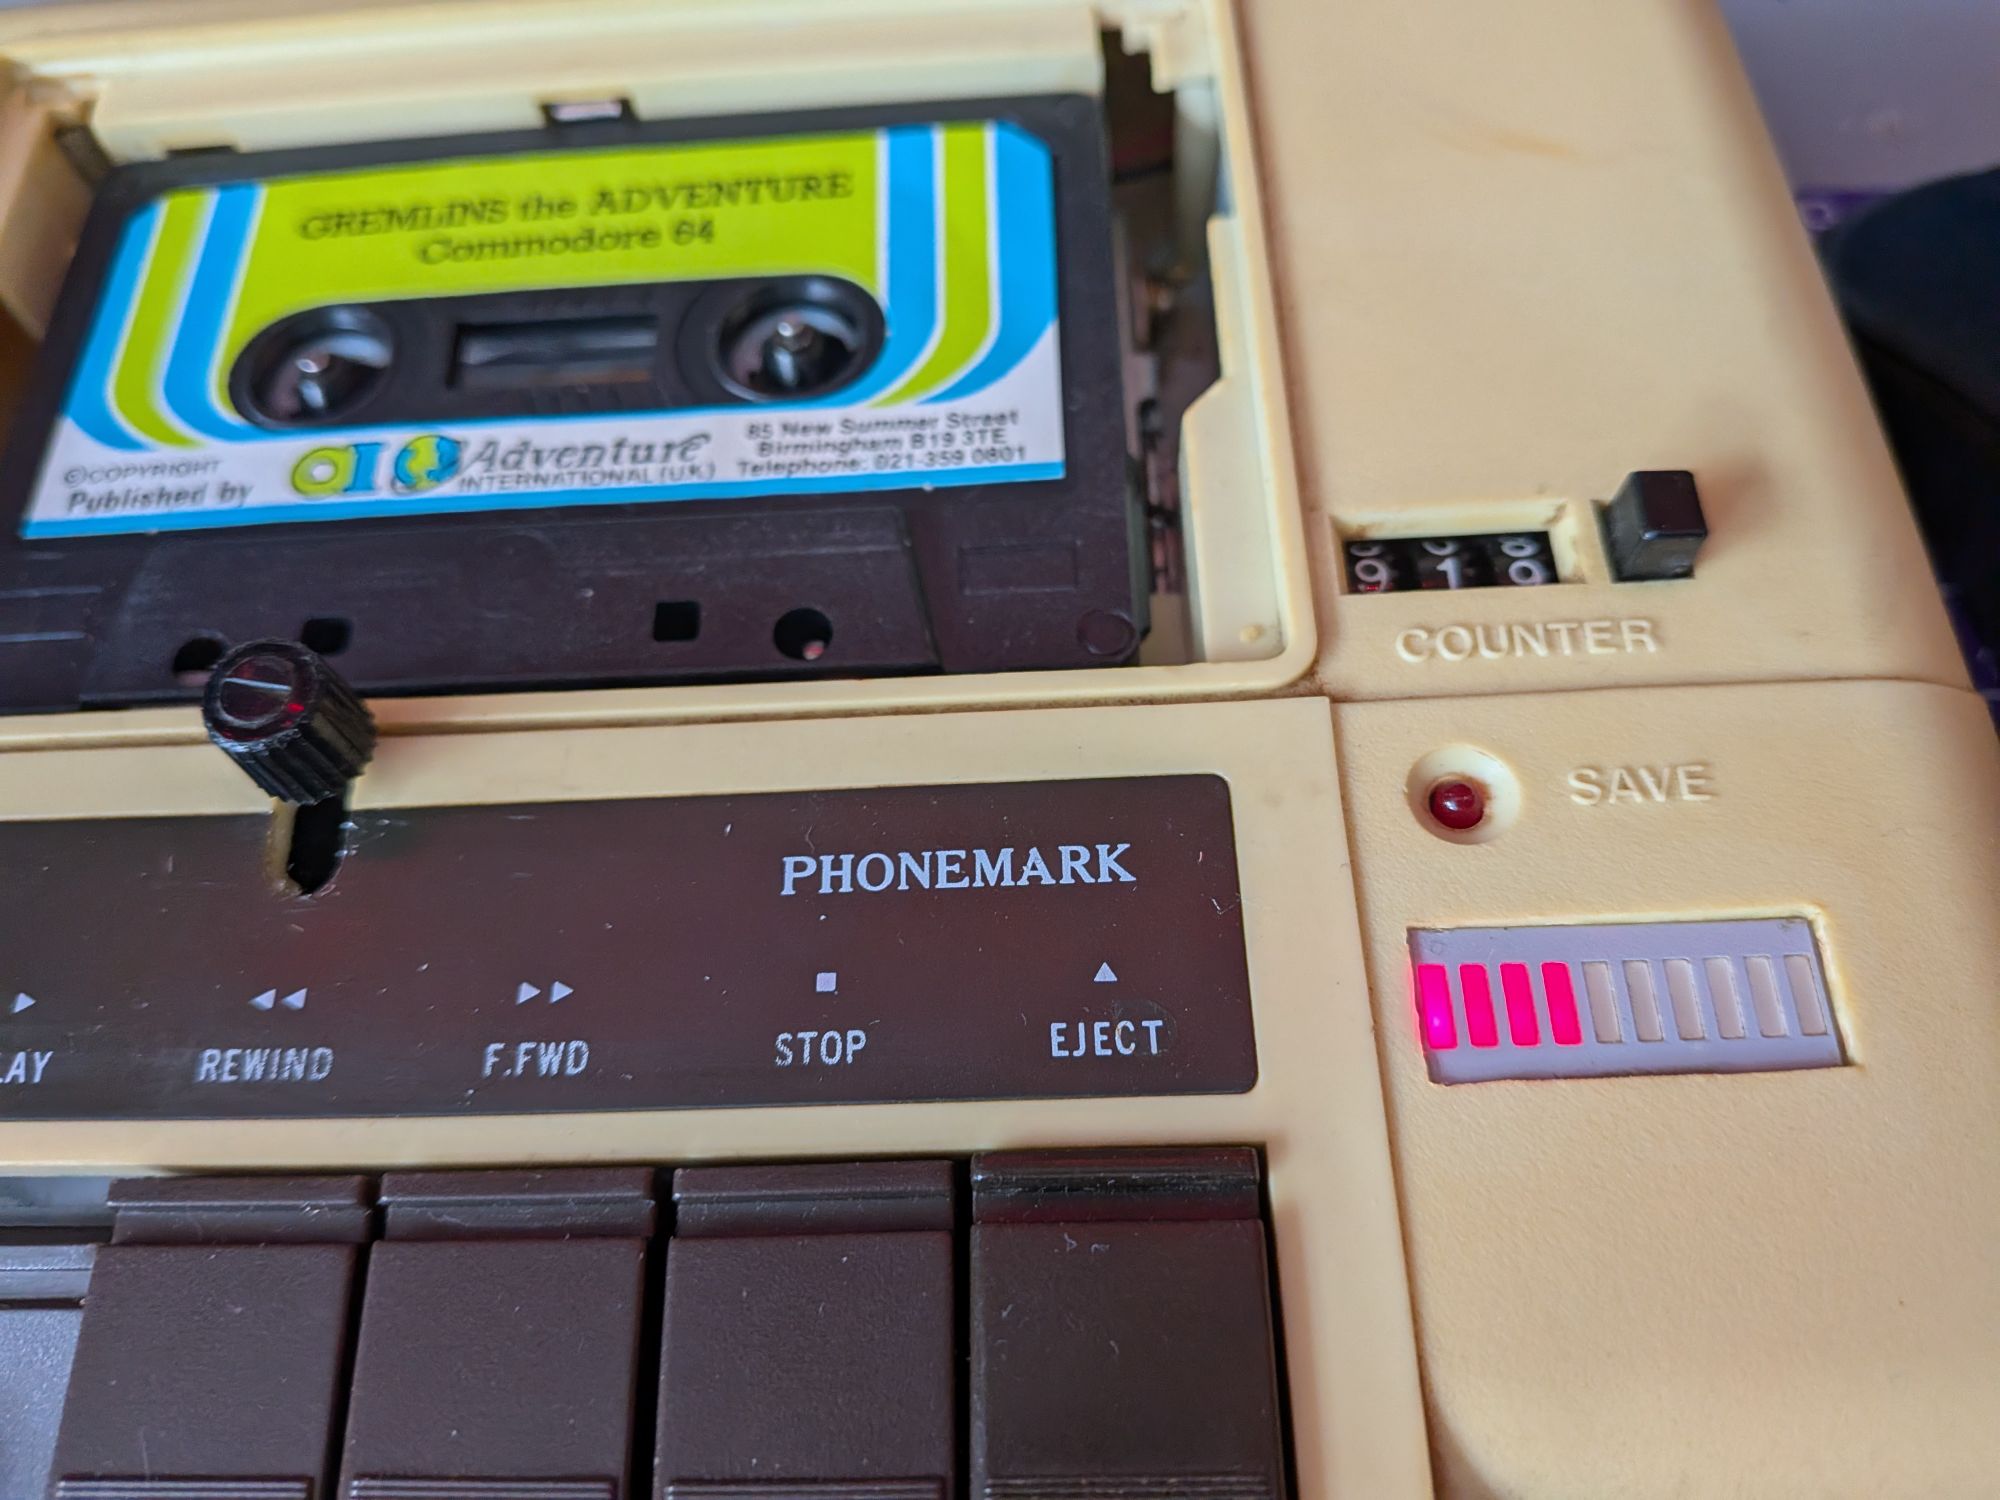
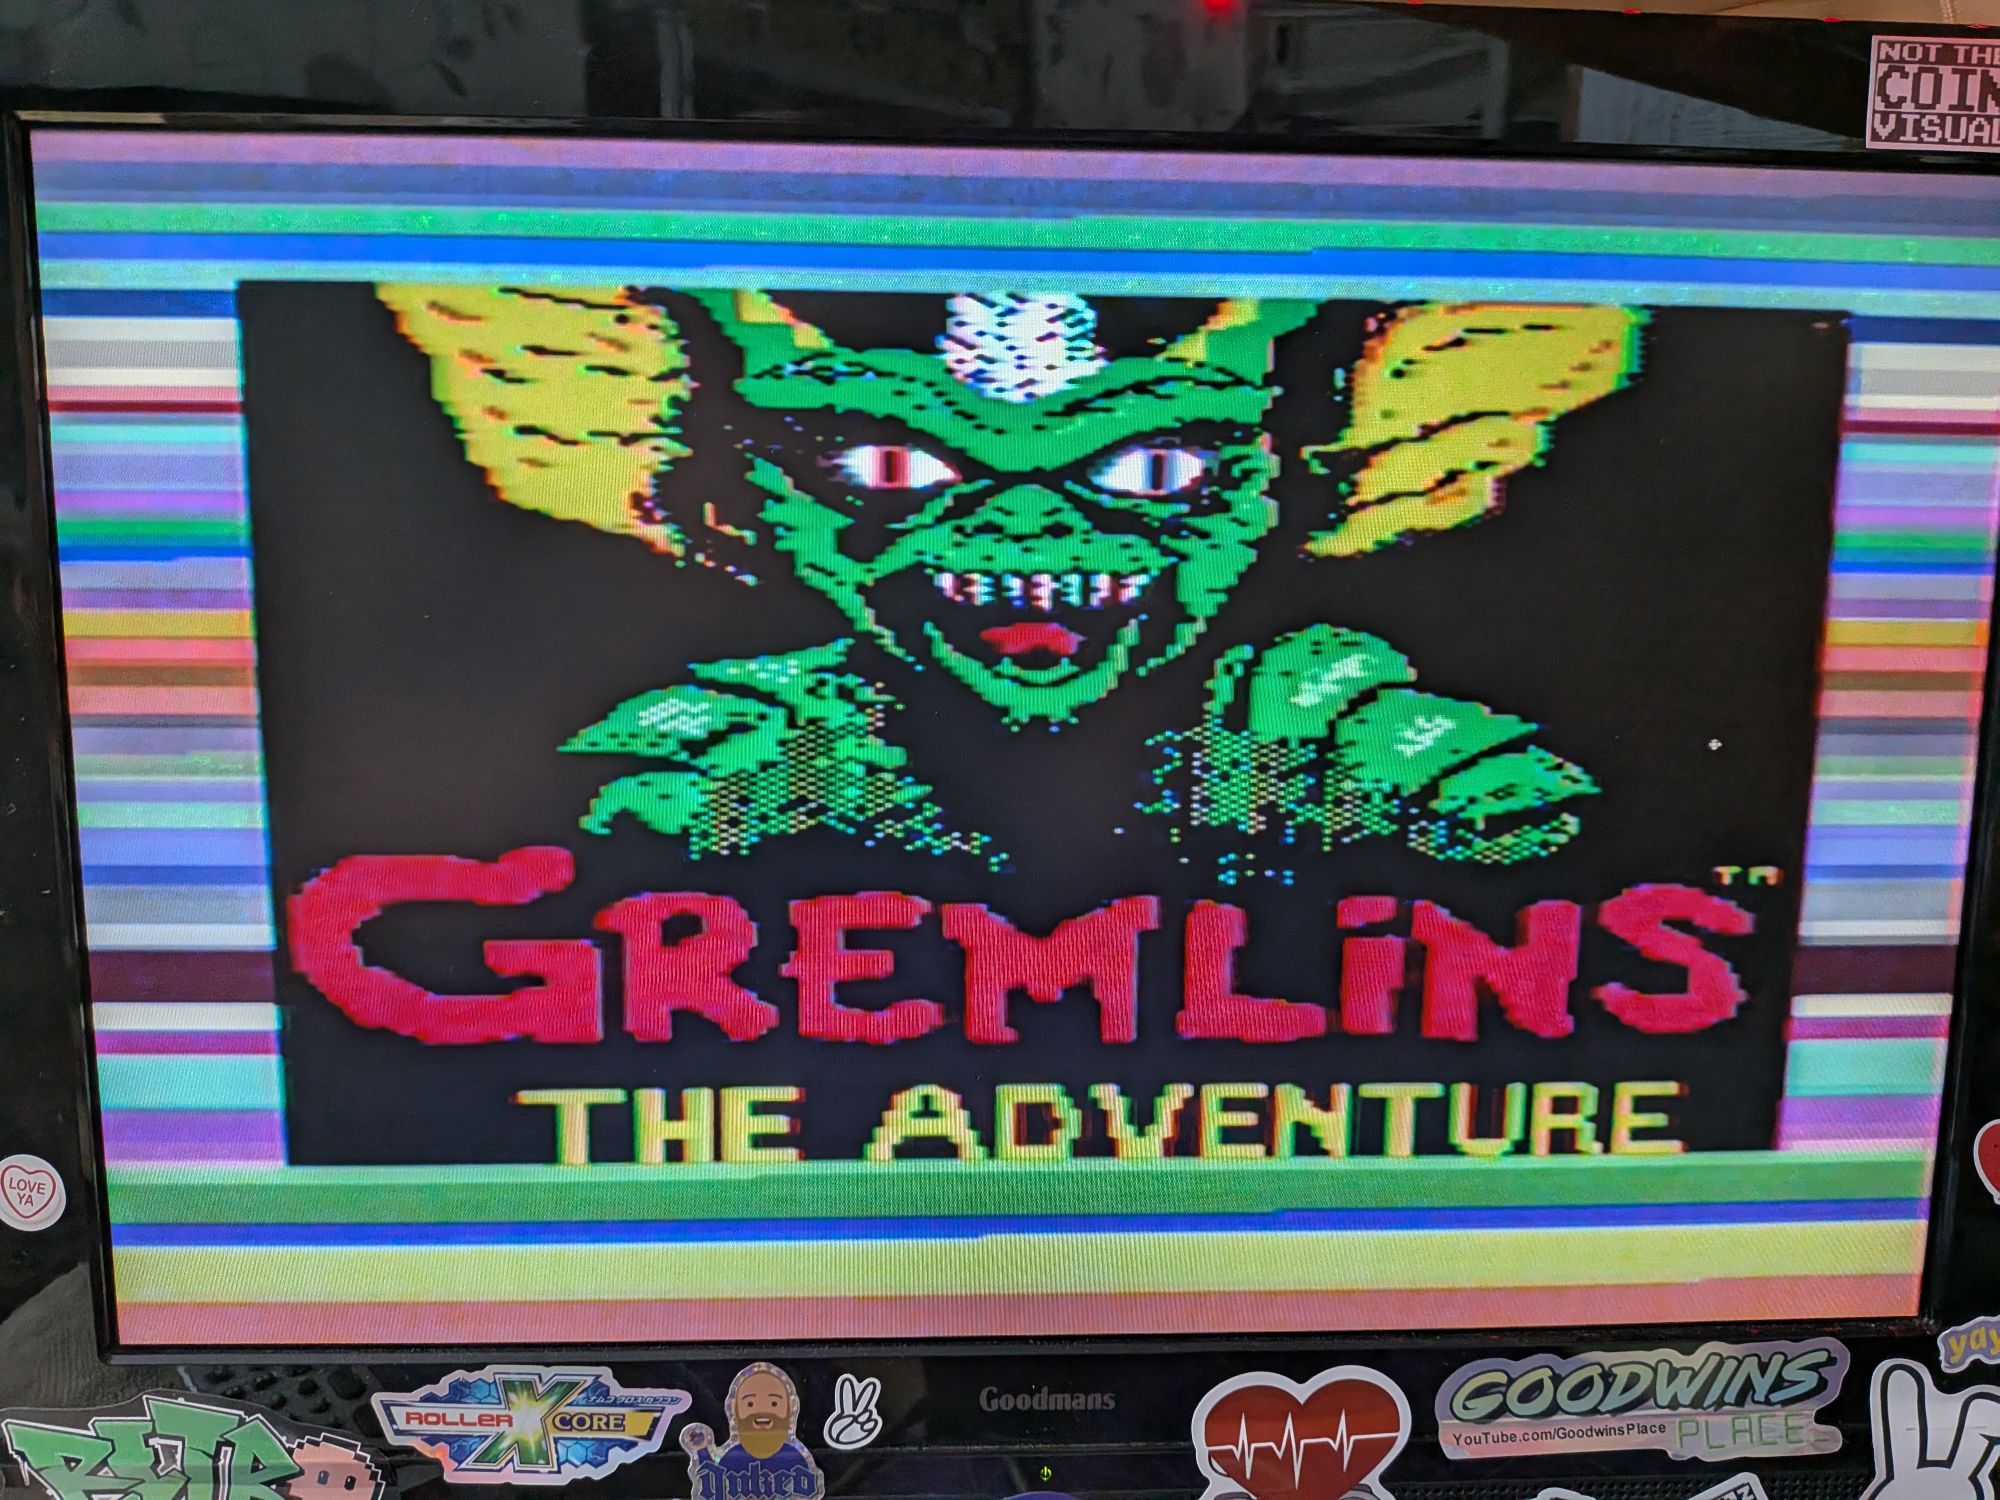
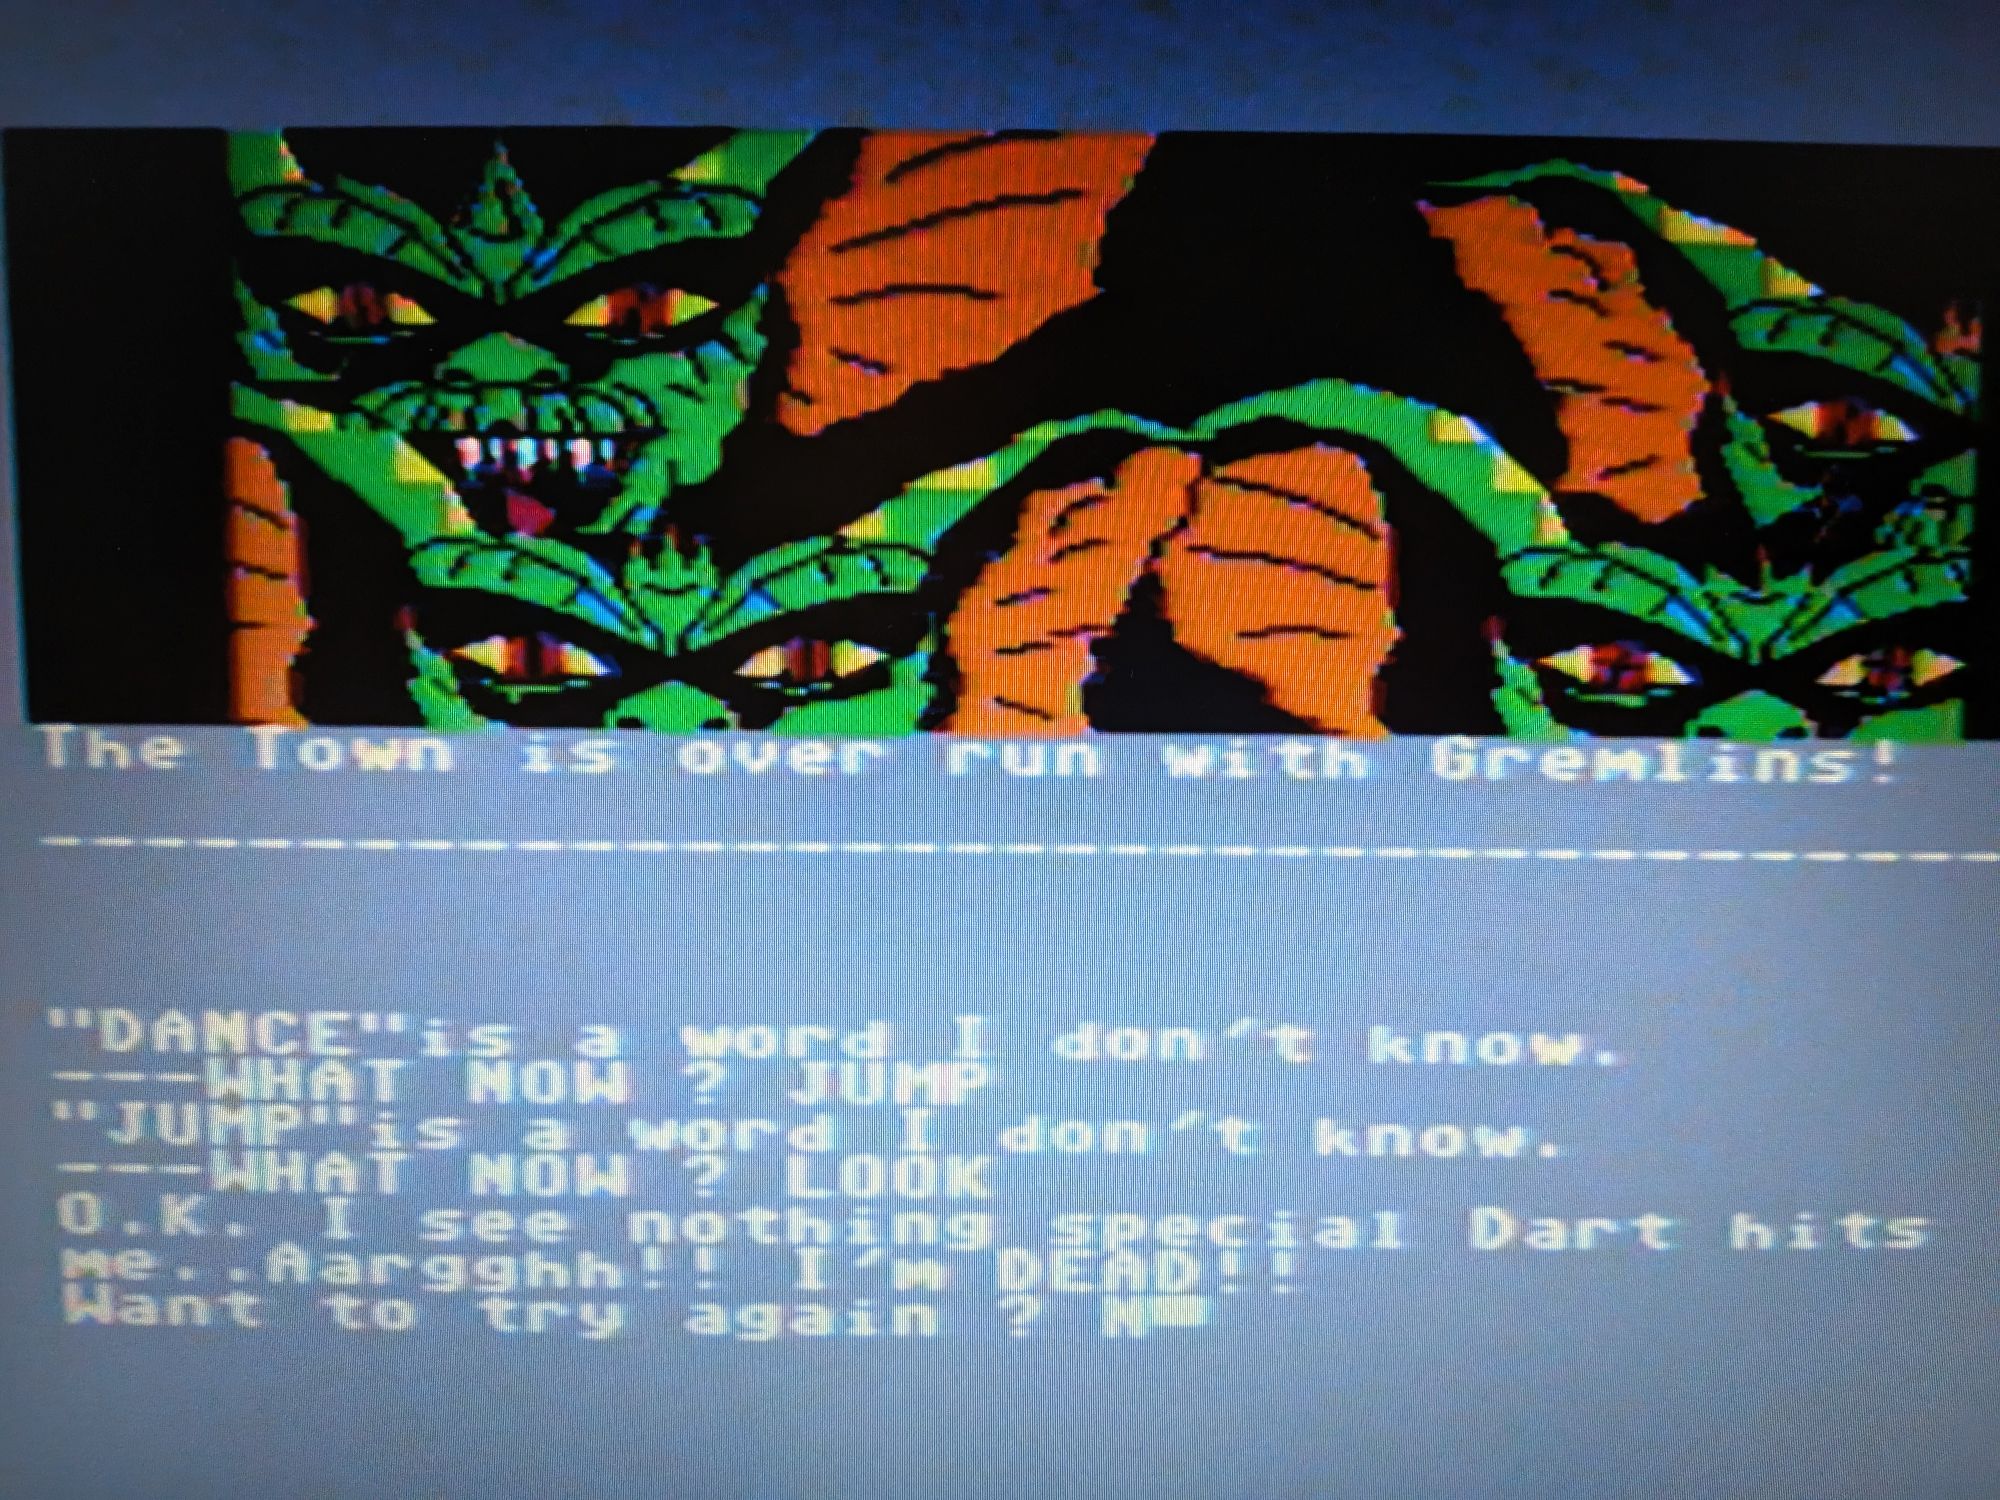
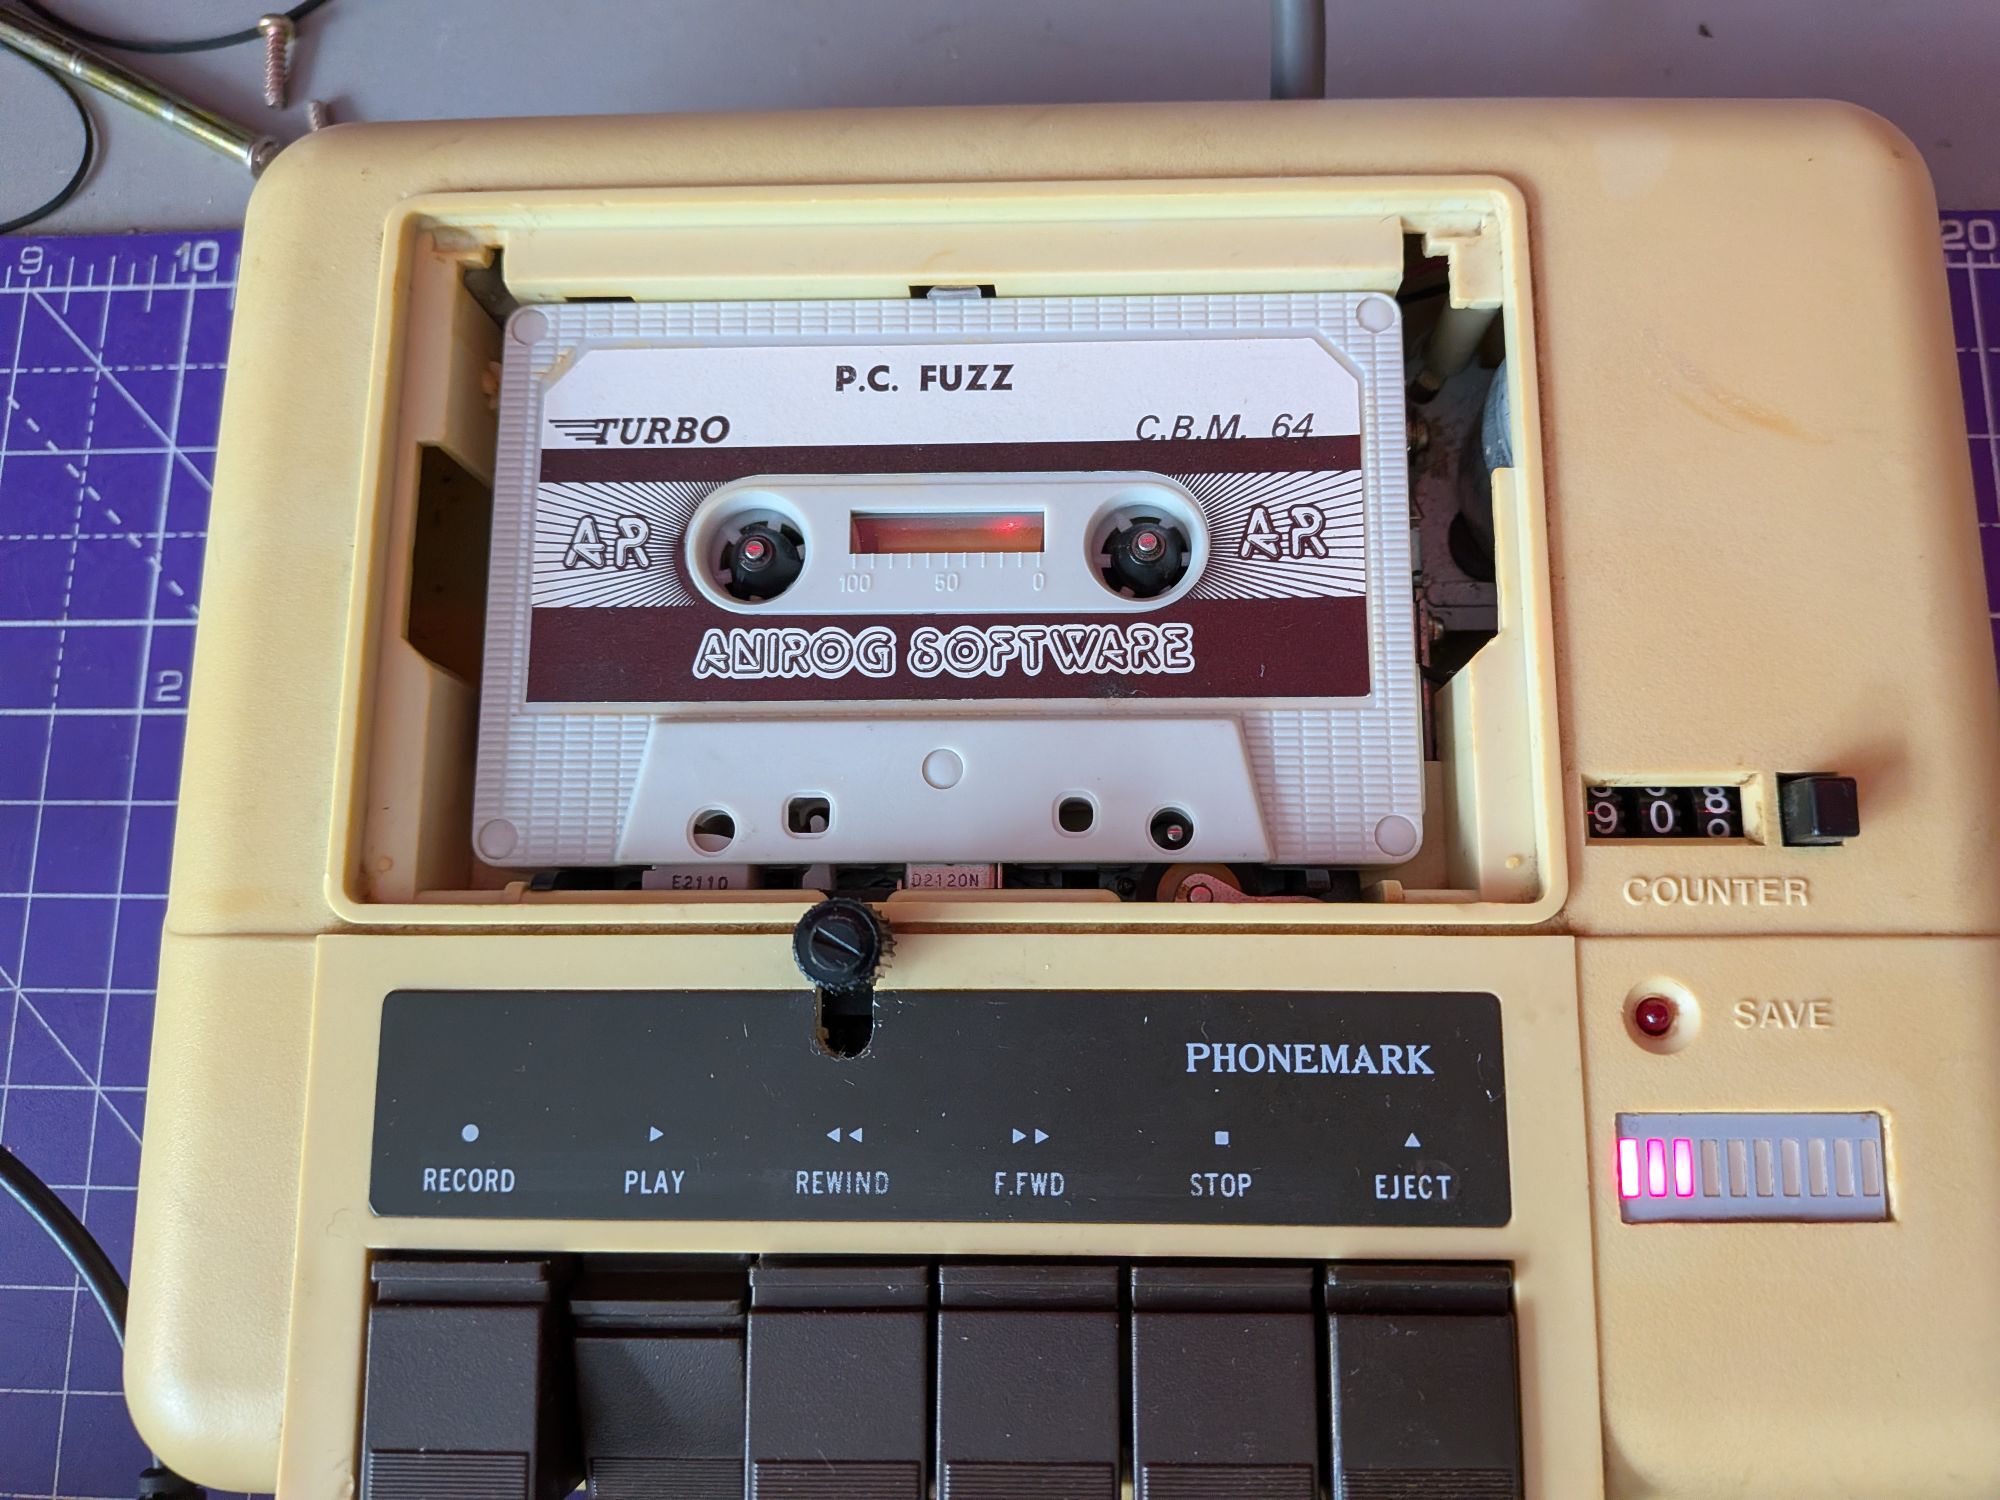
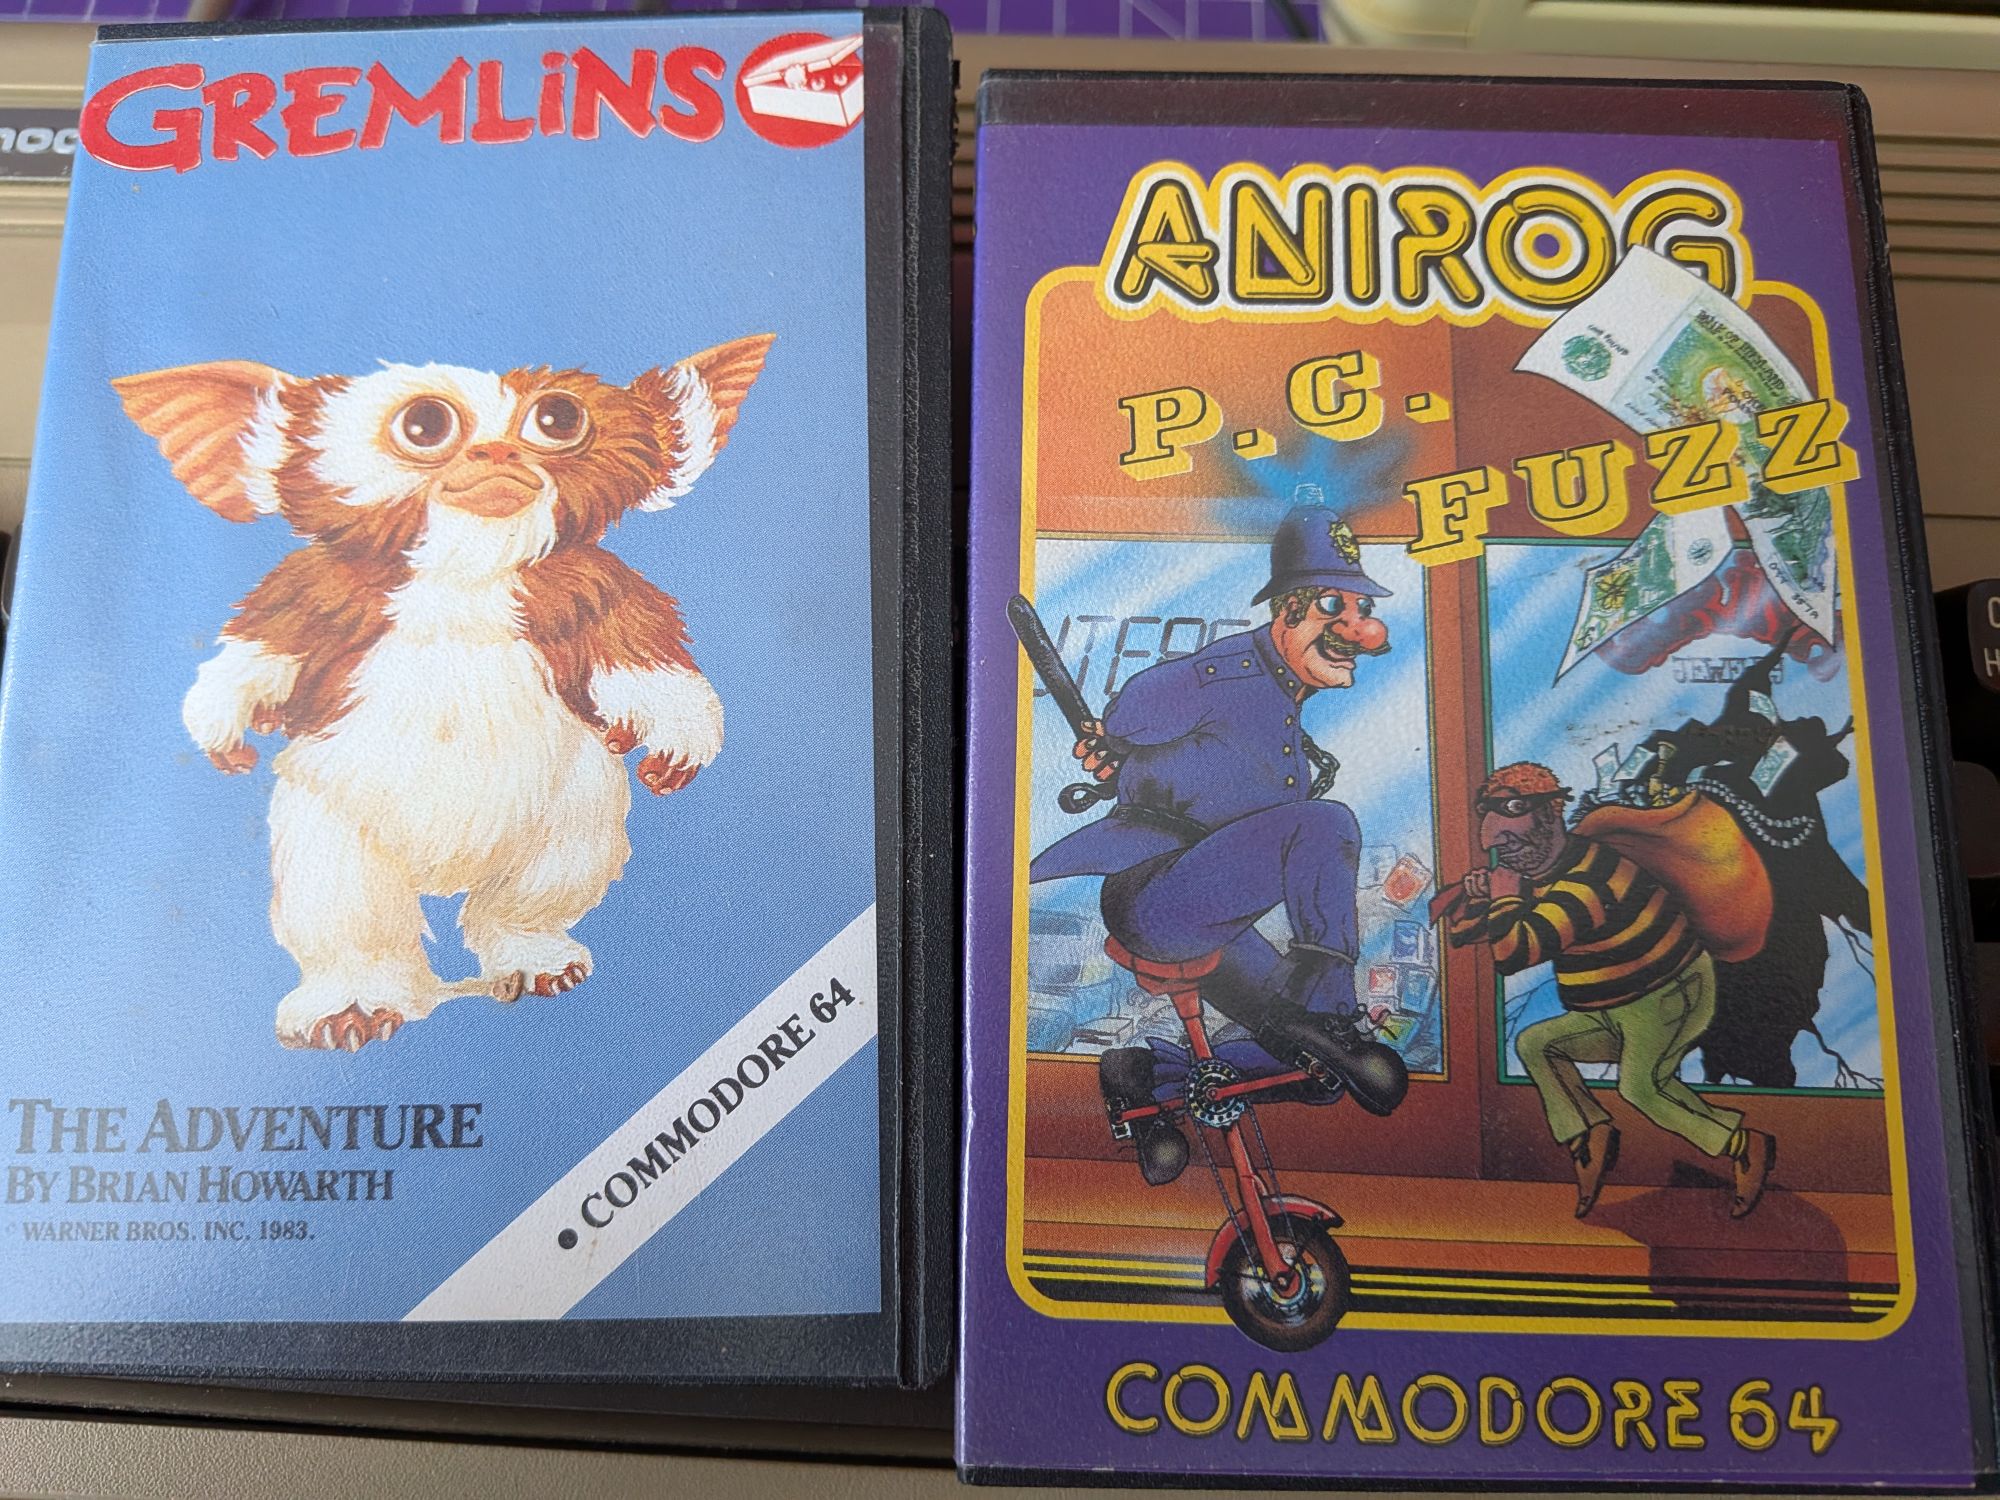
Two games came to hand. Gremlins and PC Fuzz.