


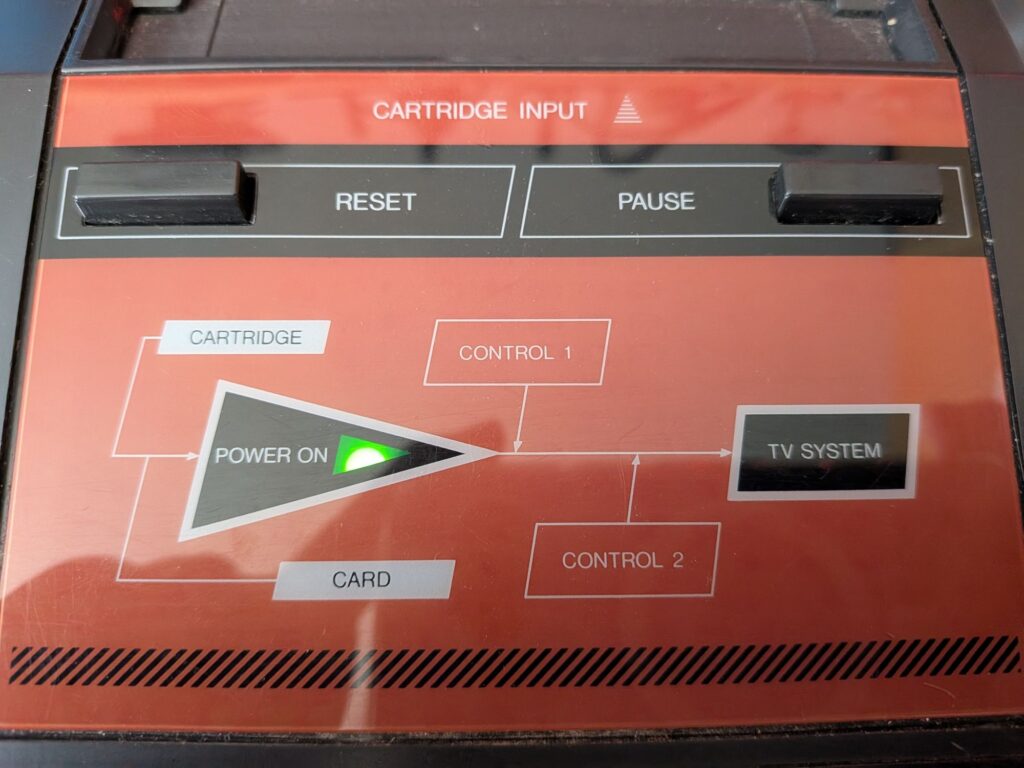
I love the look of the Master System mk 1. It reminds me of the WOPR from a film that had a big influence on me at the time, WarGames. The WOPR is the blinky light super computer that plays Global Thermonuclear War. The War Operation Plan Response.
This Master System is having a switchless region mod and FM Sound mod installed. If you’ve not come across it, the FM Sound mod really transforms the system and is highly recommended. It is paired with a region mod, to switch 50/60Hz modes, and language where necessary, and to enable and disable the FM sound.
FM audio is actually programmed in to many game cartridges but is not supported natively by the stock PAL Master System. It was available as an expansion unit for the Sega Mark III console in Japan and was built in to the Japanese Master System in 1987 but was not incorporated into the Master System we had here for some reason. Probably a cost saving measure. There’s a good write up about it on the consolemods website.
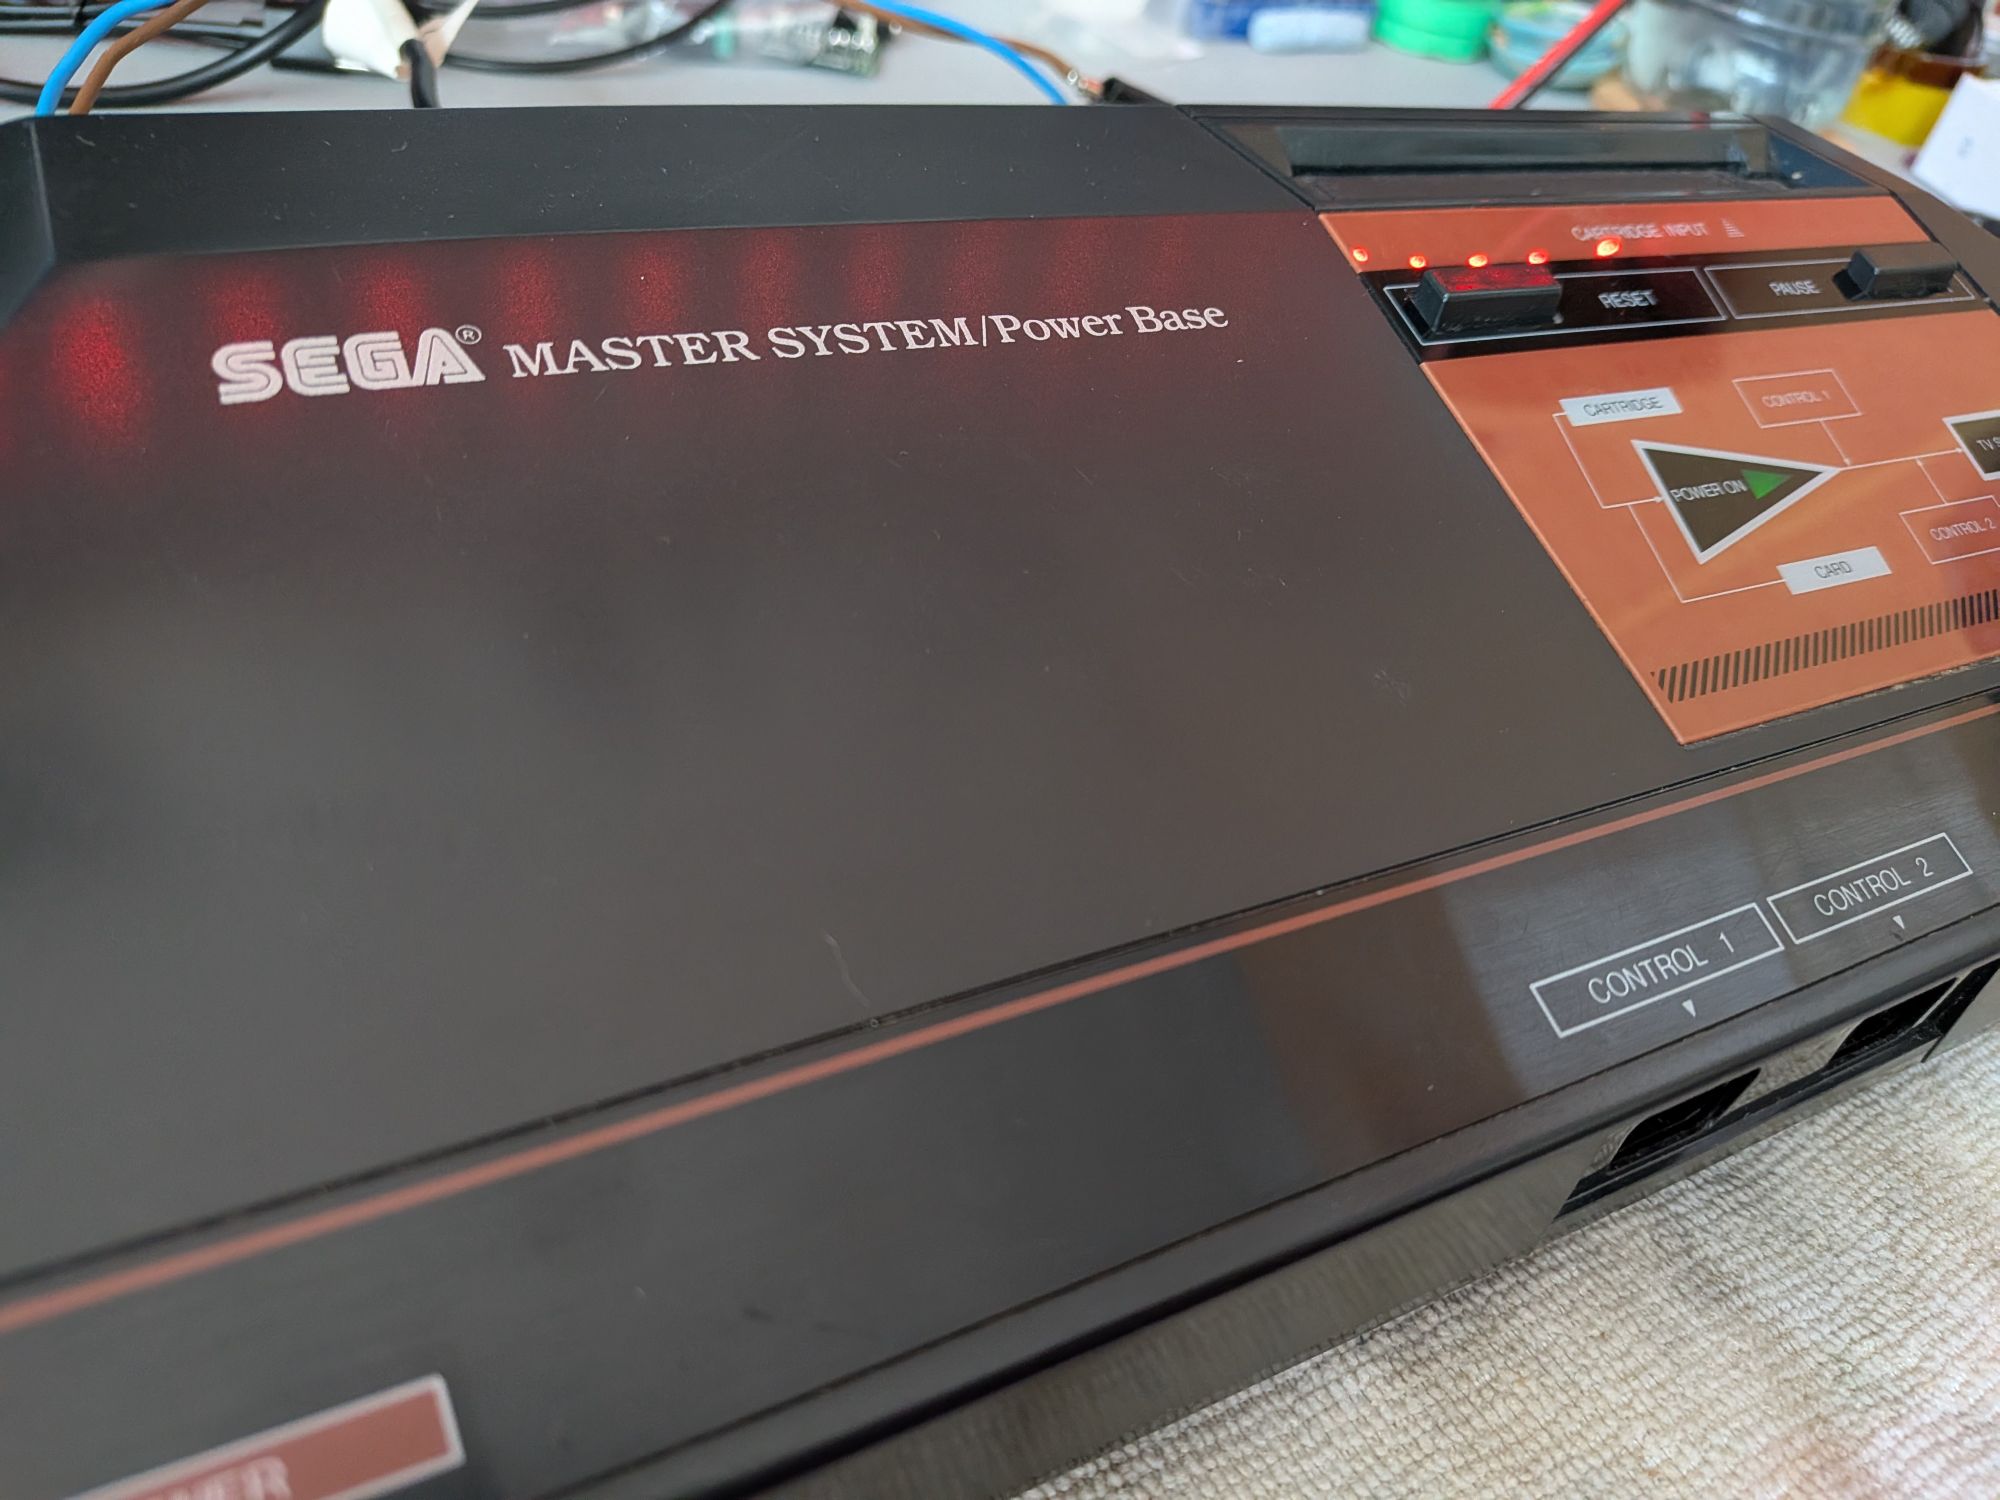
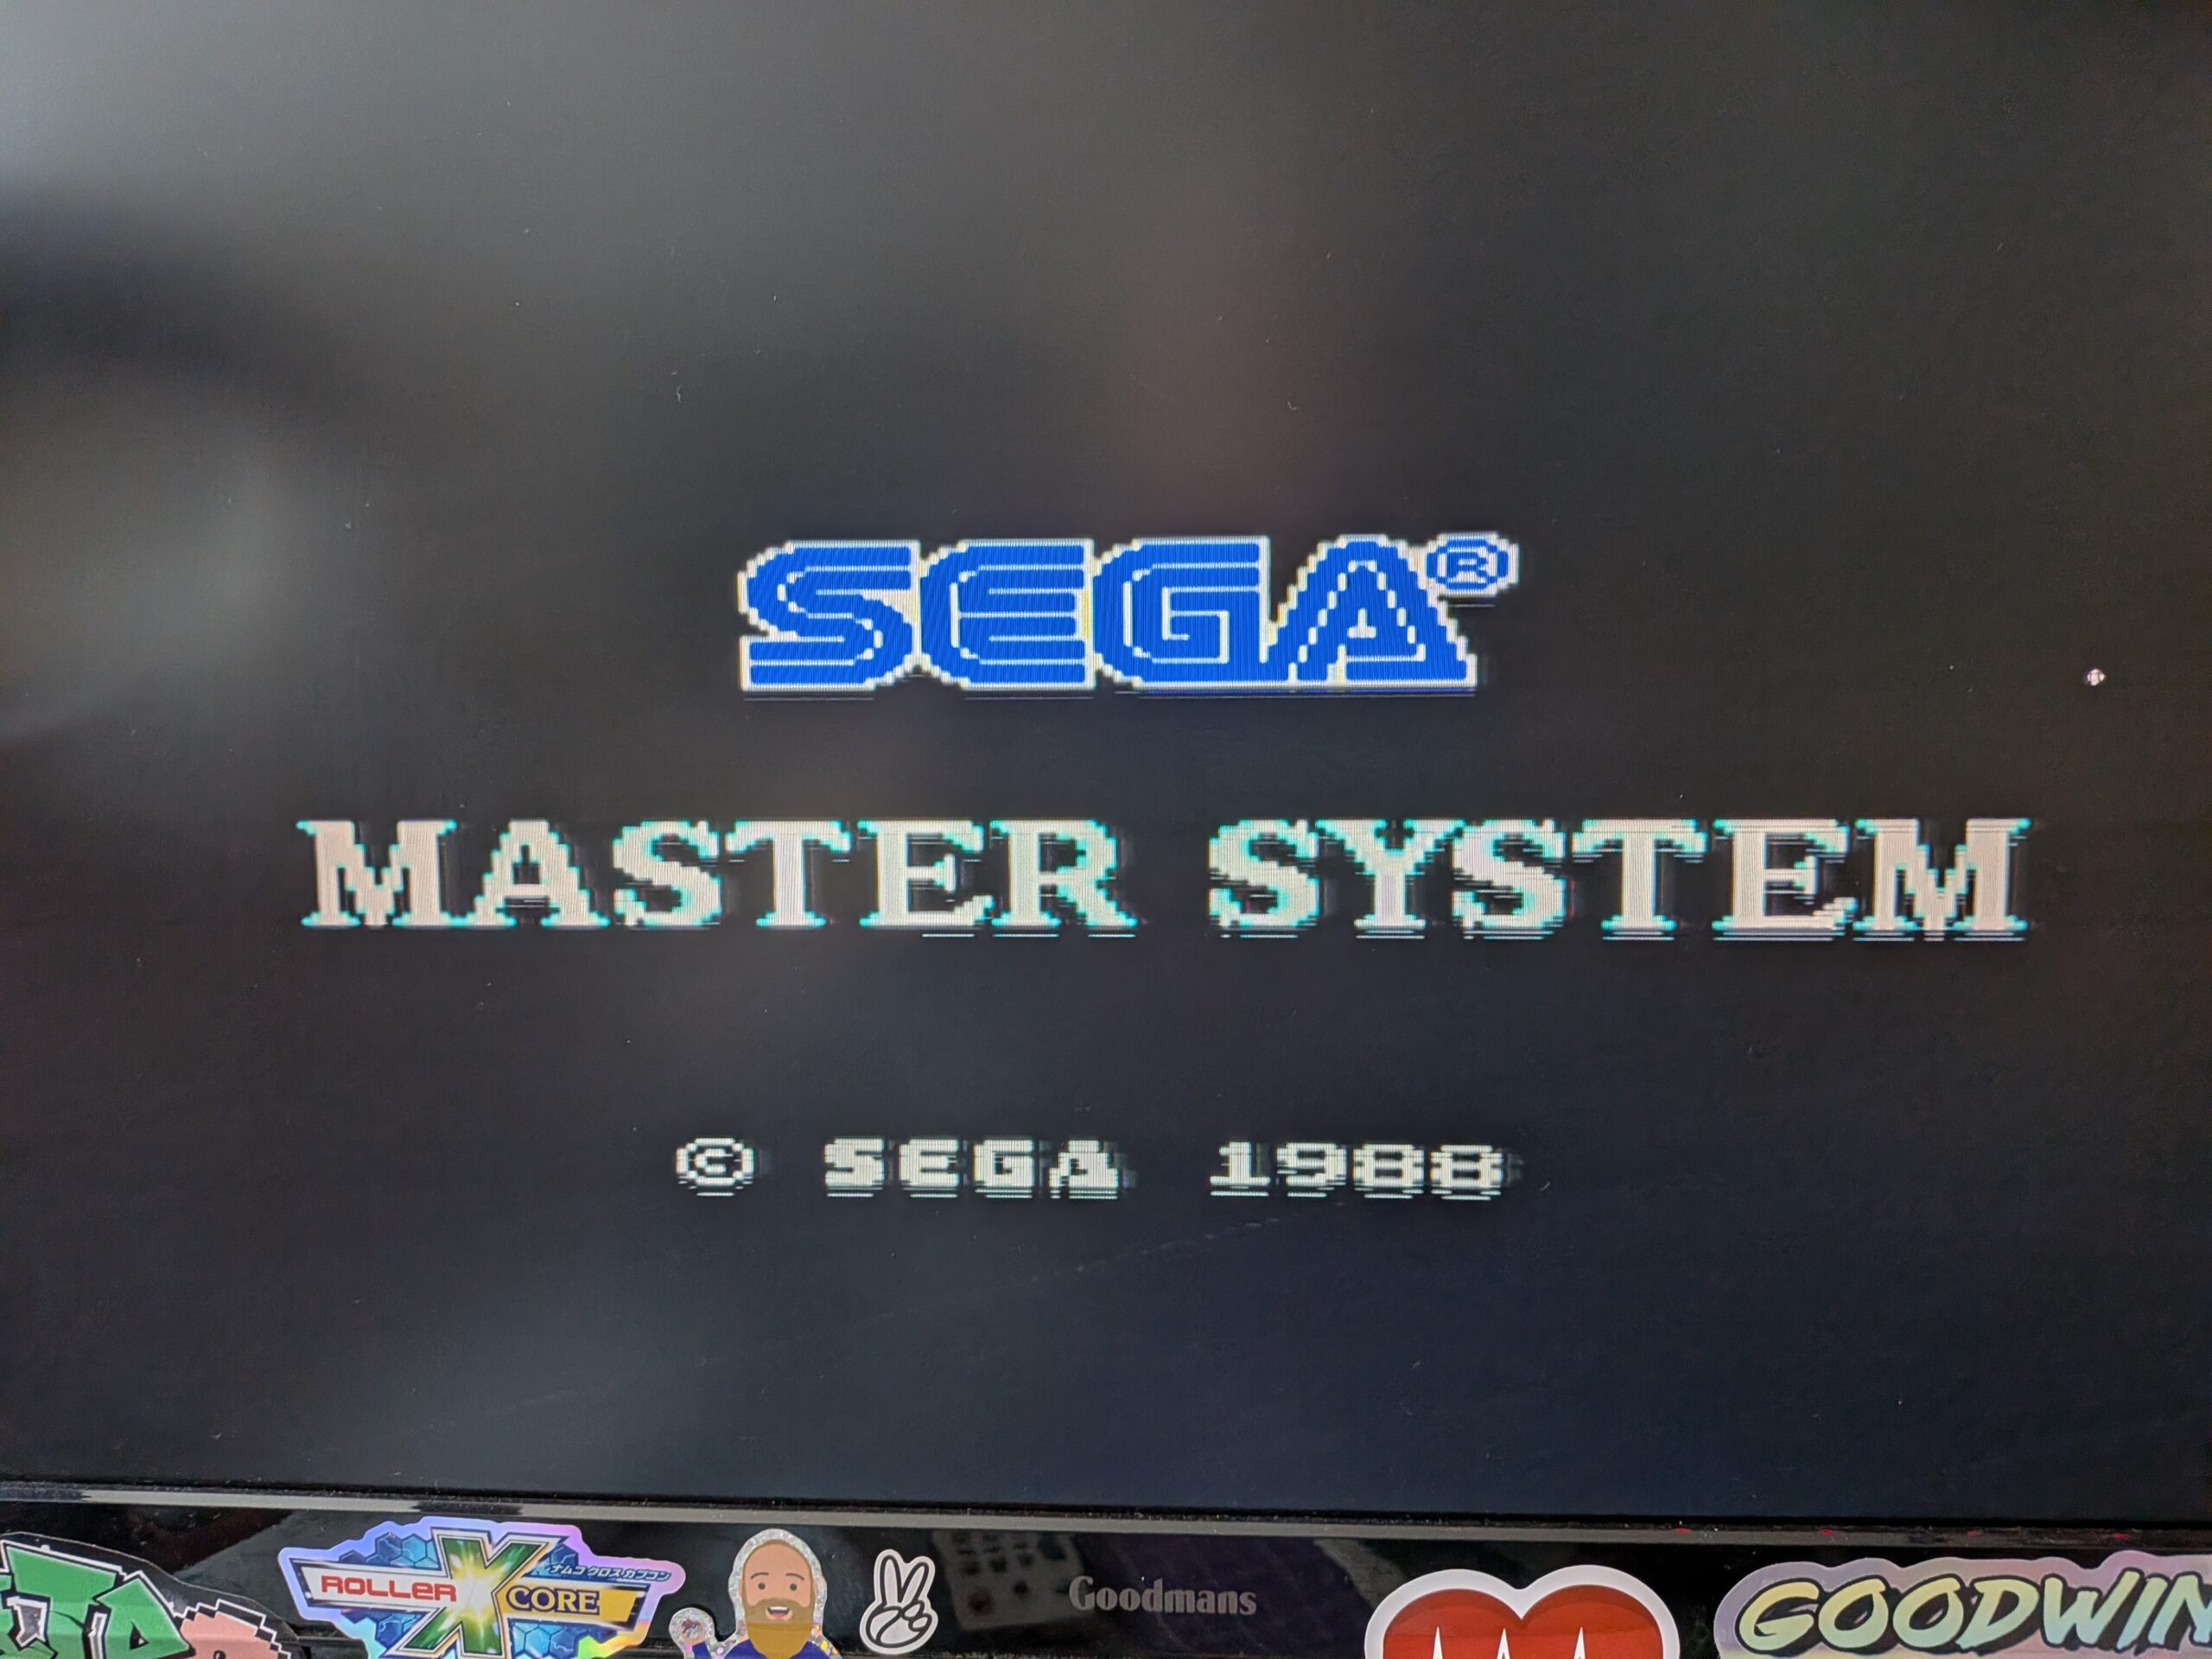
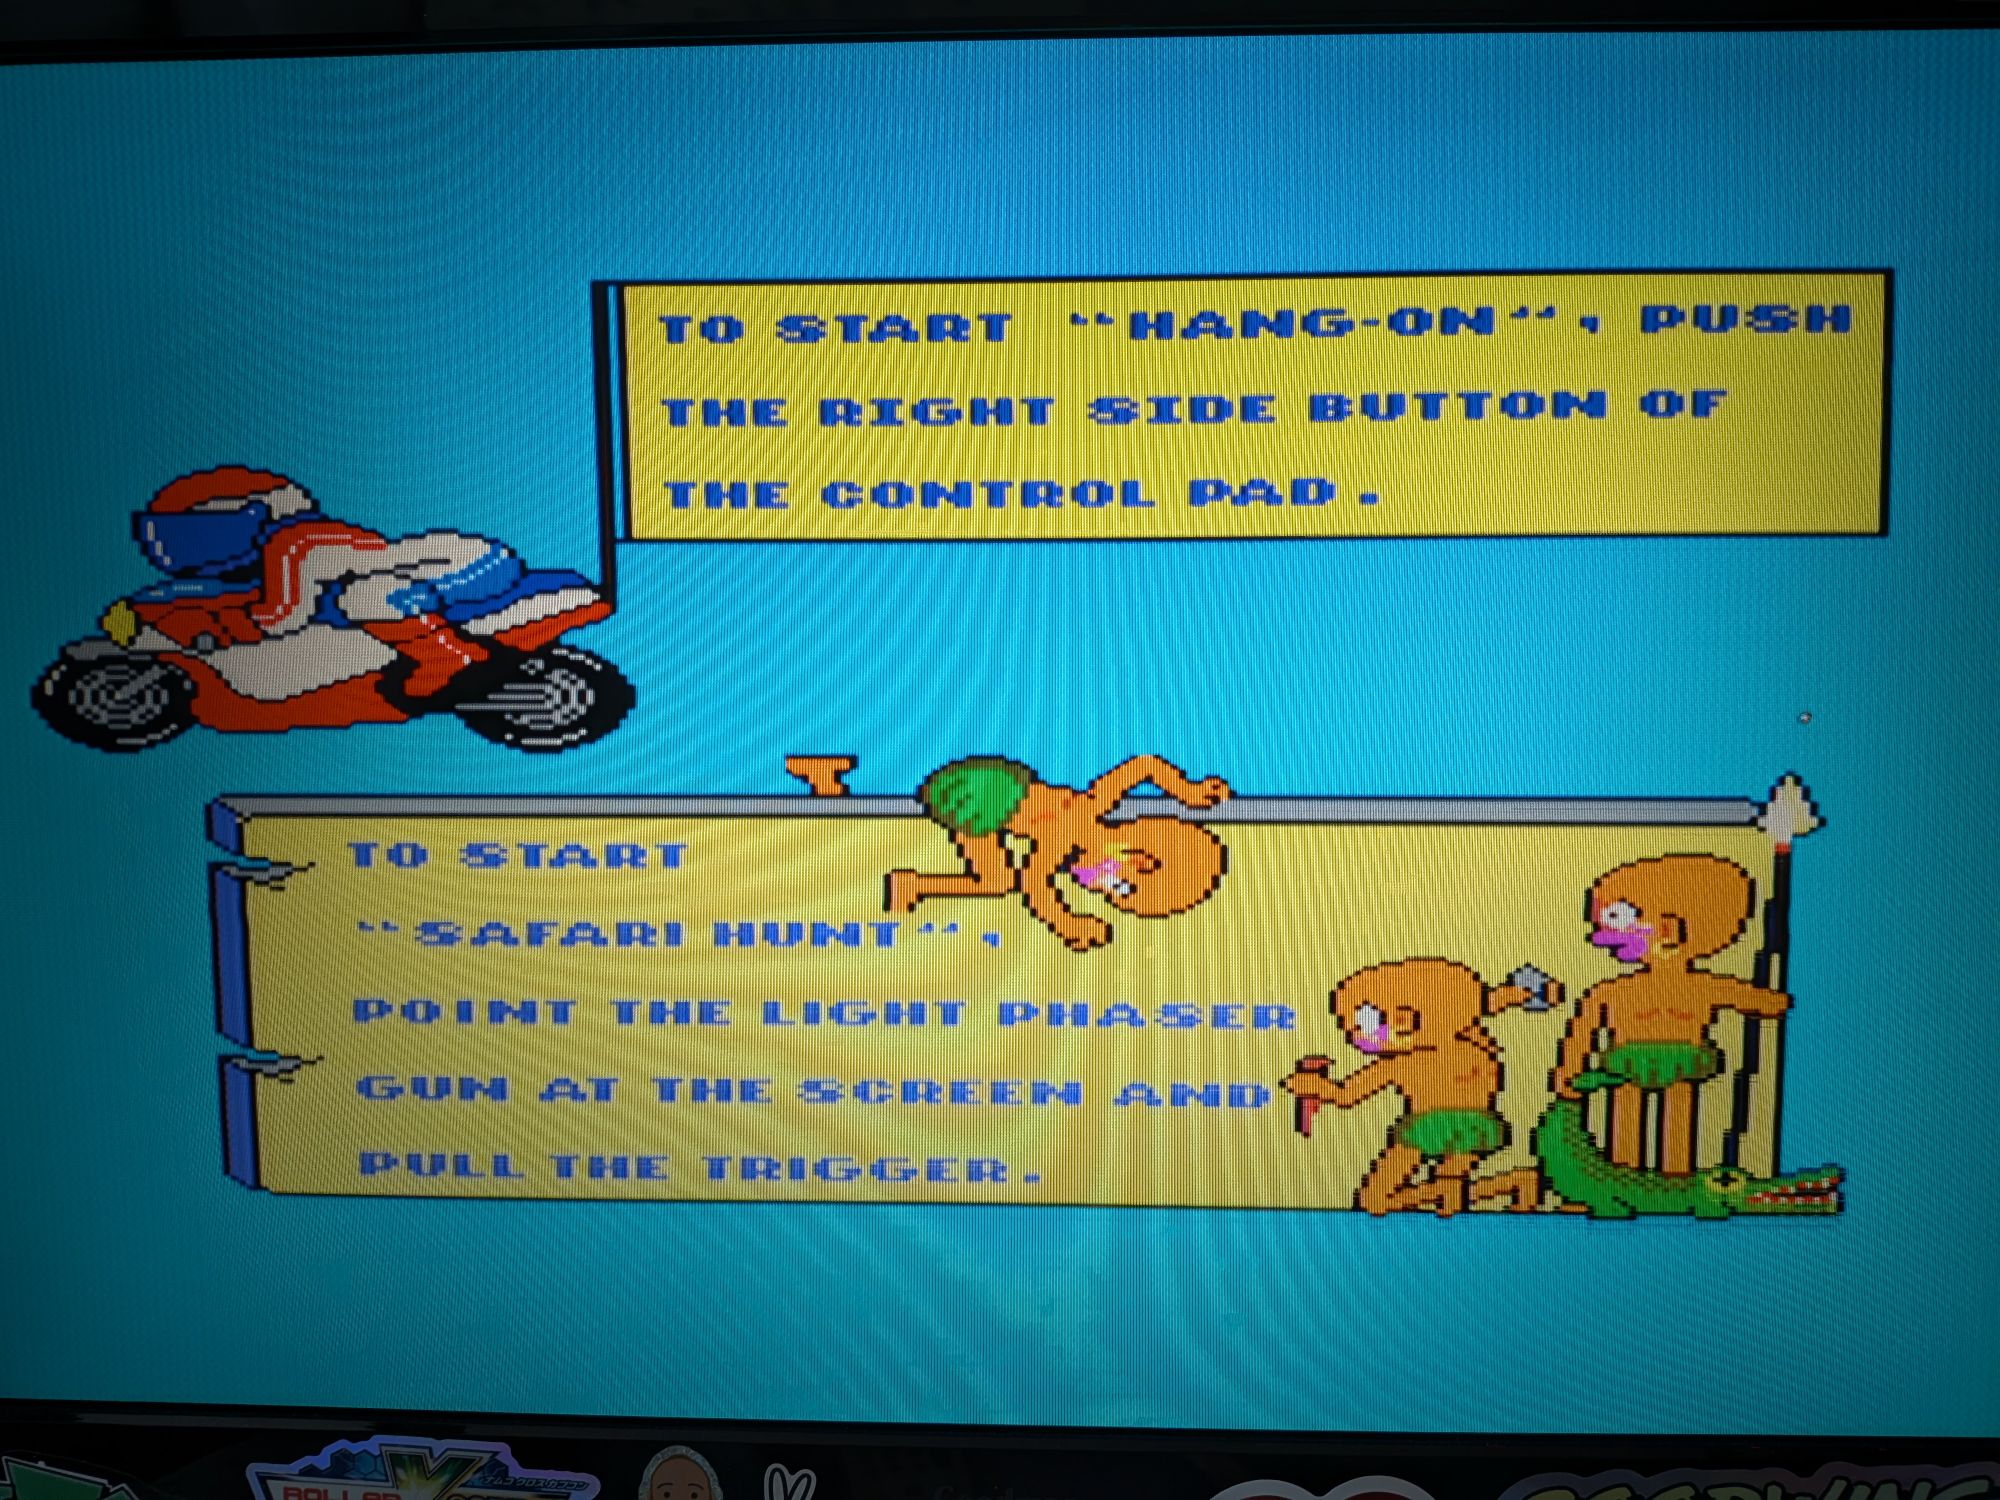
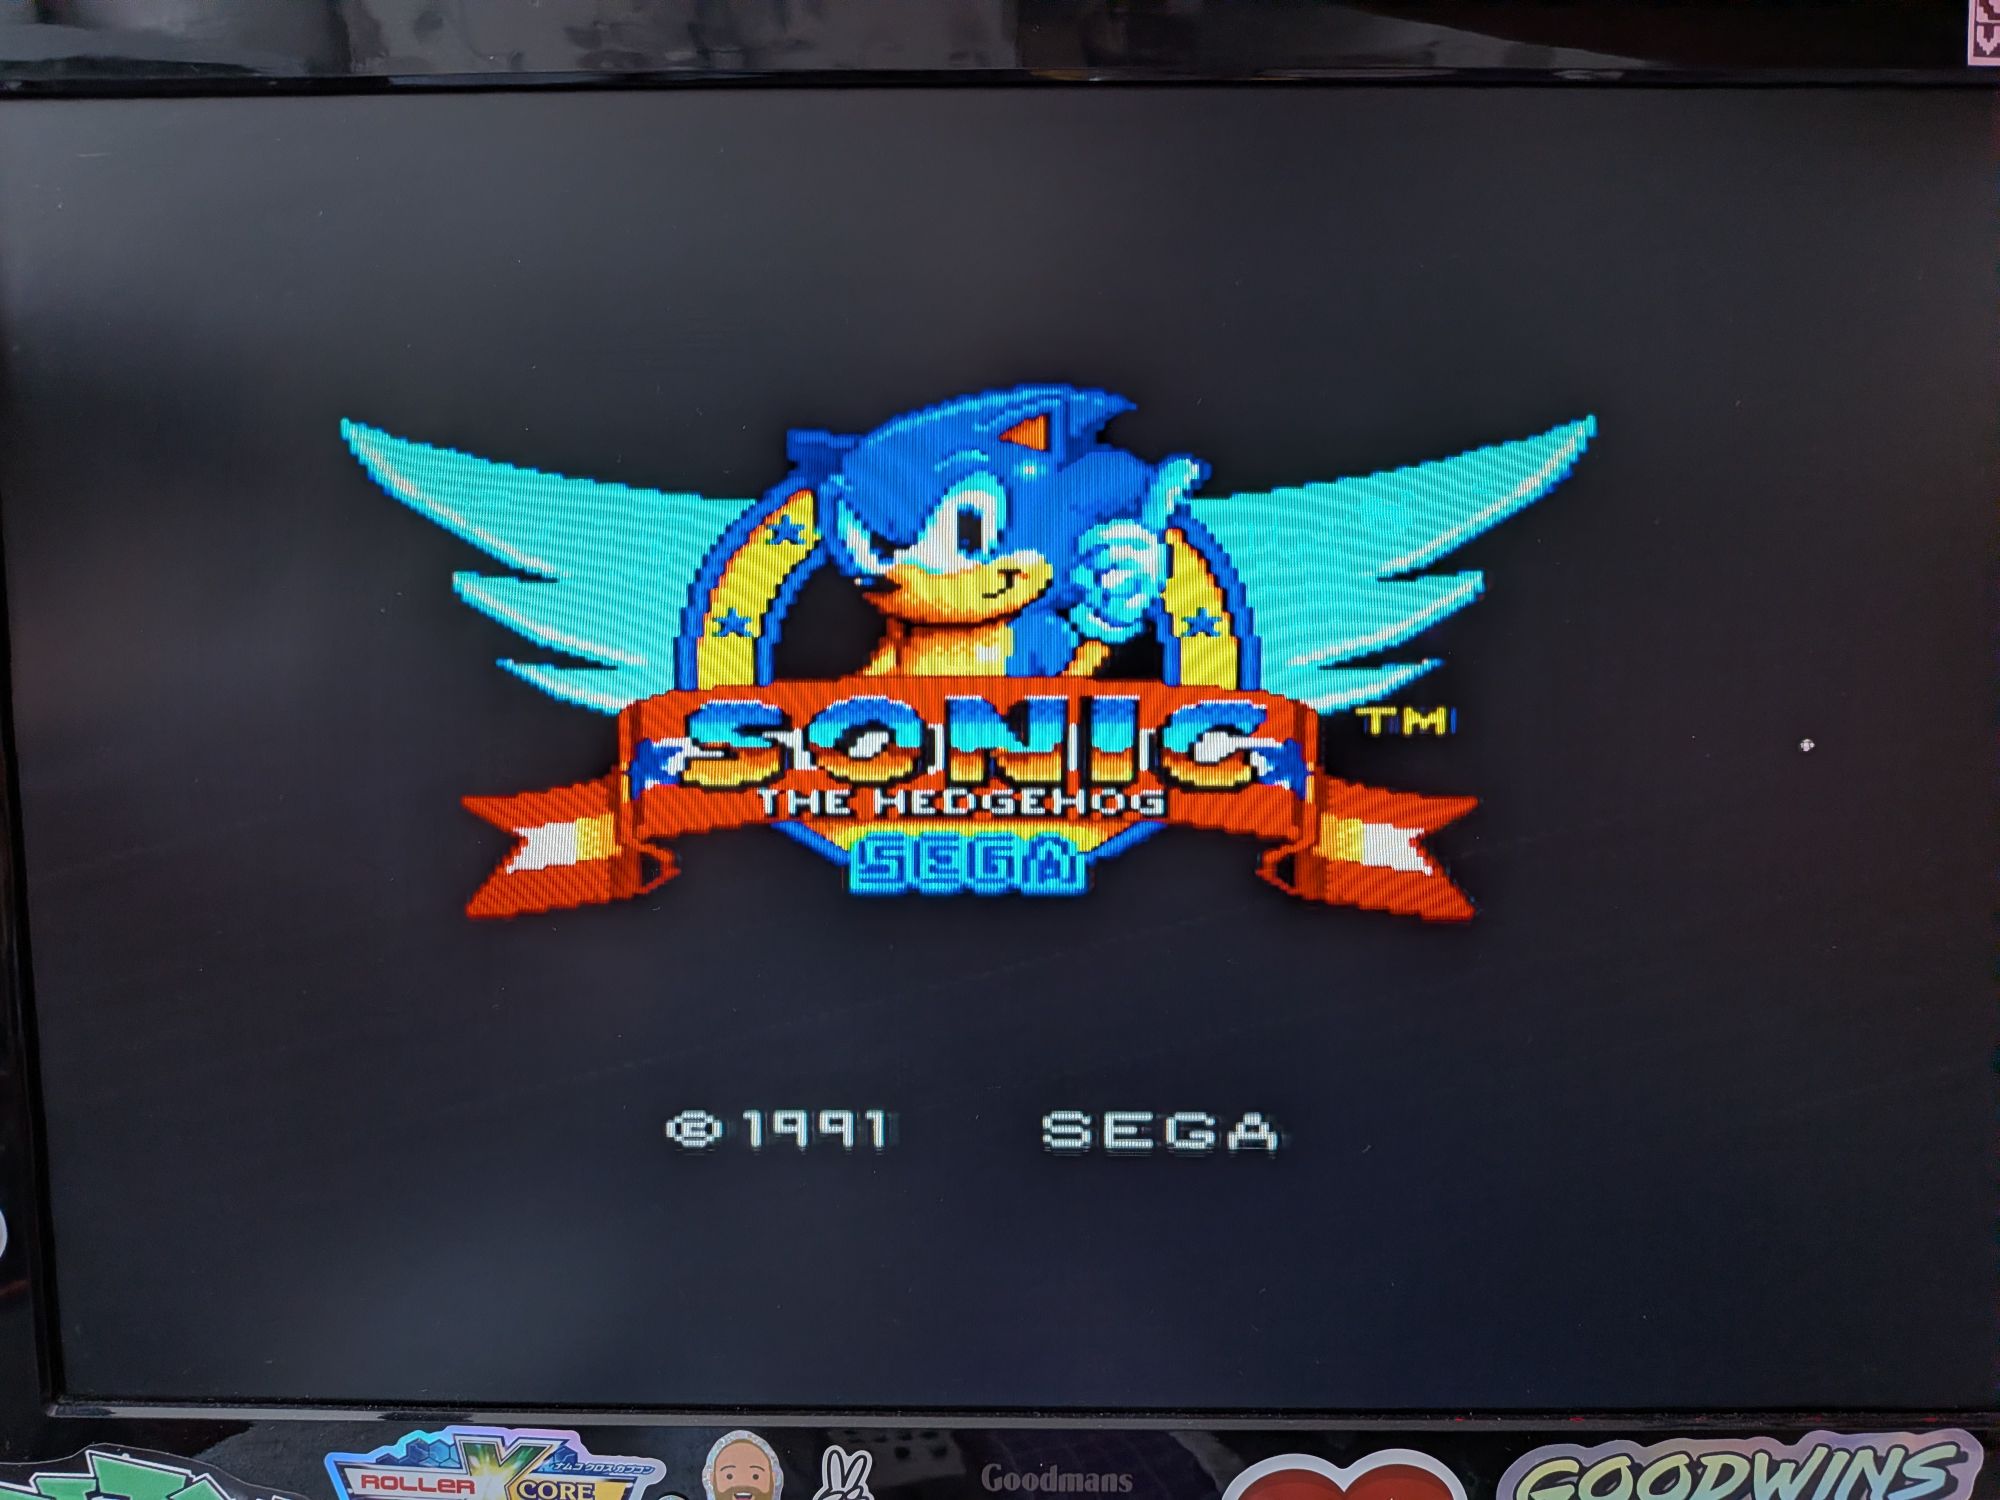
The pics show the Master System mk 1 in all its glory. Along with some basic tests before getting started.
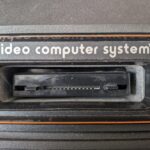
It’s a long sleek console, with a long board. At the right hand end is the cartridge slot on top, the card slot on the front and an expansion slot on the back.
The other pics show the title screen it displays when turned on. As you’ll see, later on, one of the games actually displays a Sega Mark III title screen when Japanese region is selected.
The console comes with a built-in game. In this case, two of them. Hang On racing game for use with a game pad but also Safari Hunt which you can play with a light gun.
The last pic shows Sonic loading from a cartridge.
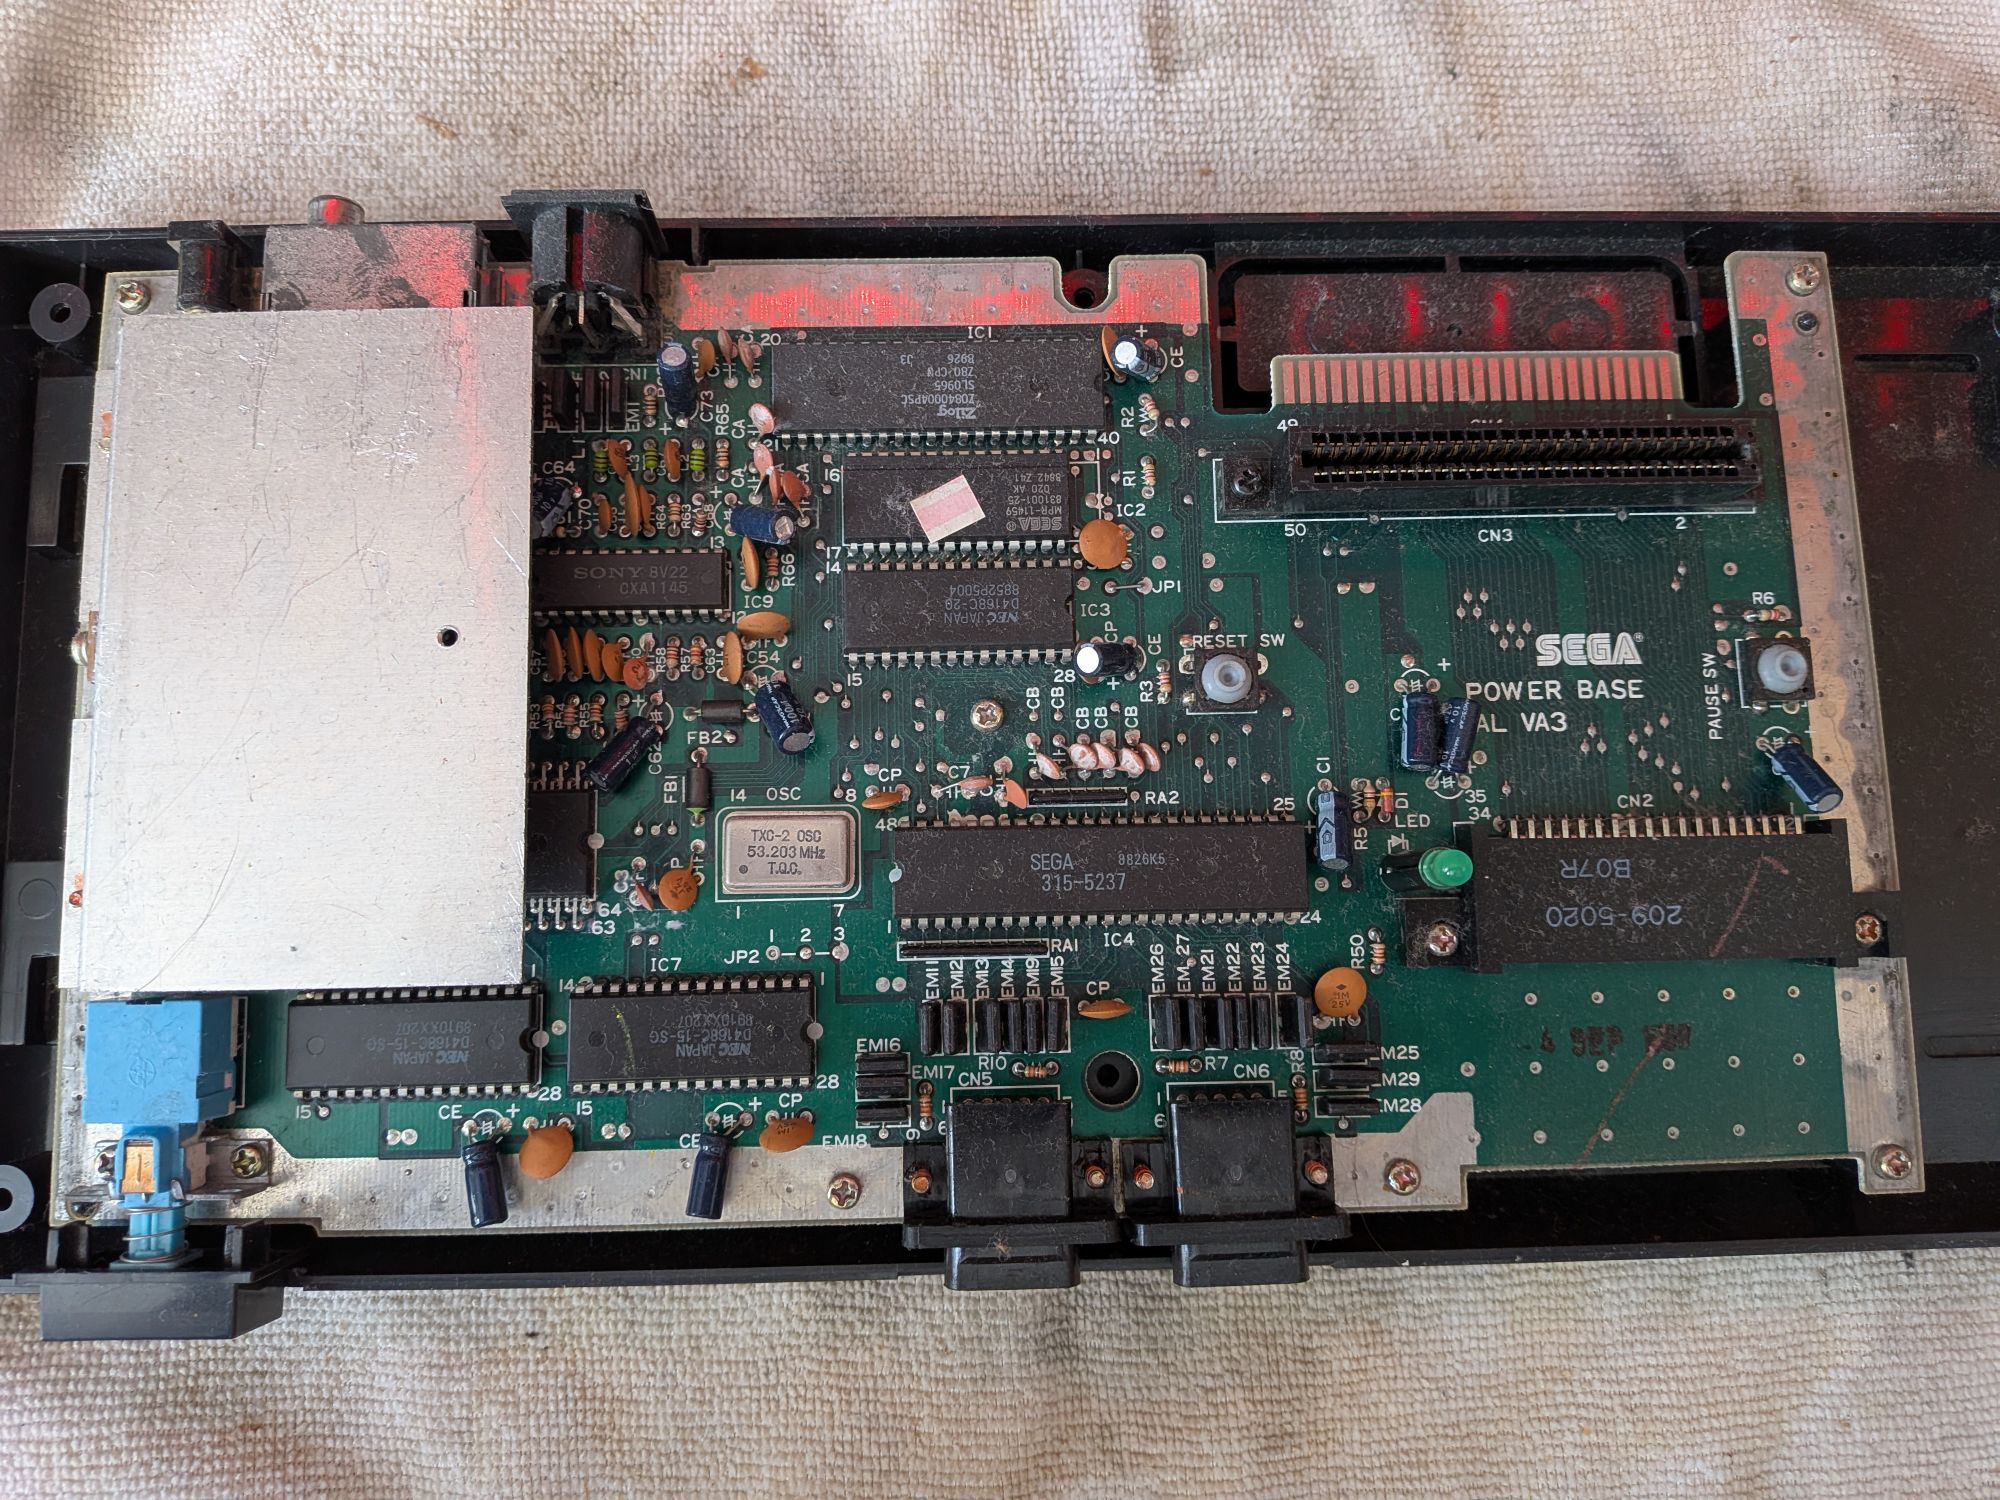
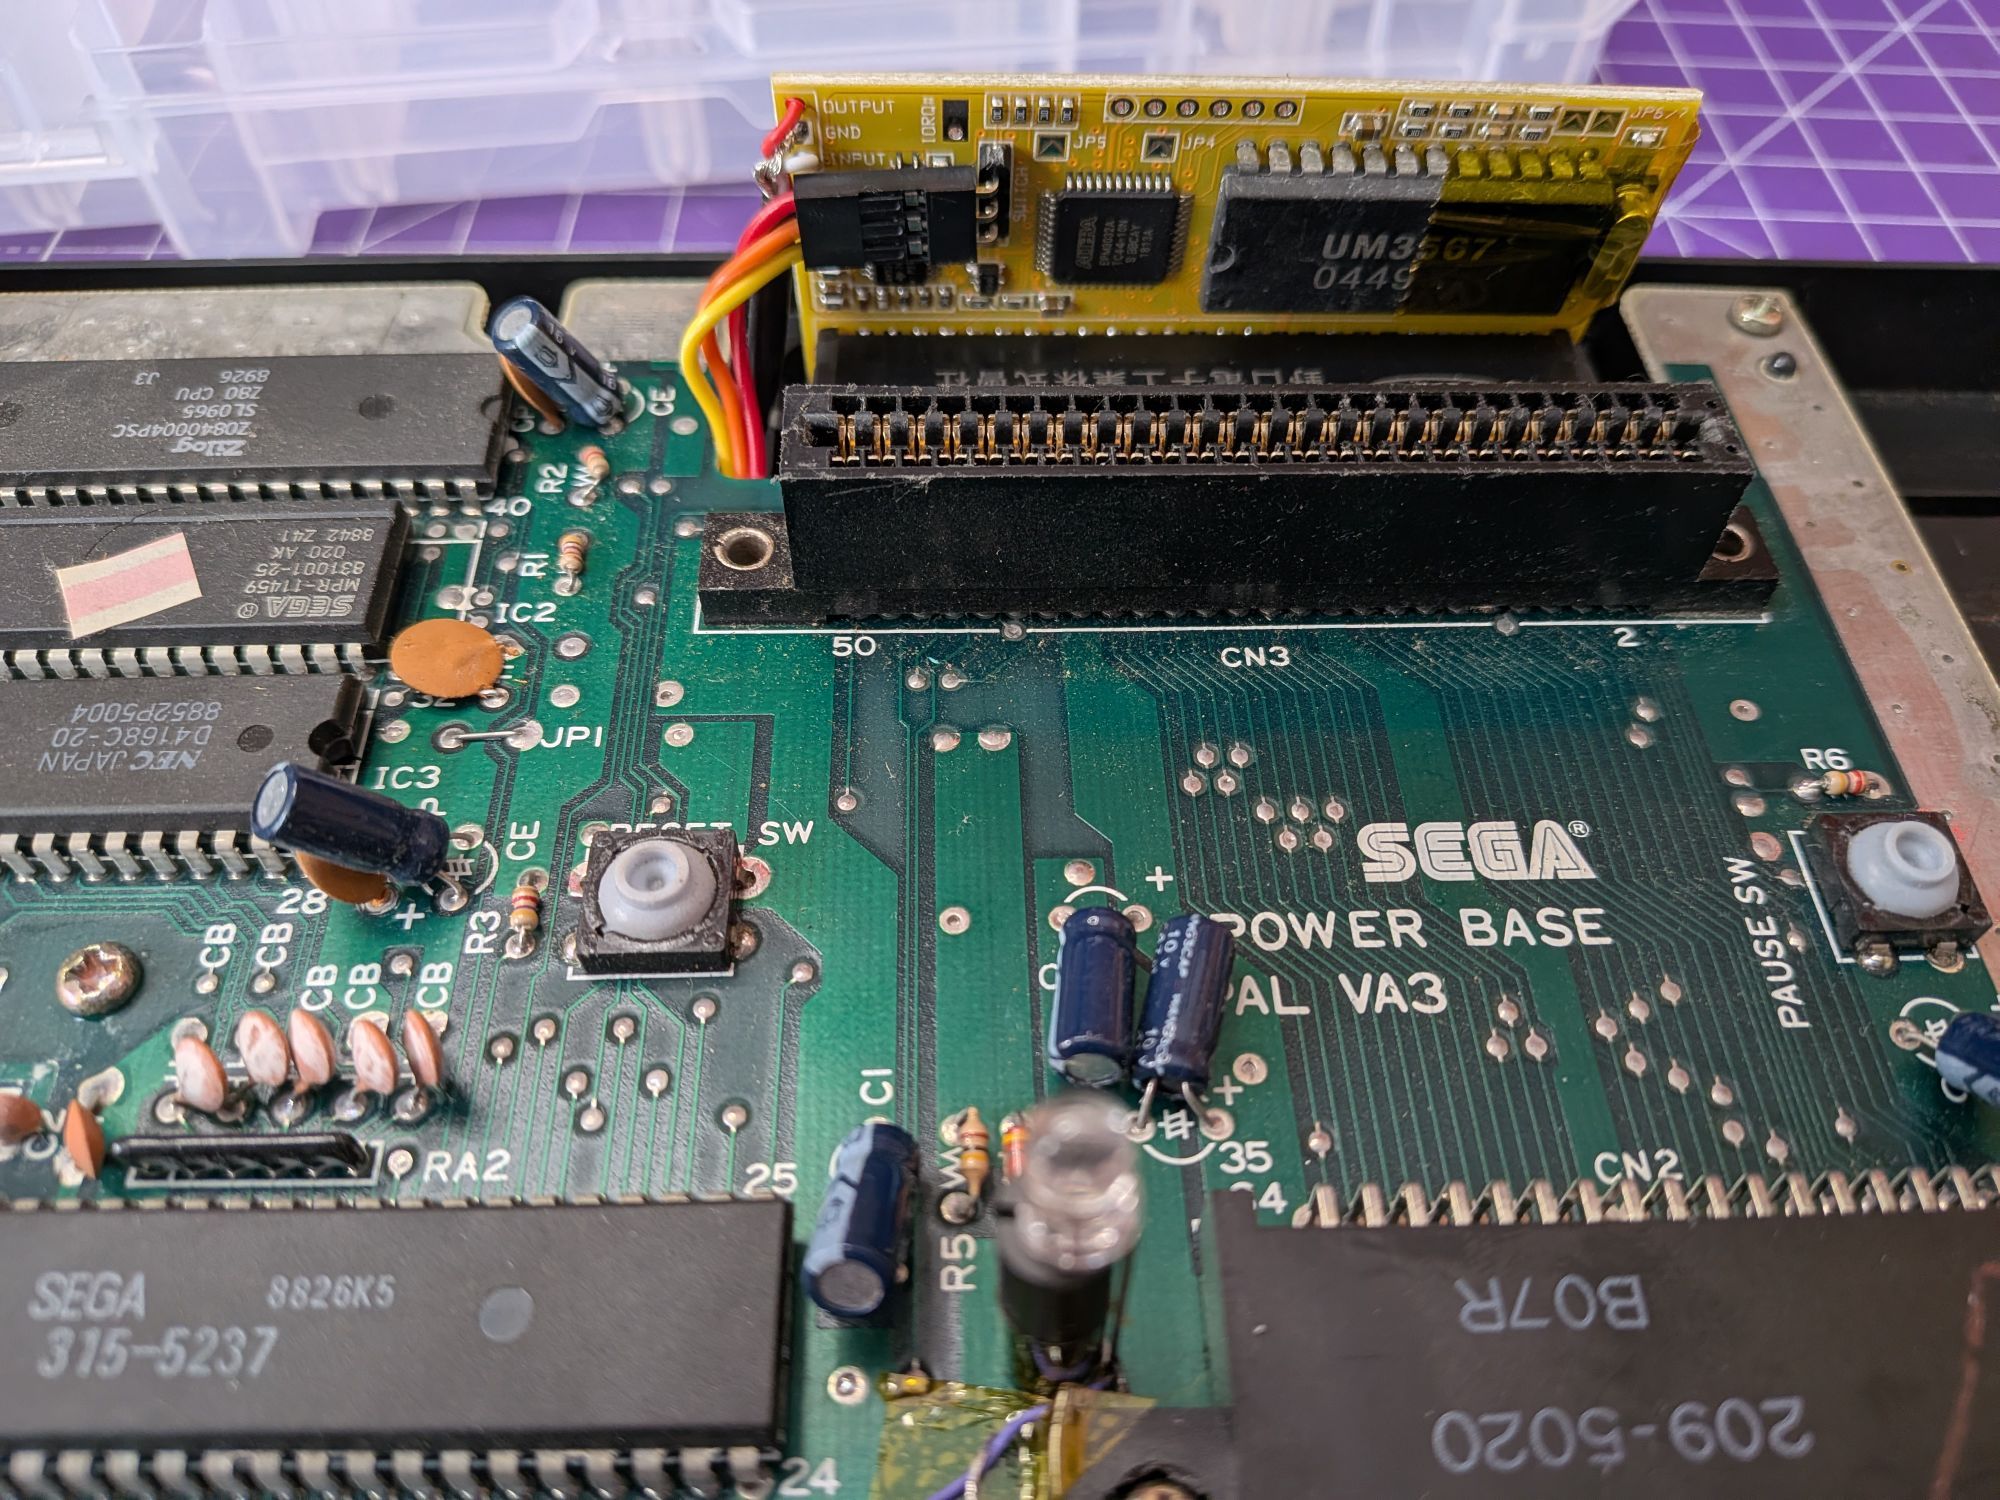
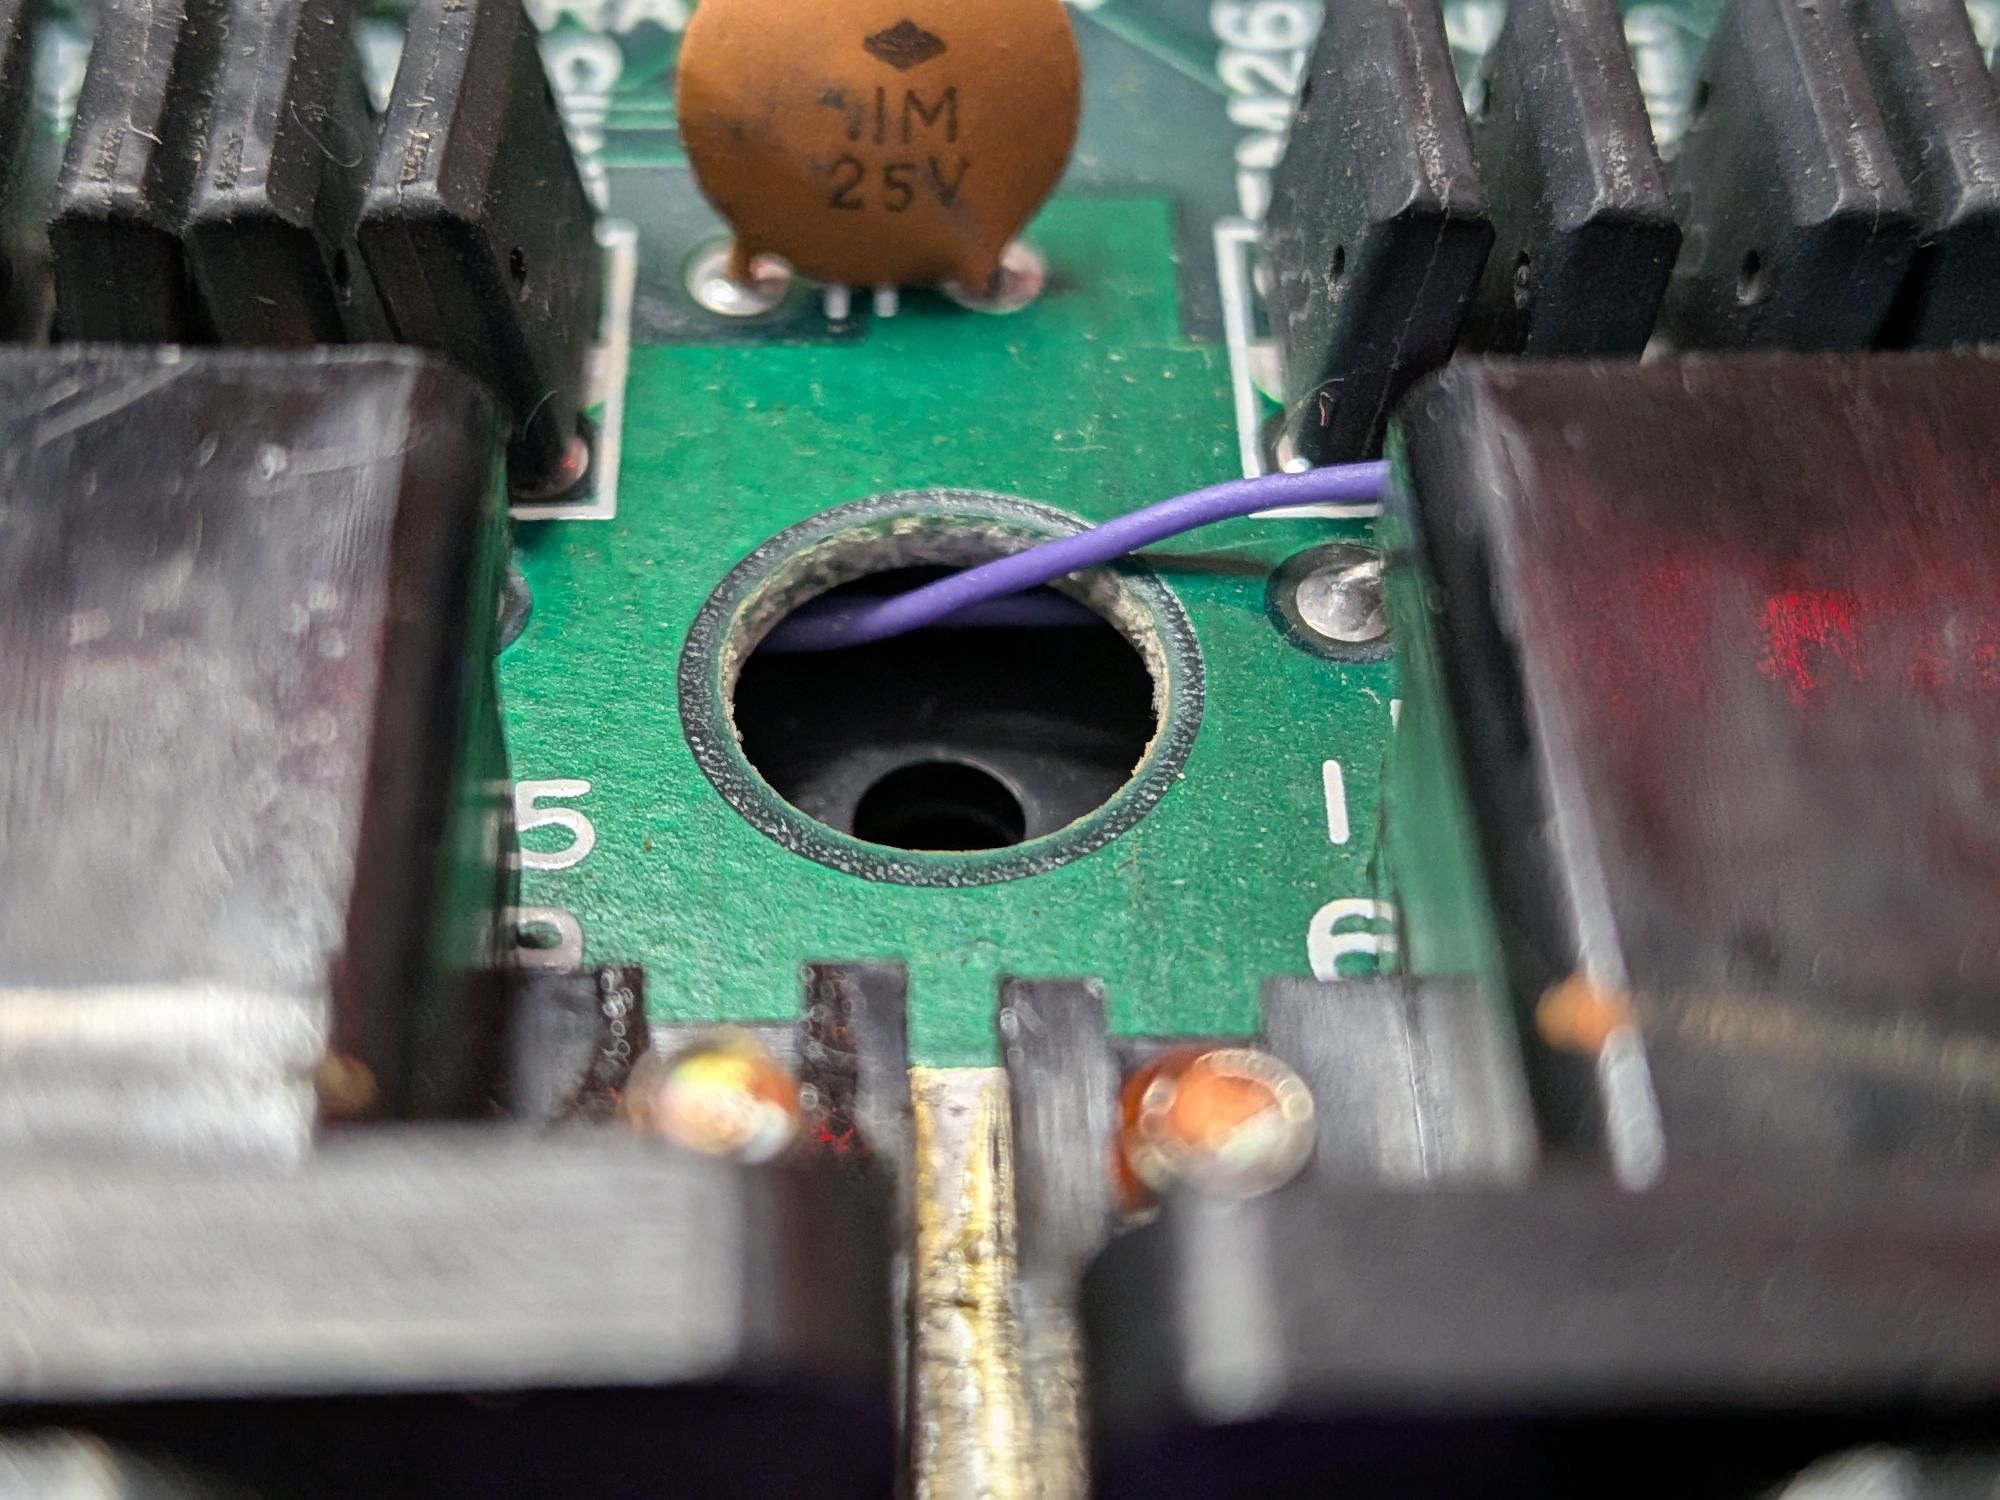
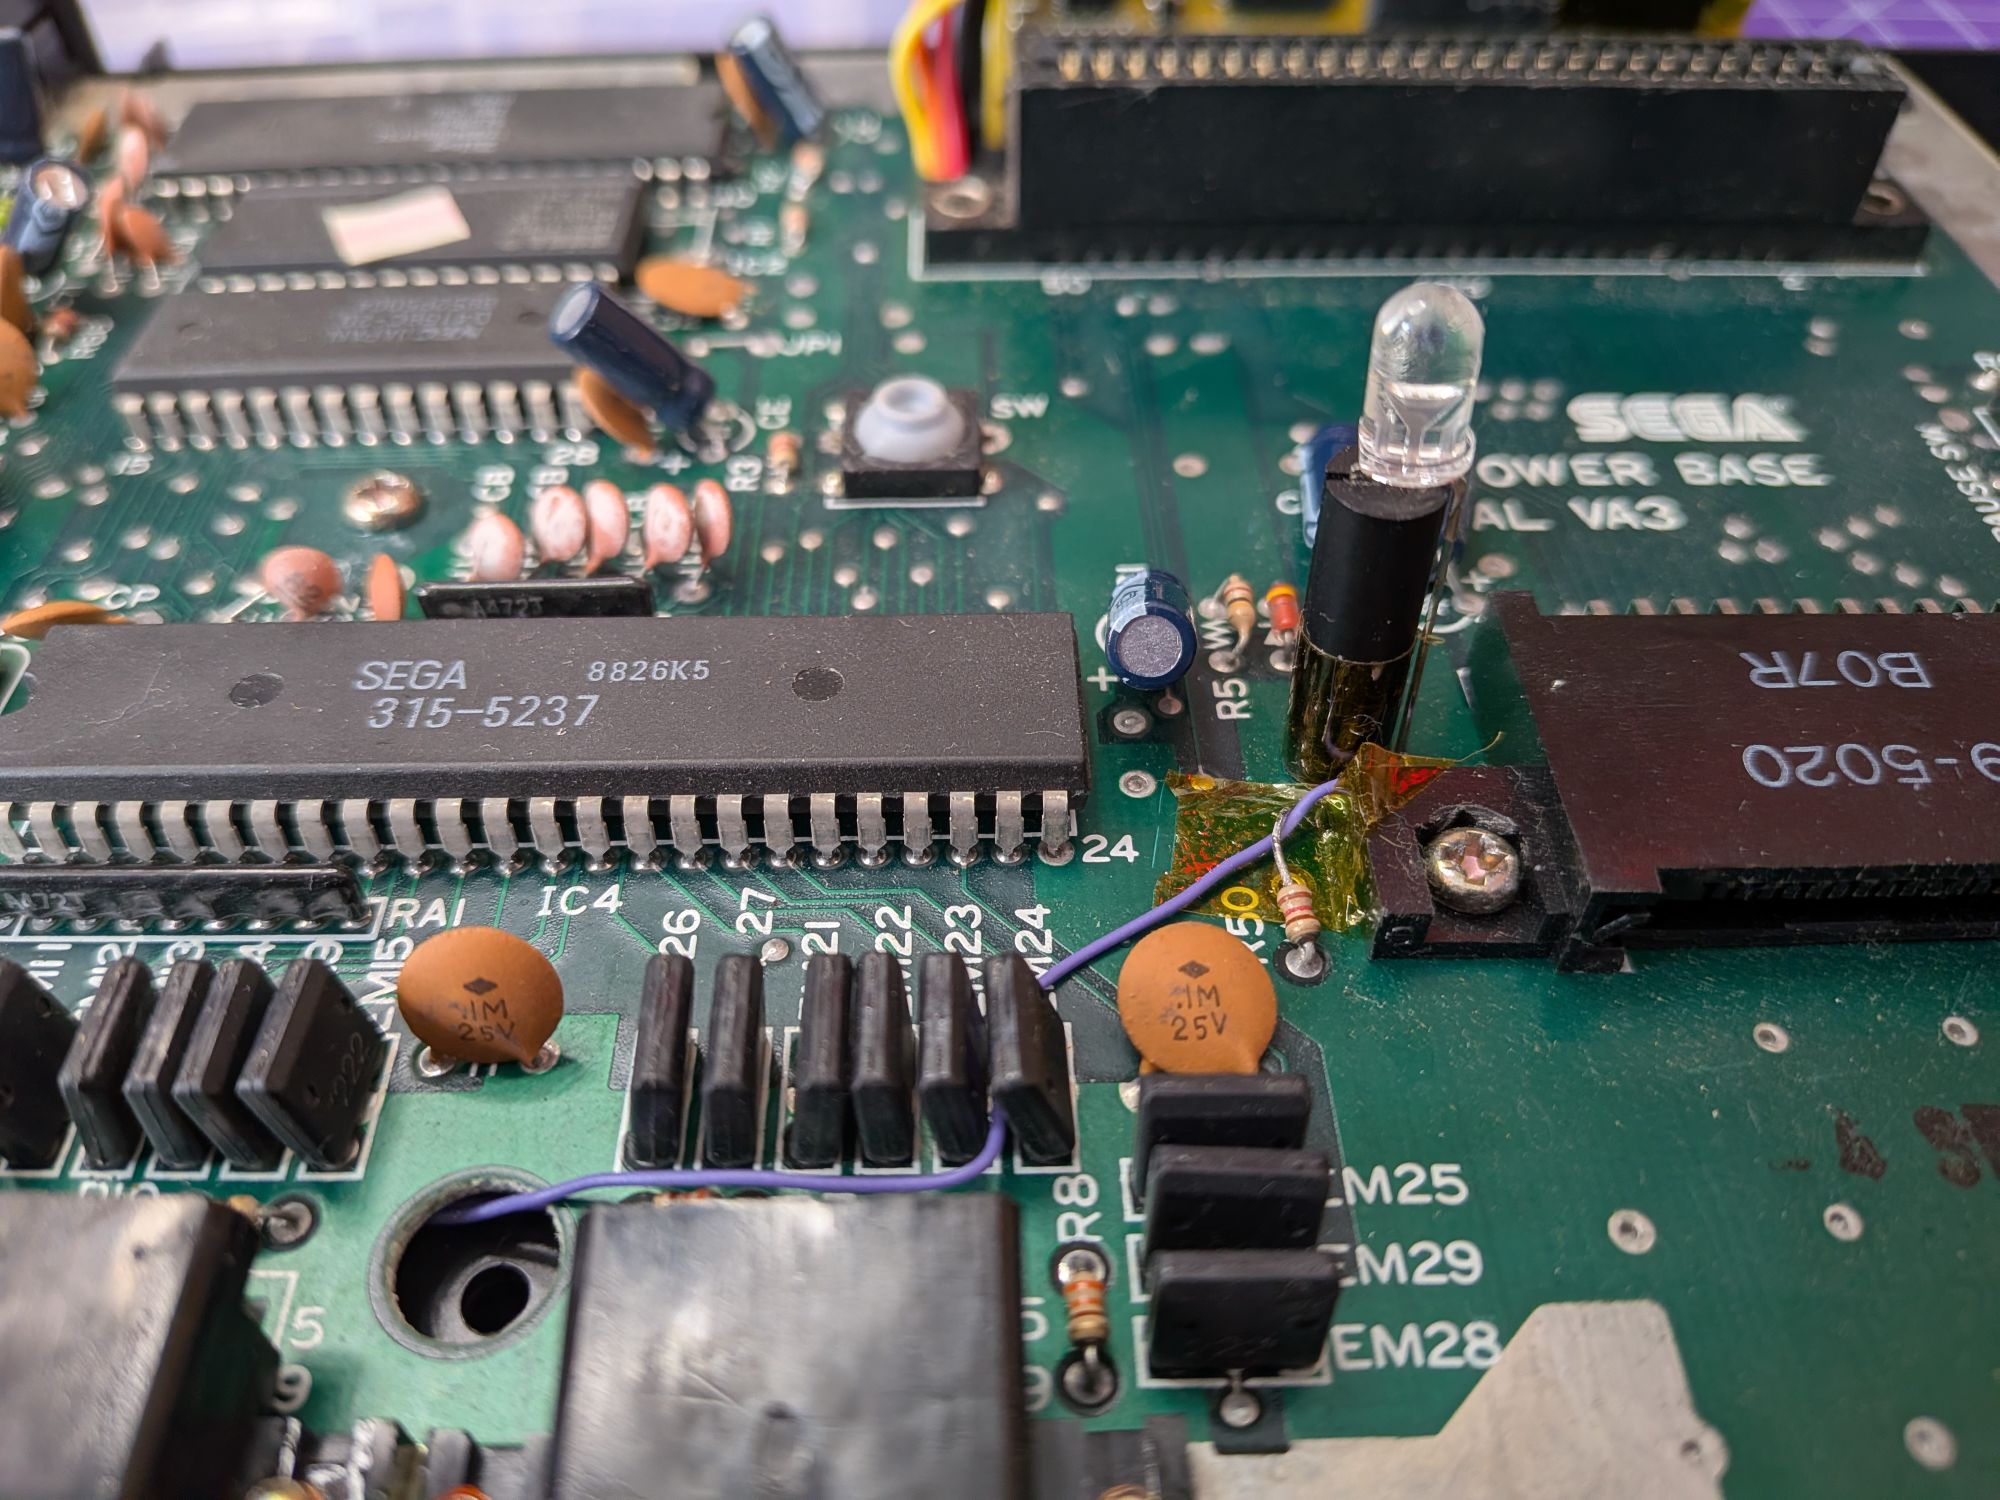
Both of these mods have been really well designed, so the installation is actually relatively straightforward.
The FM sound mod requires some assembly but then slots on to the rear expansion port. It fits internally, inside the case and can be wired to a physical switch, to enable it, or a suitable region mod which is able to enable it automatically.
Highly recommended is the region mod, for a PAL system, which will take care of switching into 60Hz mode. It can then enable or disable the FM sound module and also switch language to Japanese, which a handful of games require to output FM sound.
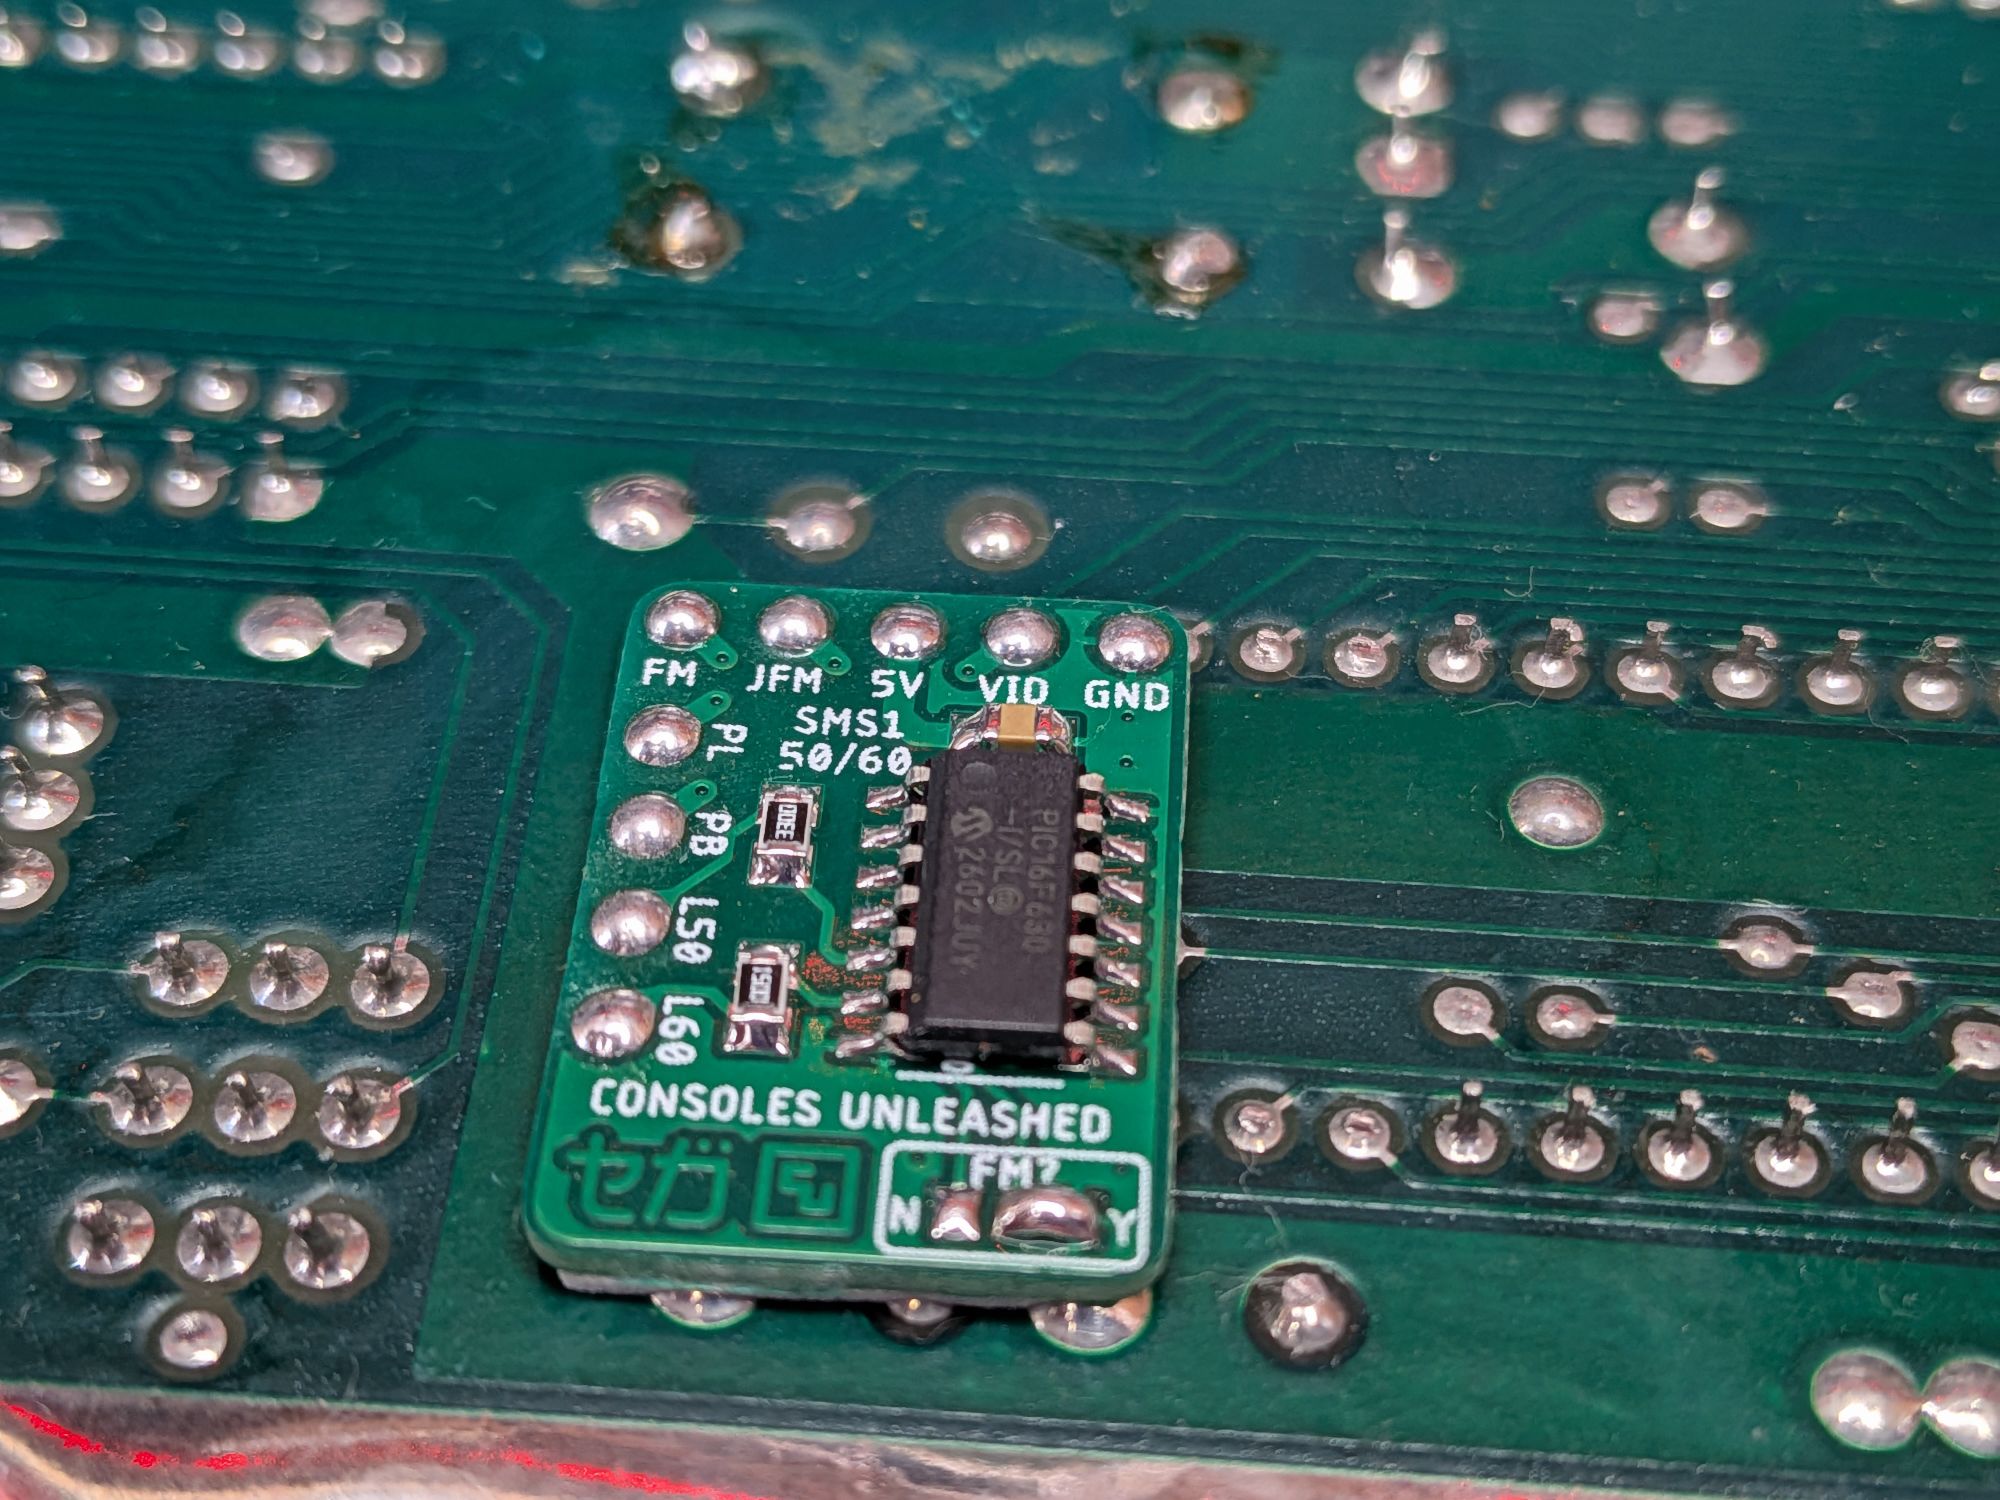
The region mod board is fitted to the underside of the circuit board and has a number of wires to connect up. Most go to points on the underside of the board too.
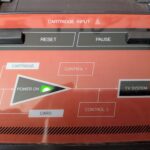
It is a switchless region mod, meaning there are no holes needed in the case. The region is switched using the Pause button and indicated using a two colour power LED. Standard 50Hz (Red LED), Standard 60Hz (Green LED), 60Hz with FM sound activated (Yellow LED), and 60Hz with FM sound module & Japanese region activated (Yellow LED).
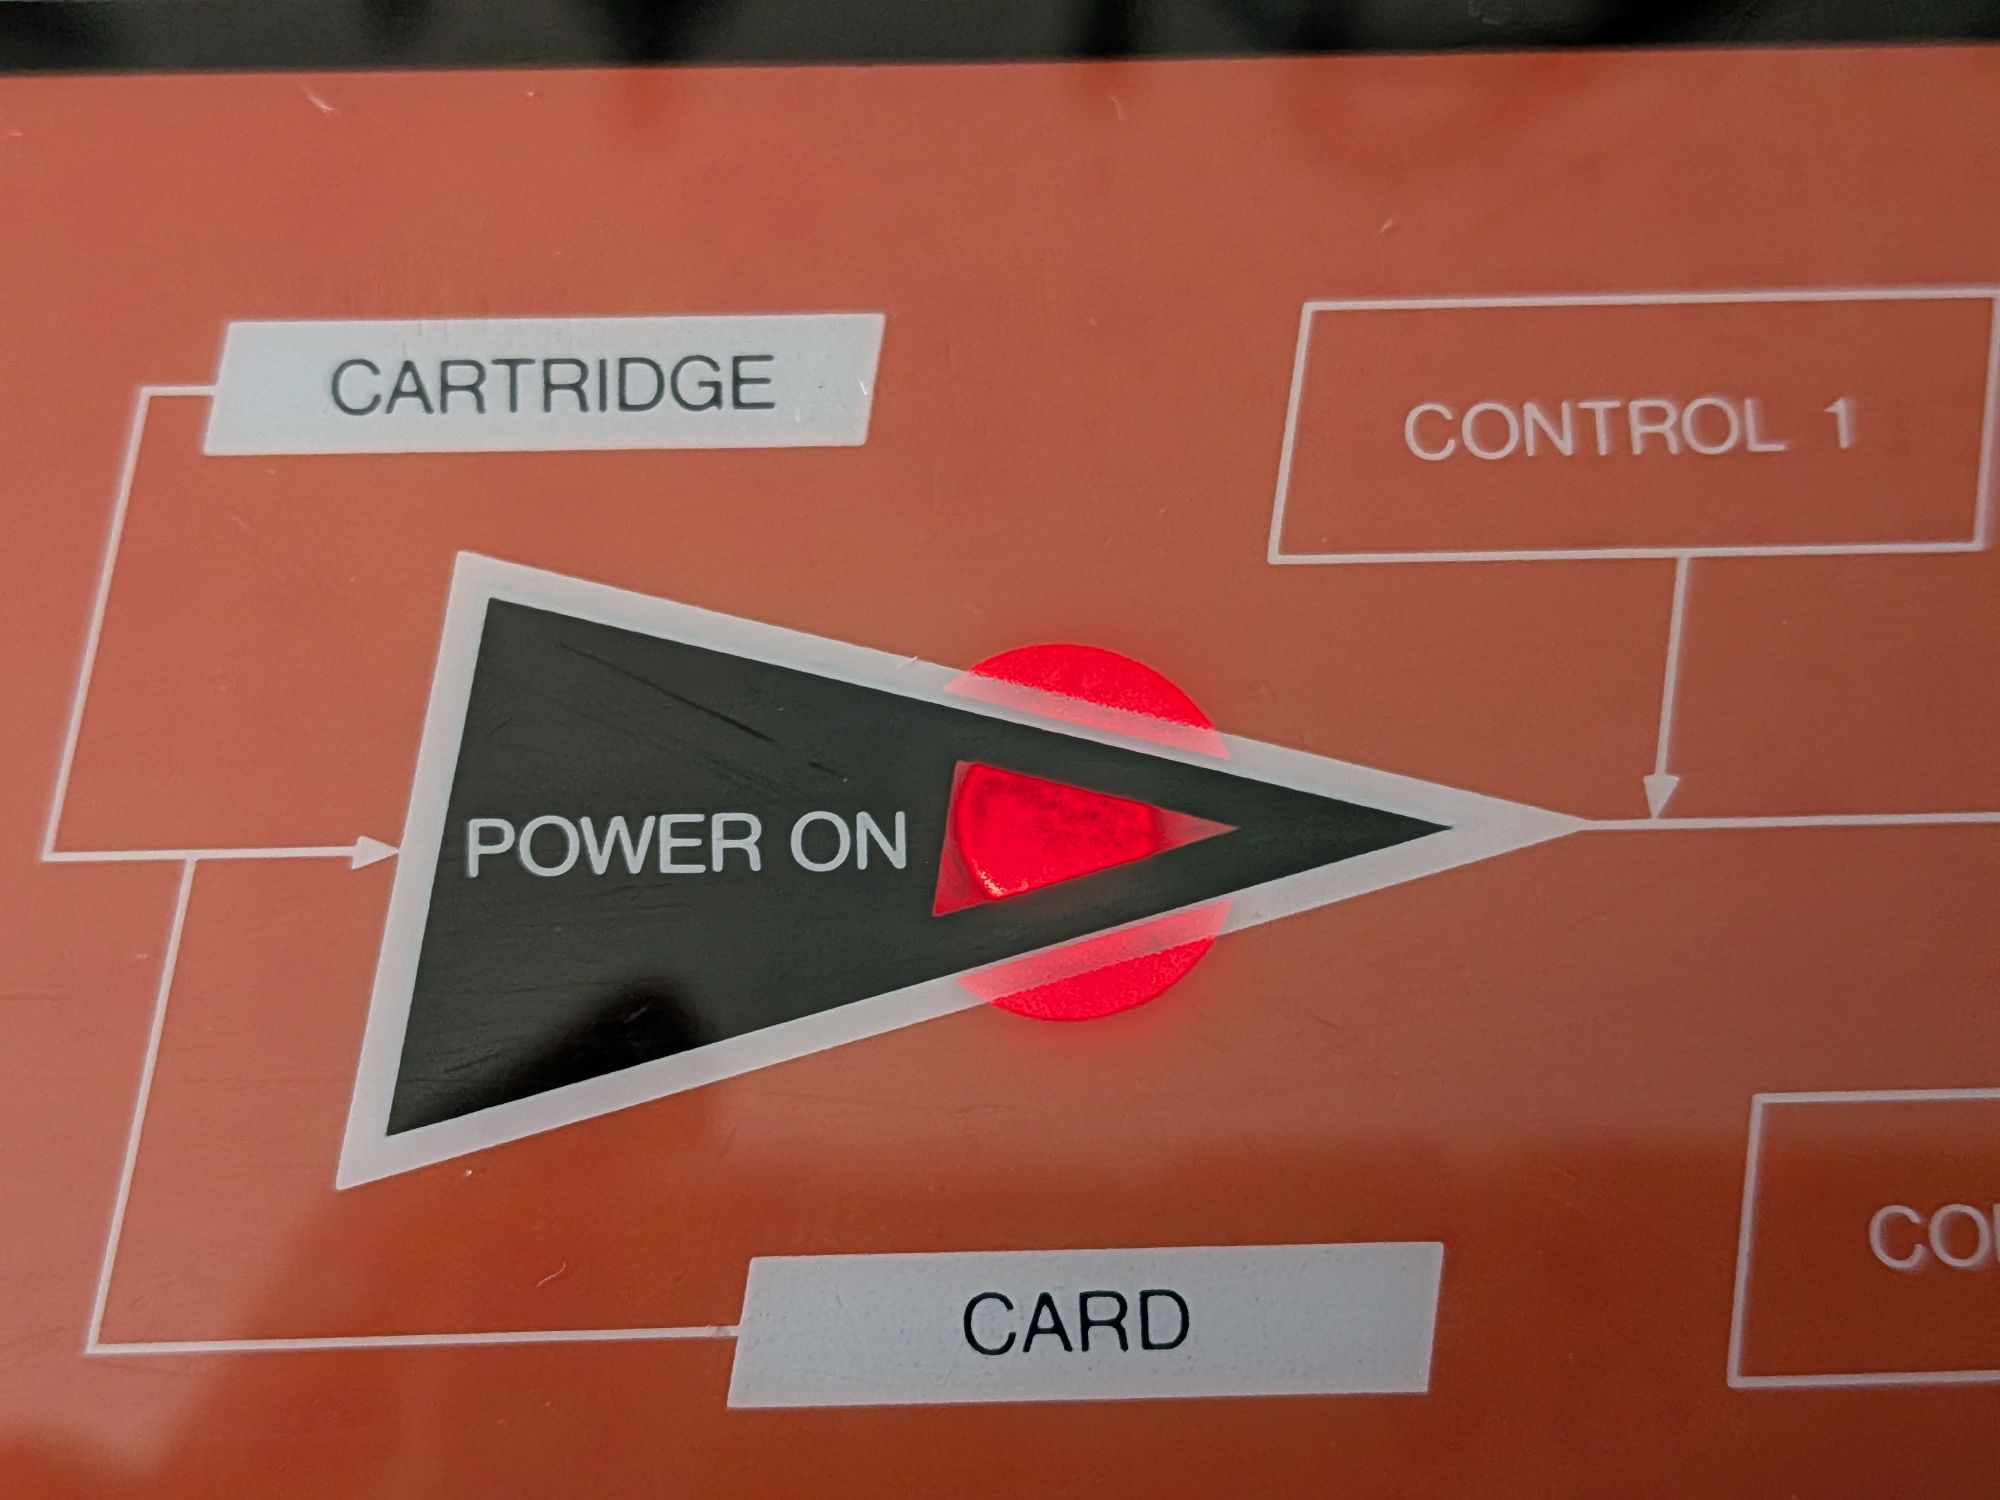
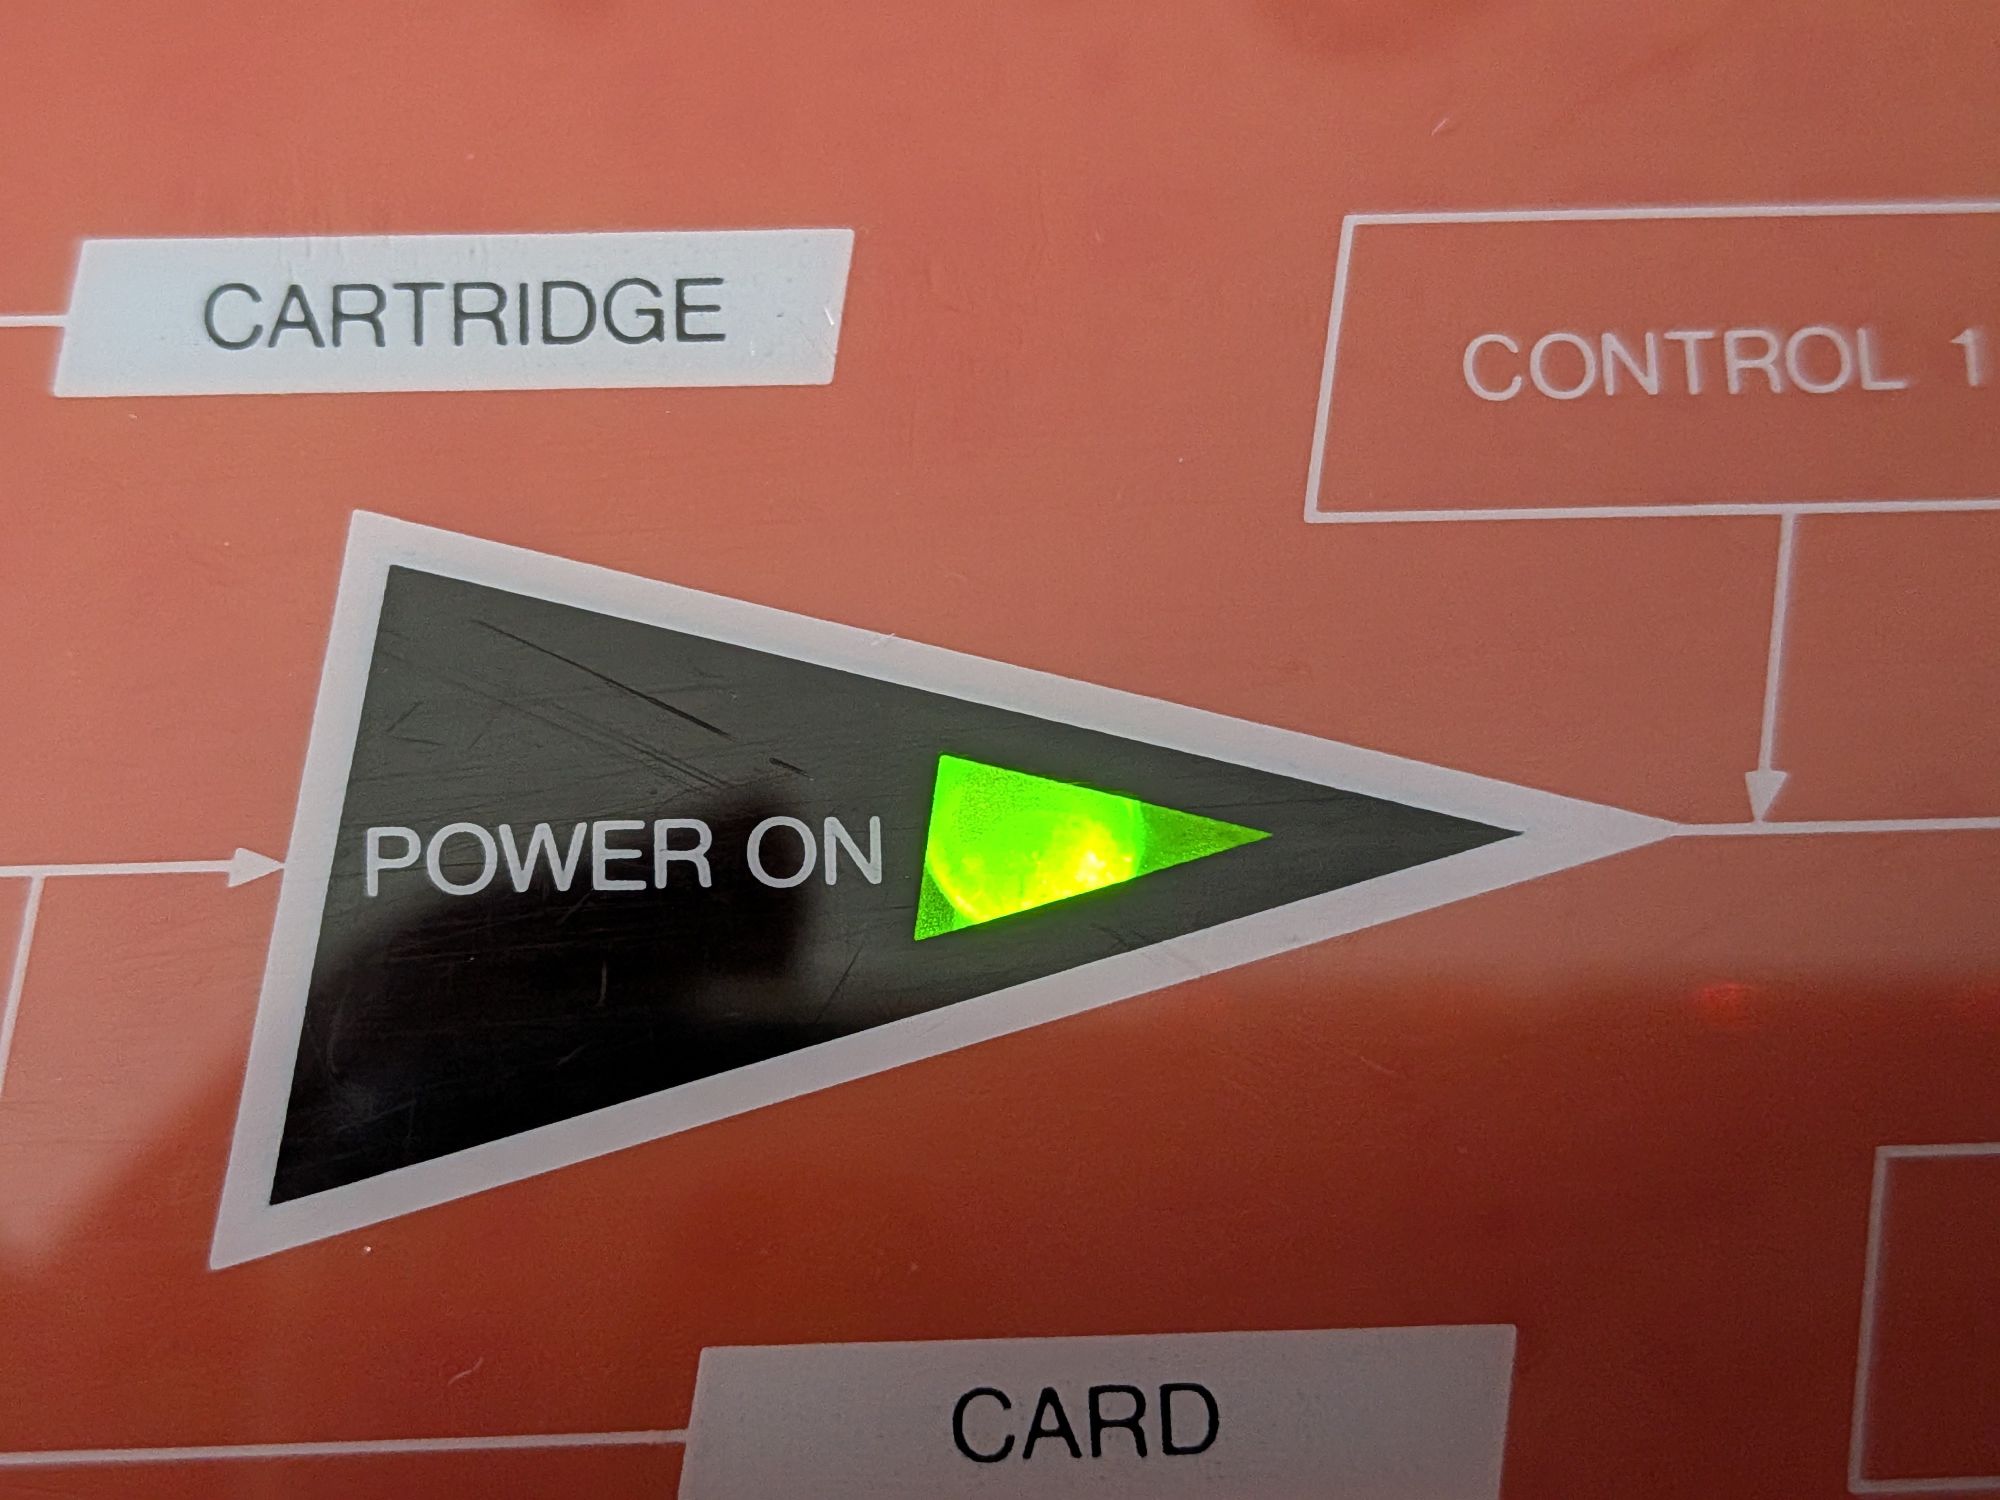
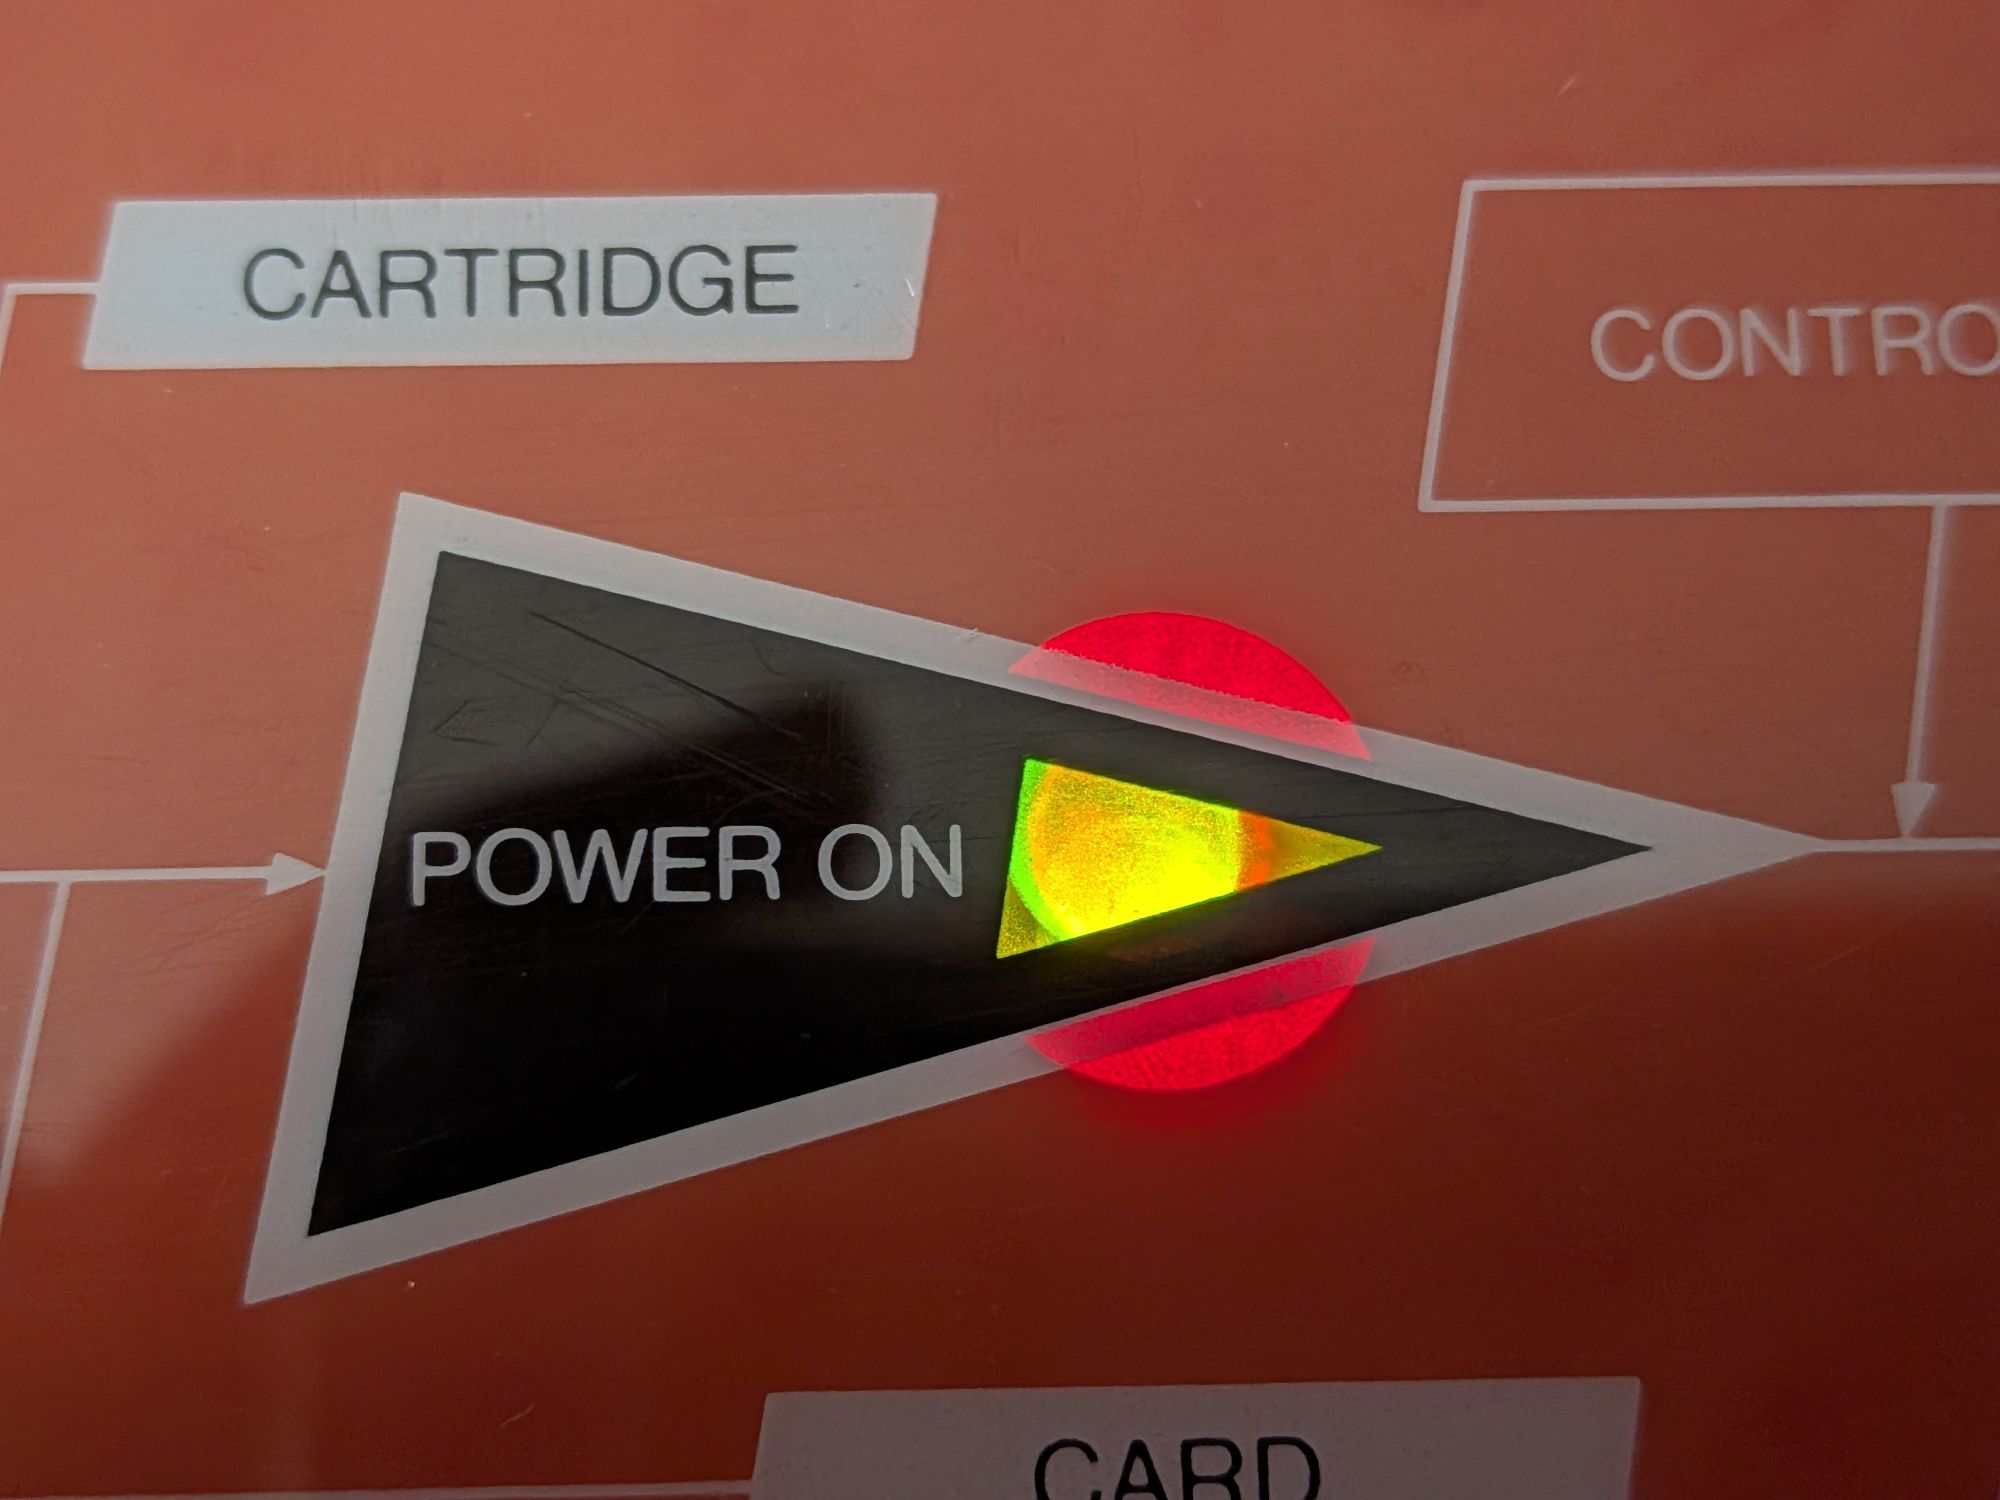
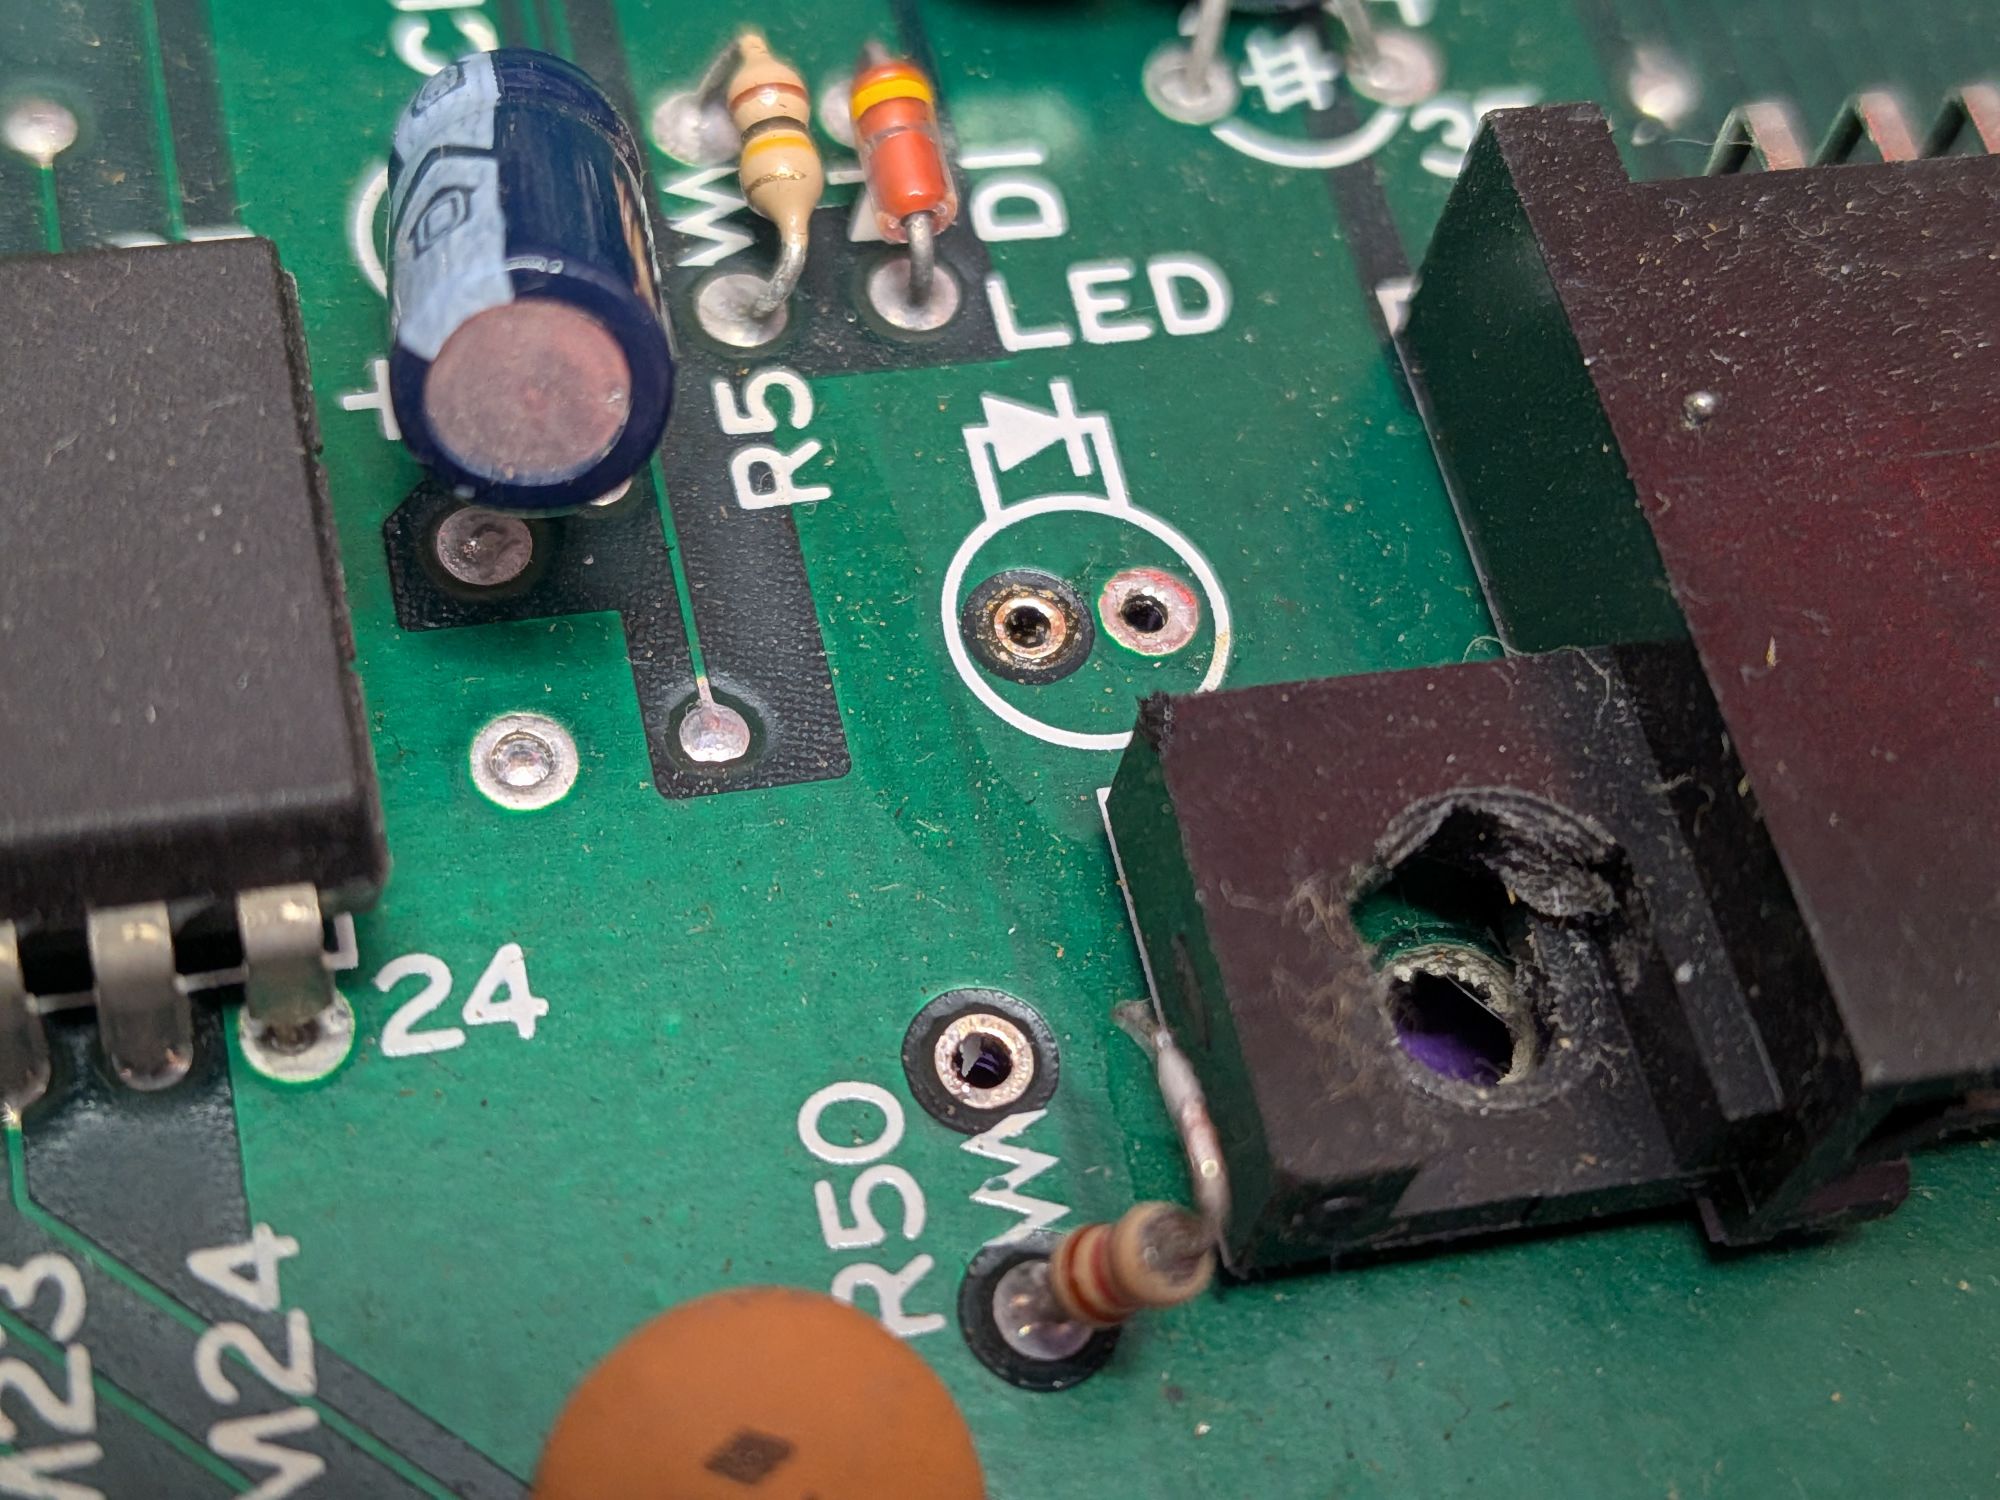
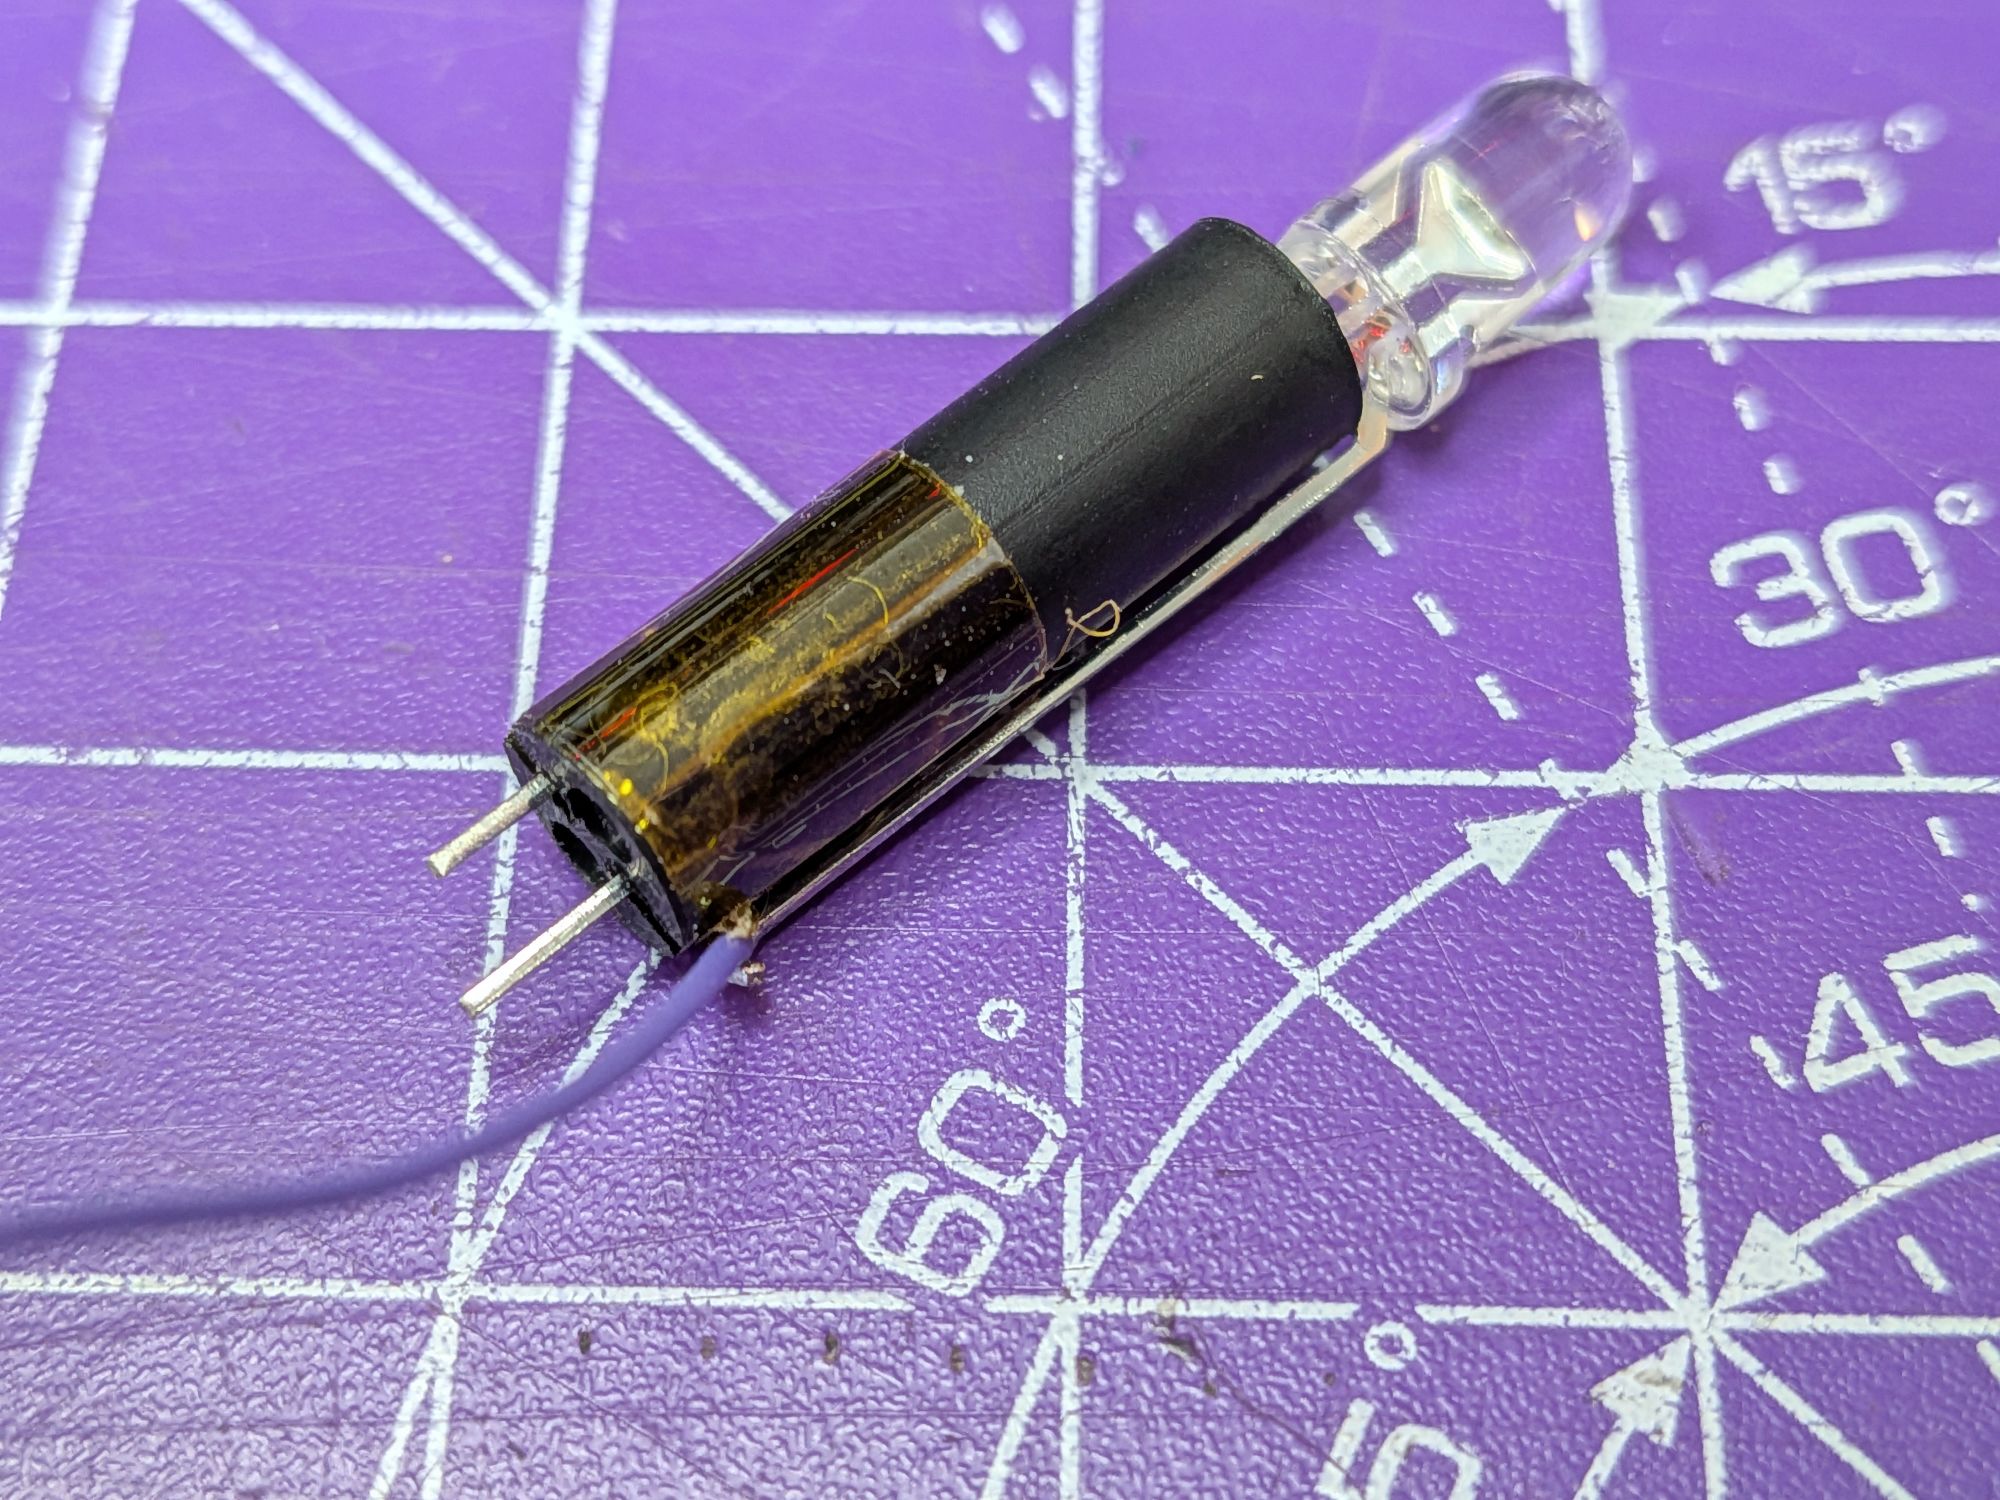
The Power LED extends up from the board and has a plastic stalk that holds it in place and keeps the legs separated. On the new two colour LED there is a third leg, for the second colour, which has to be connected with a thin wire, run through a hole in the board to the region mod below.
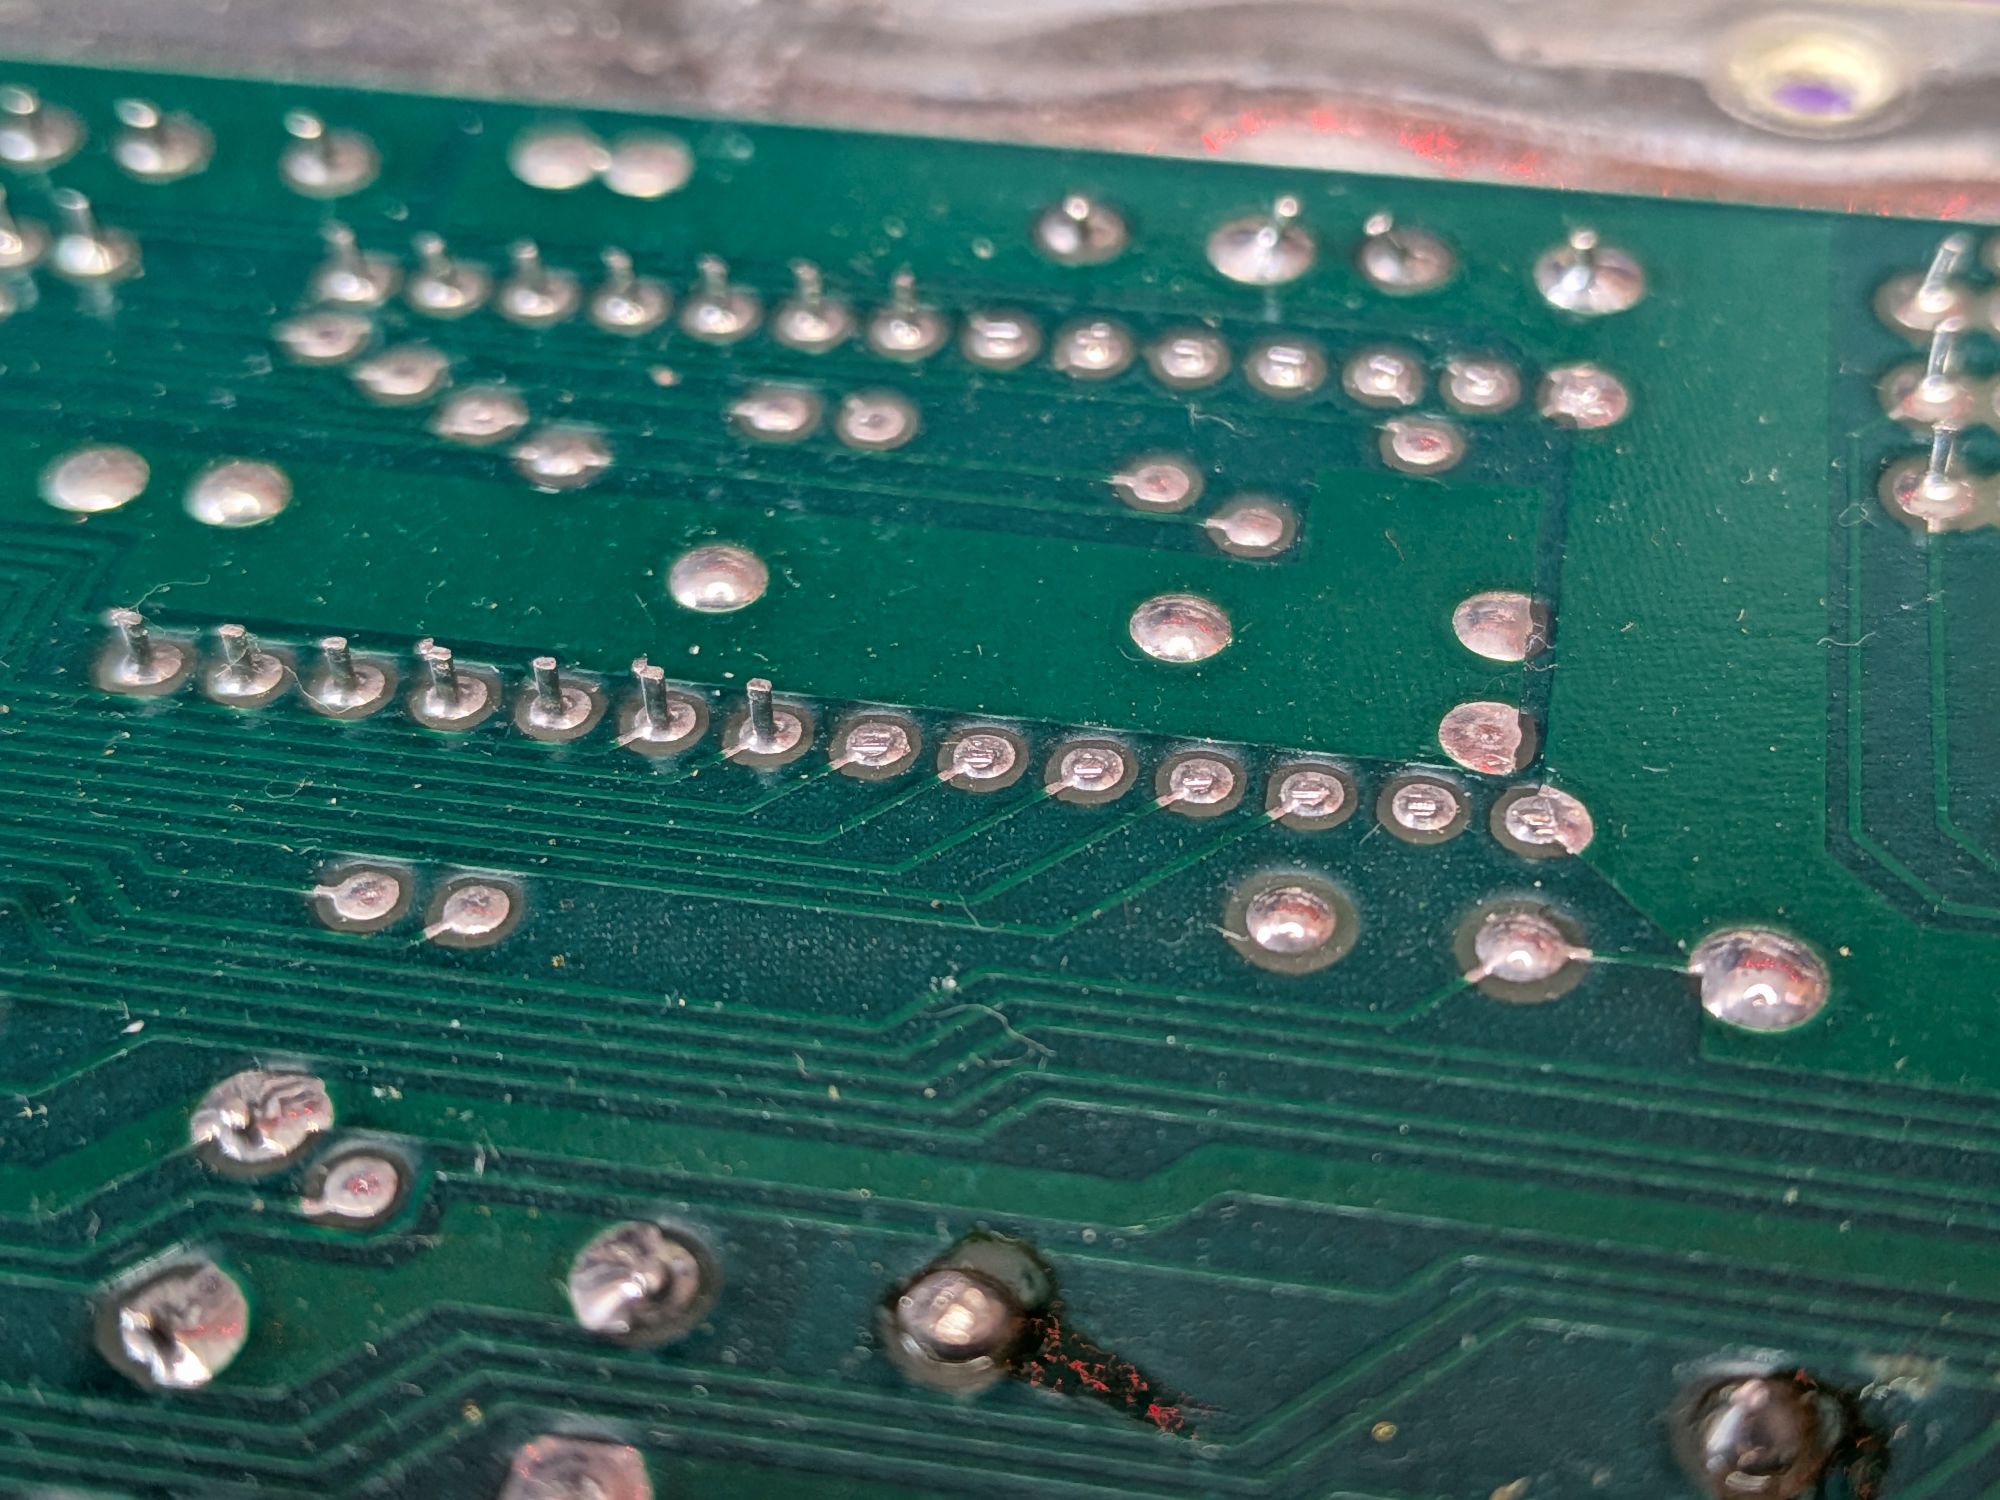
The region mod board is stuck in place with a sticky pad, so some of the legs of an IC where it sticks have to be trimmed flush to allow it to stick properly. It’s a good place for it though, once stuck.
There is a jumper to set on the FM sound mod board to allow switching by the region mod and a wire between the two of them. Other than that there are 5 or 6 wires to connect up and one trace to cut.
Then it’s time for Play-Testing!
There are a few videos below that show what a difference this combination of mods makes. You can also see the Sega Mark III title screen when it is switched into 60Hz and Japanese language.
They’re only short but the four videos show R-Type, Double Dragon, Shinobi and Outrun, which is the one that also shows the Sega Mark III logo.
What do you think?