

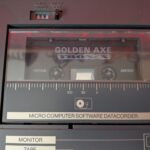
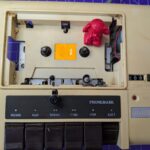
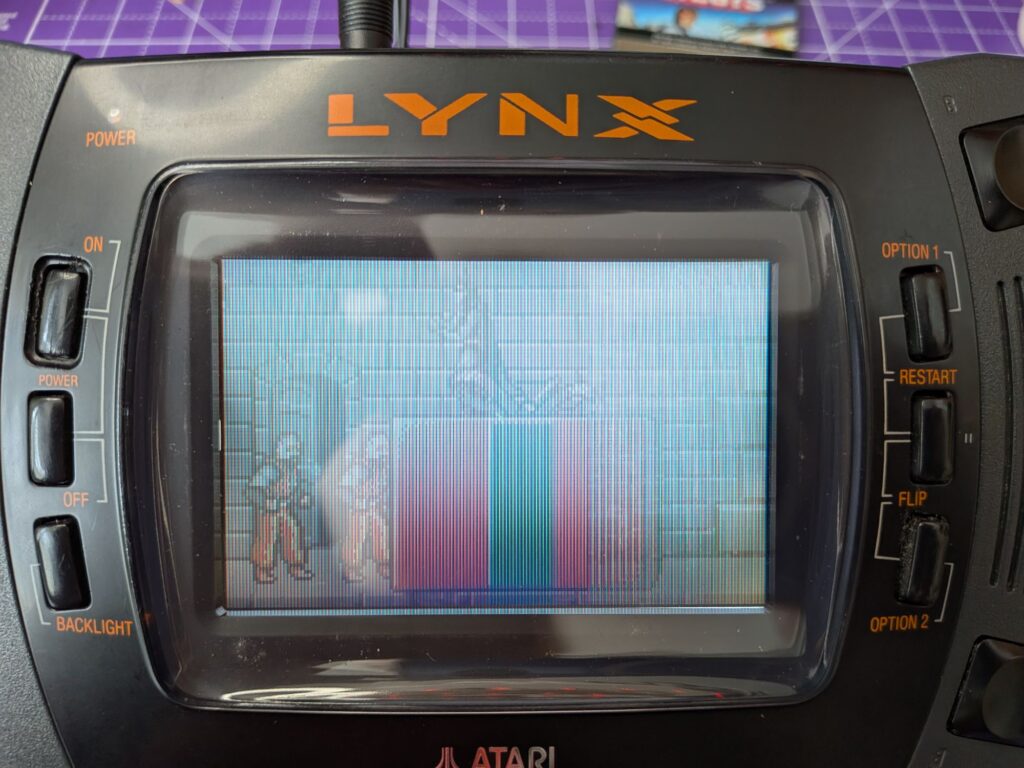
That’s a lot isn’t it! The Lynx is a really underrated system. With some modern, quality of life mods it is really playable. I really like it. Perhaps even prefer it to the Game Gear. An Atari Lynx may one day be added to the shopping list!
The Lynx comes in two versions. The original Lynx is much wider than the Lynx II, which in some ways is a cost reduced version. That’s not necessarily a bad thing. They’re around 40 years old now and mostly still going, after all.
As with Game Gears though, the screen is often bad, with one or more thirds of the screen not working. It happens as the multiplexer driver chips, bonded on to the glass itself, slowly become un-bonded. There is usually very little you can do to improve it and a new screen is required.
They also benefit from a recap. The capacitors do leak in these unfortunately but not to the same extent as the Game Gear. They do age though and become less effective. Usually noticed as interference on the screen, a dimmer than usual screen and loss of audio. Through-hole miniature capacitors are the order of the day and I’ll be installing high end Panasonic caps in this one, which is my “go-to” capacitor brand really.
As with all battery powered handhelds, they have their fair share of battery leaks to deal with too. This Lynx II is unfortunately no exception.
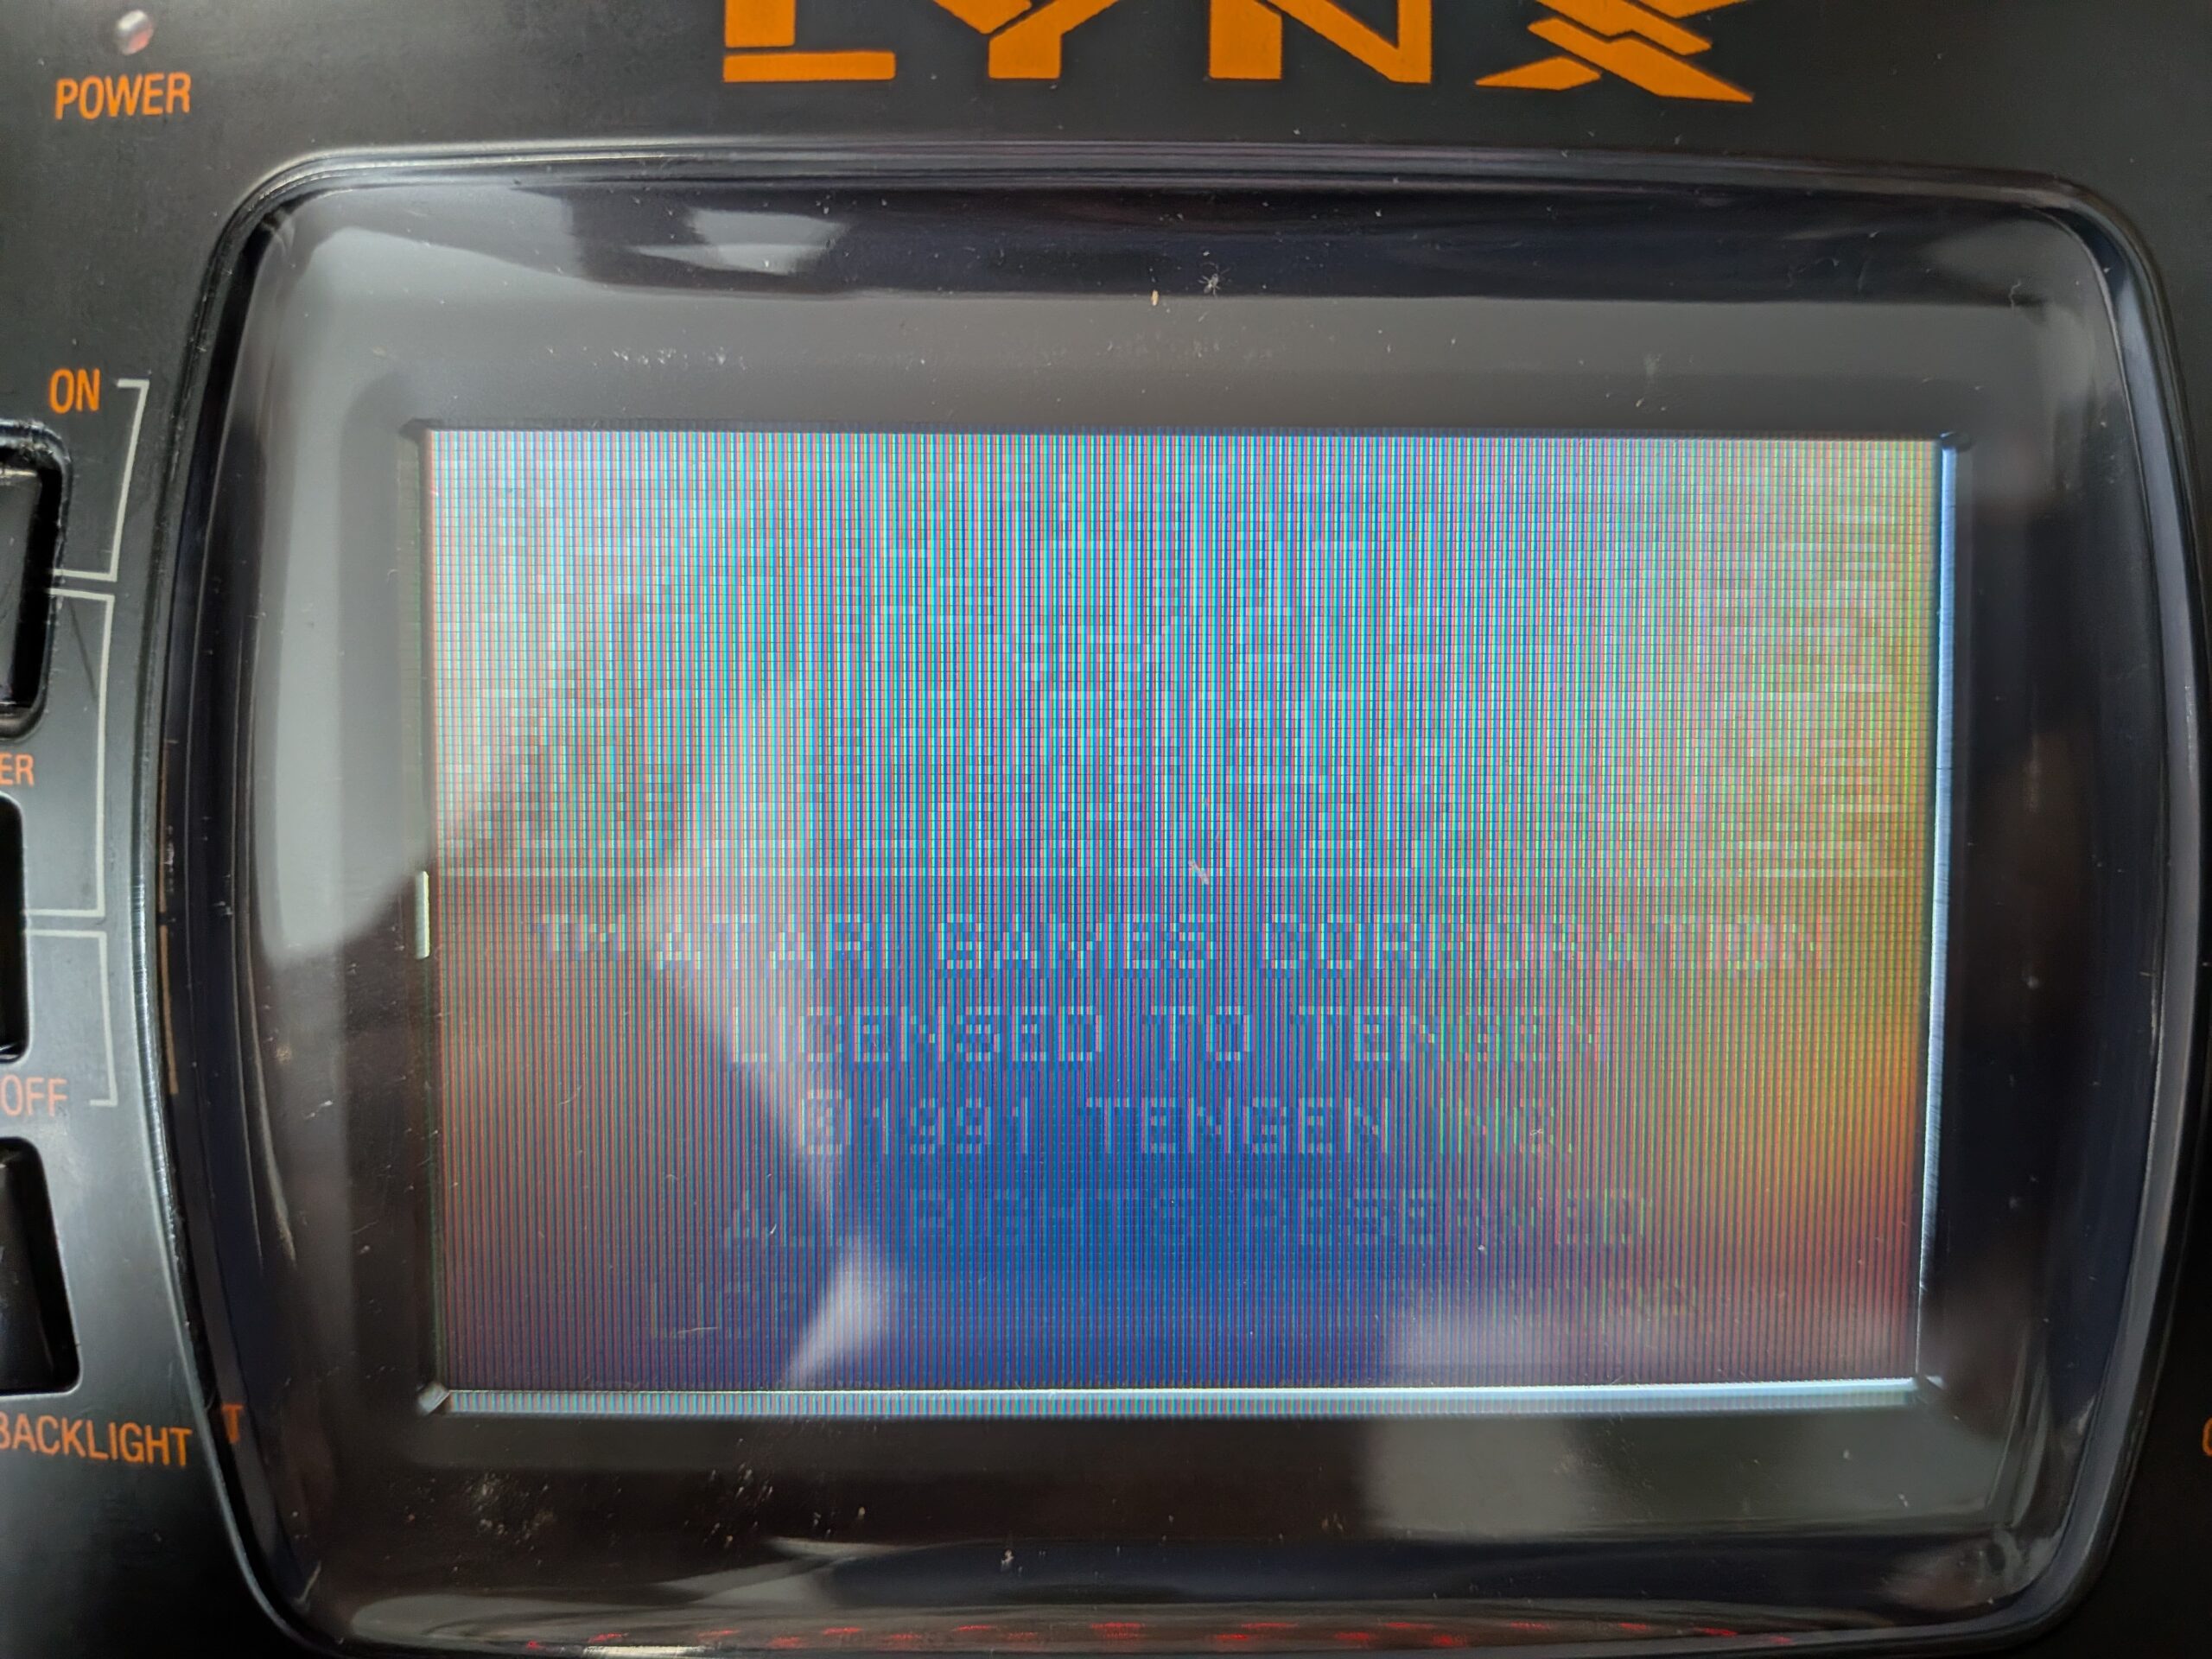
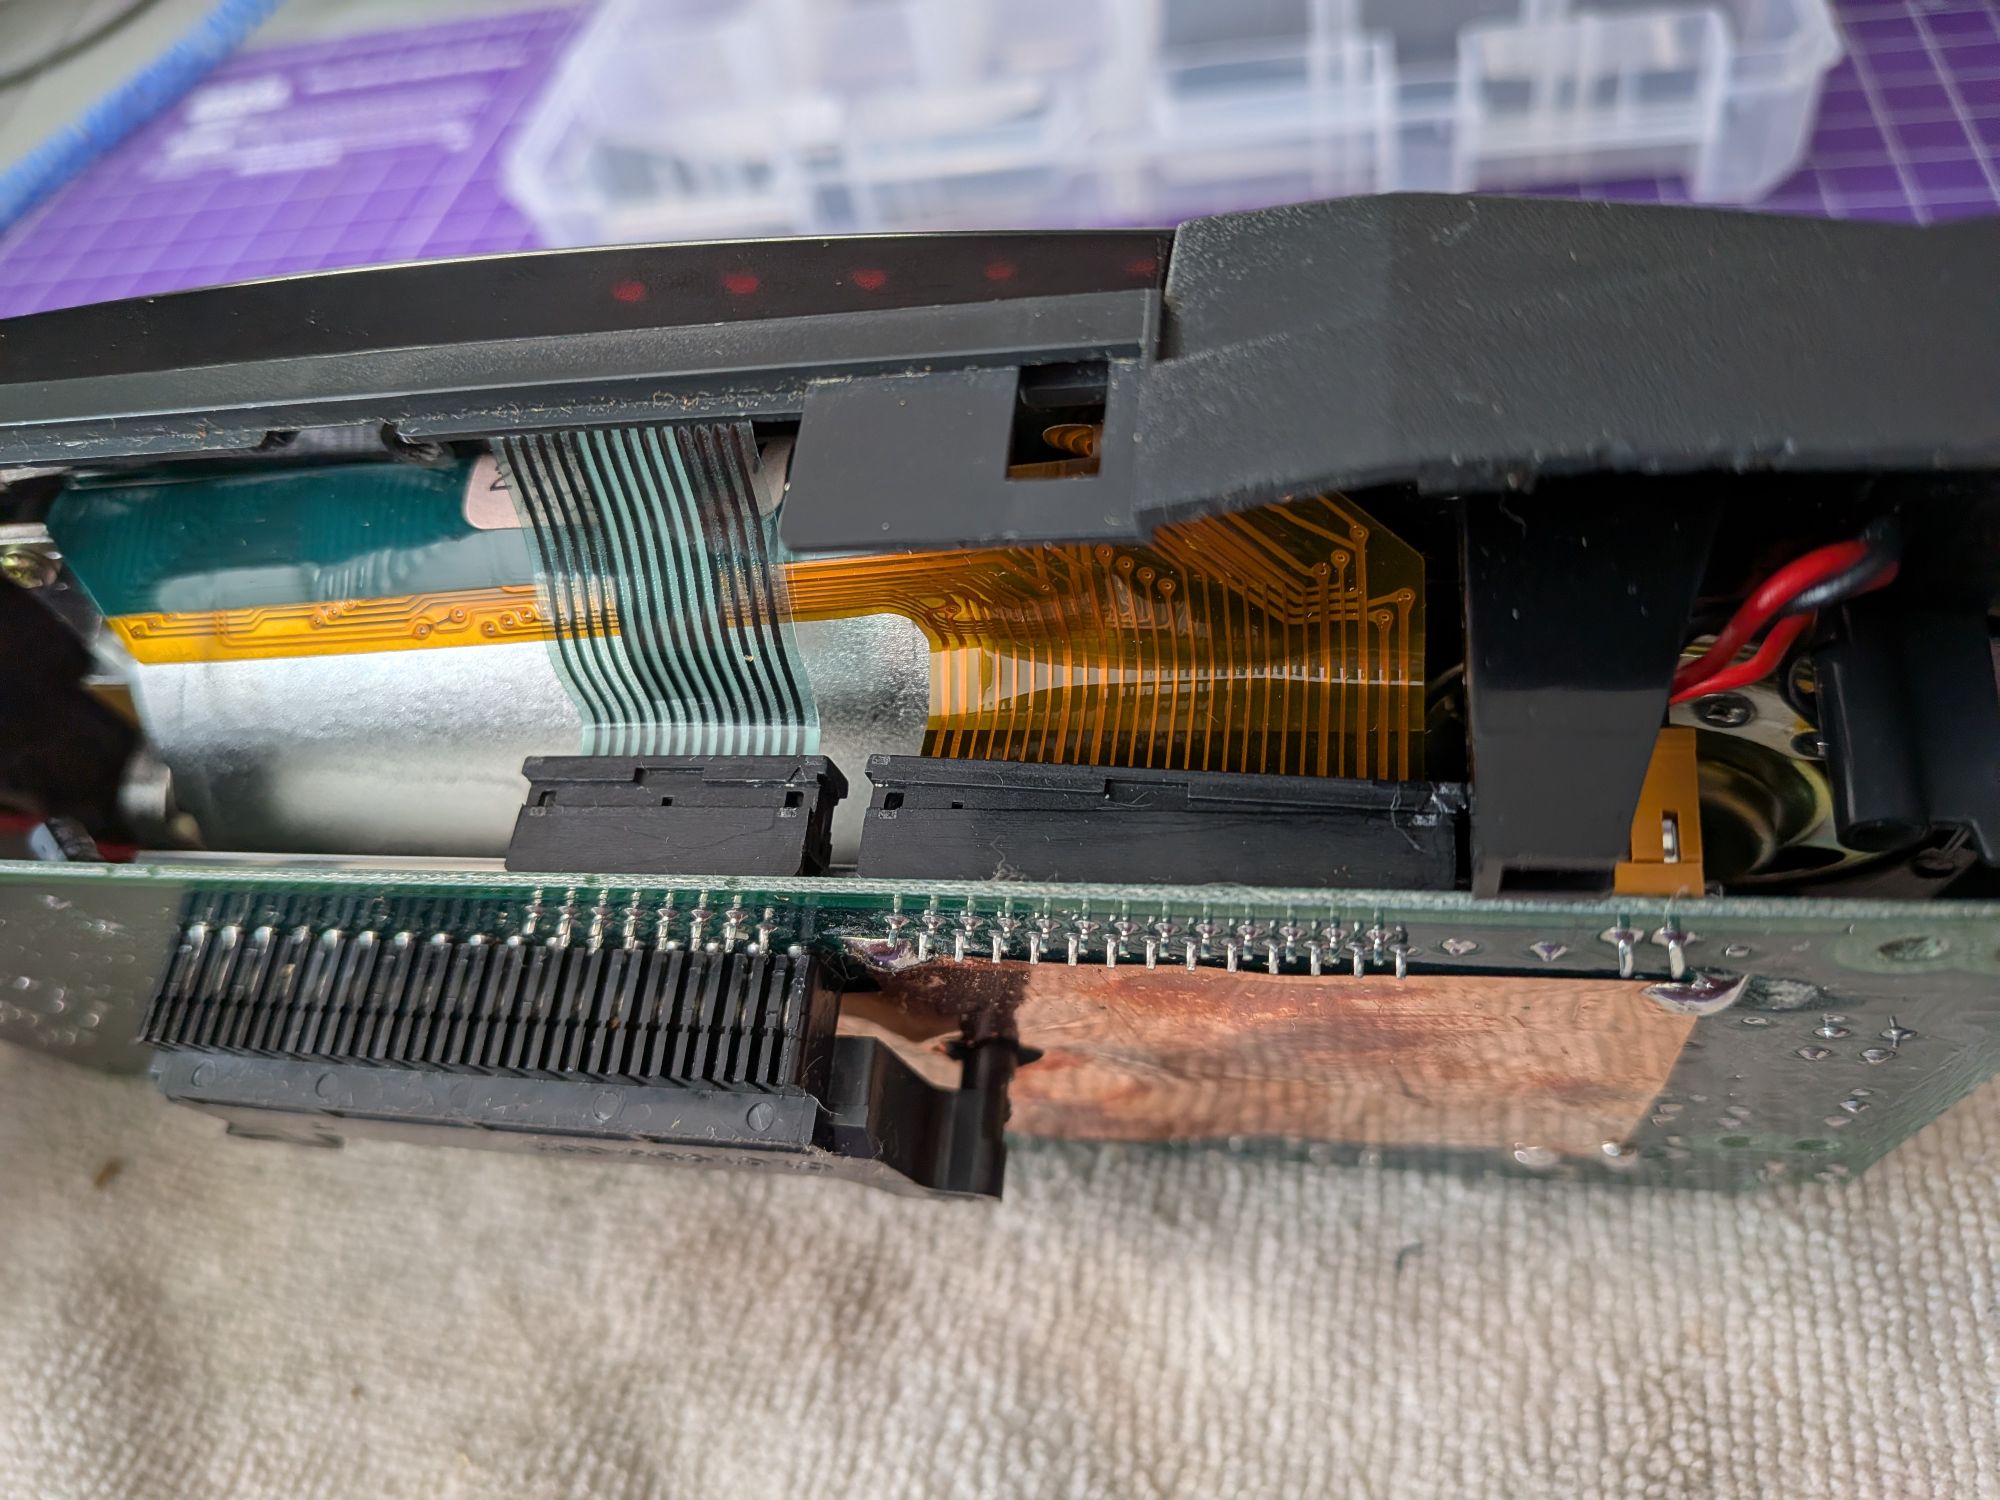
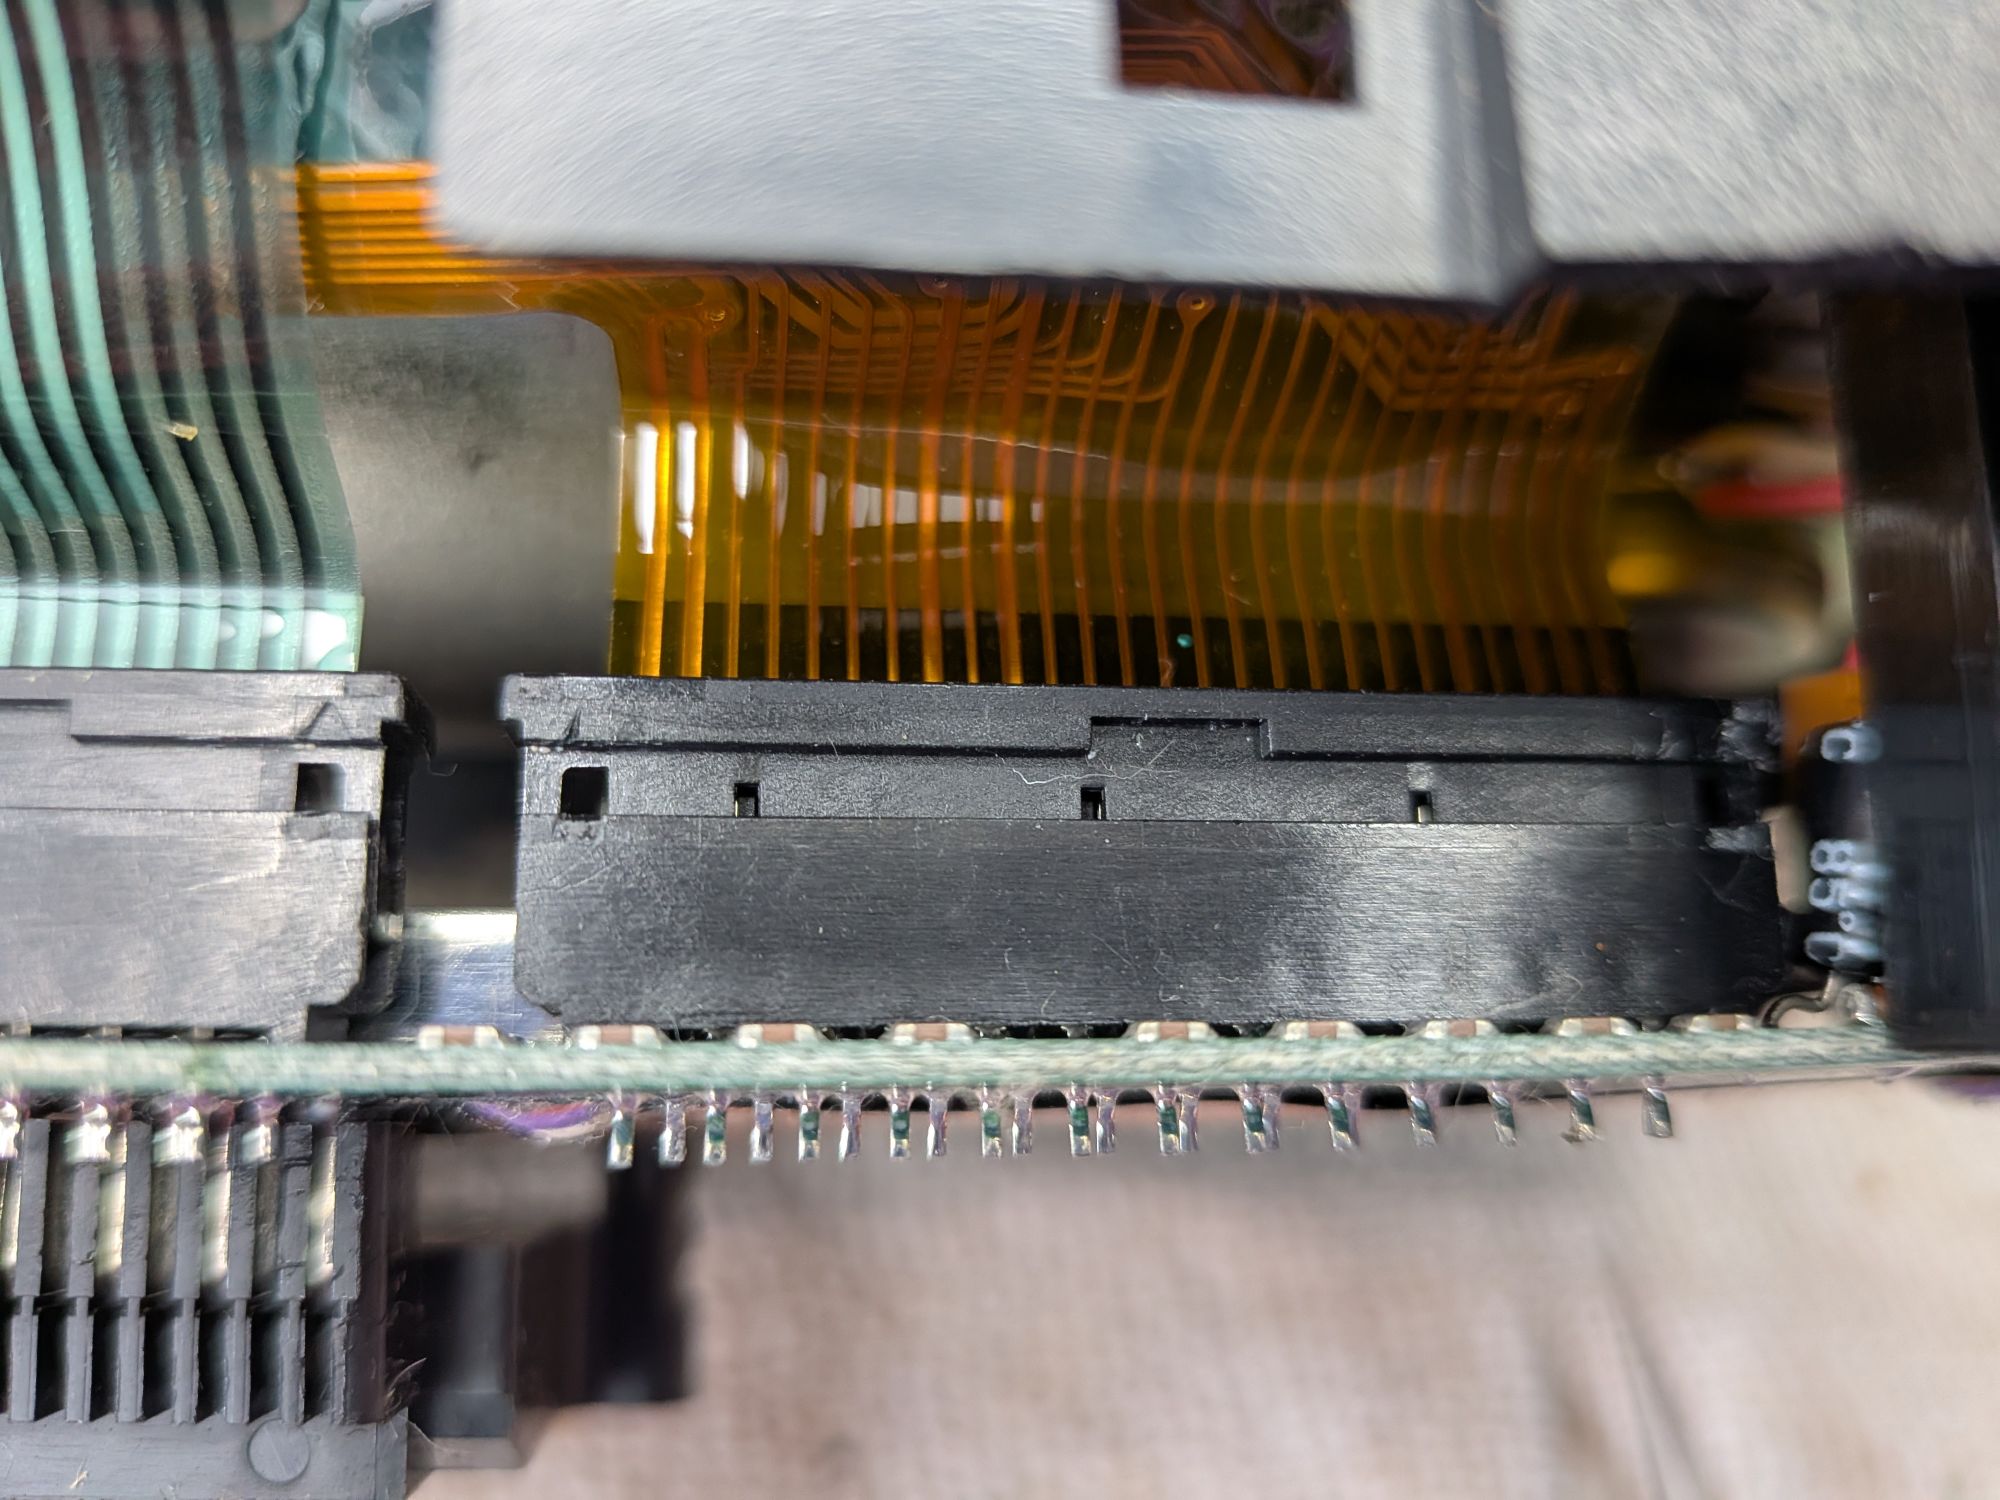
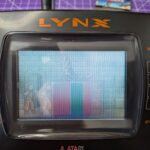
It’s difficult to see in the pic as the original screen is so washed out but there are vertical lines on the right most third of the screen. As it turns out, this could, potentially have been caused by the corrosion. This came in for some upgrades though so we’re replacing the old one anyway.
Games were struggling to load in initial testing, and didn’t get very far when they did. Xybots froze on the home screen, Batman did load but didn’t seem right. It was still the same after cleaning the cartridge slot and the game cards. It is more of a card in these than a cartridge.
It is due a recap though, which was likely to resolve these problems, so on we go.
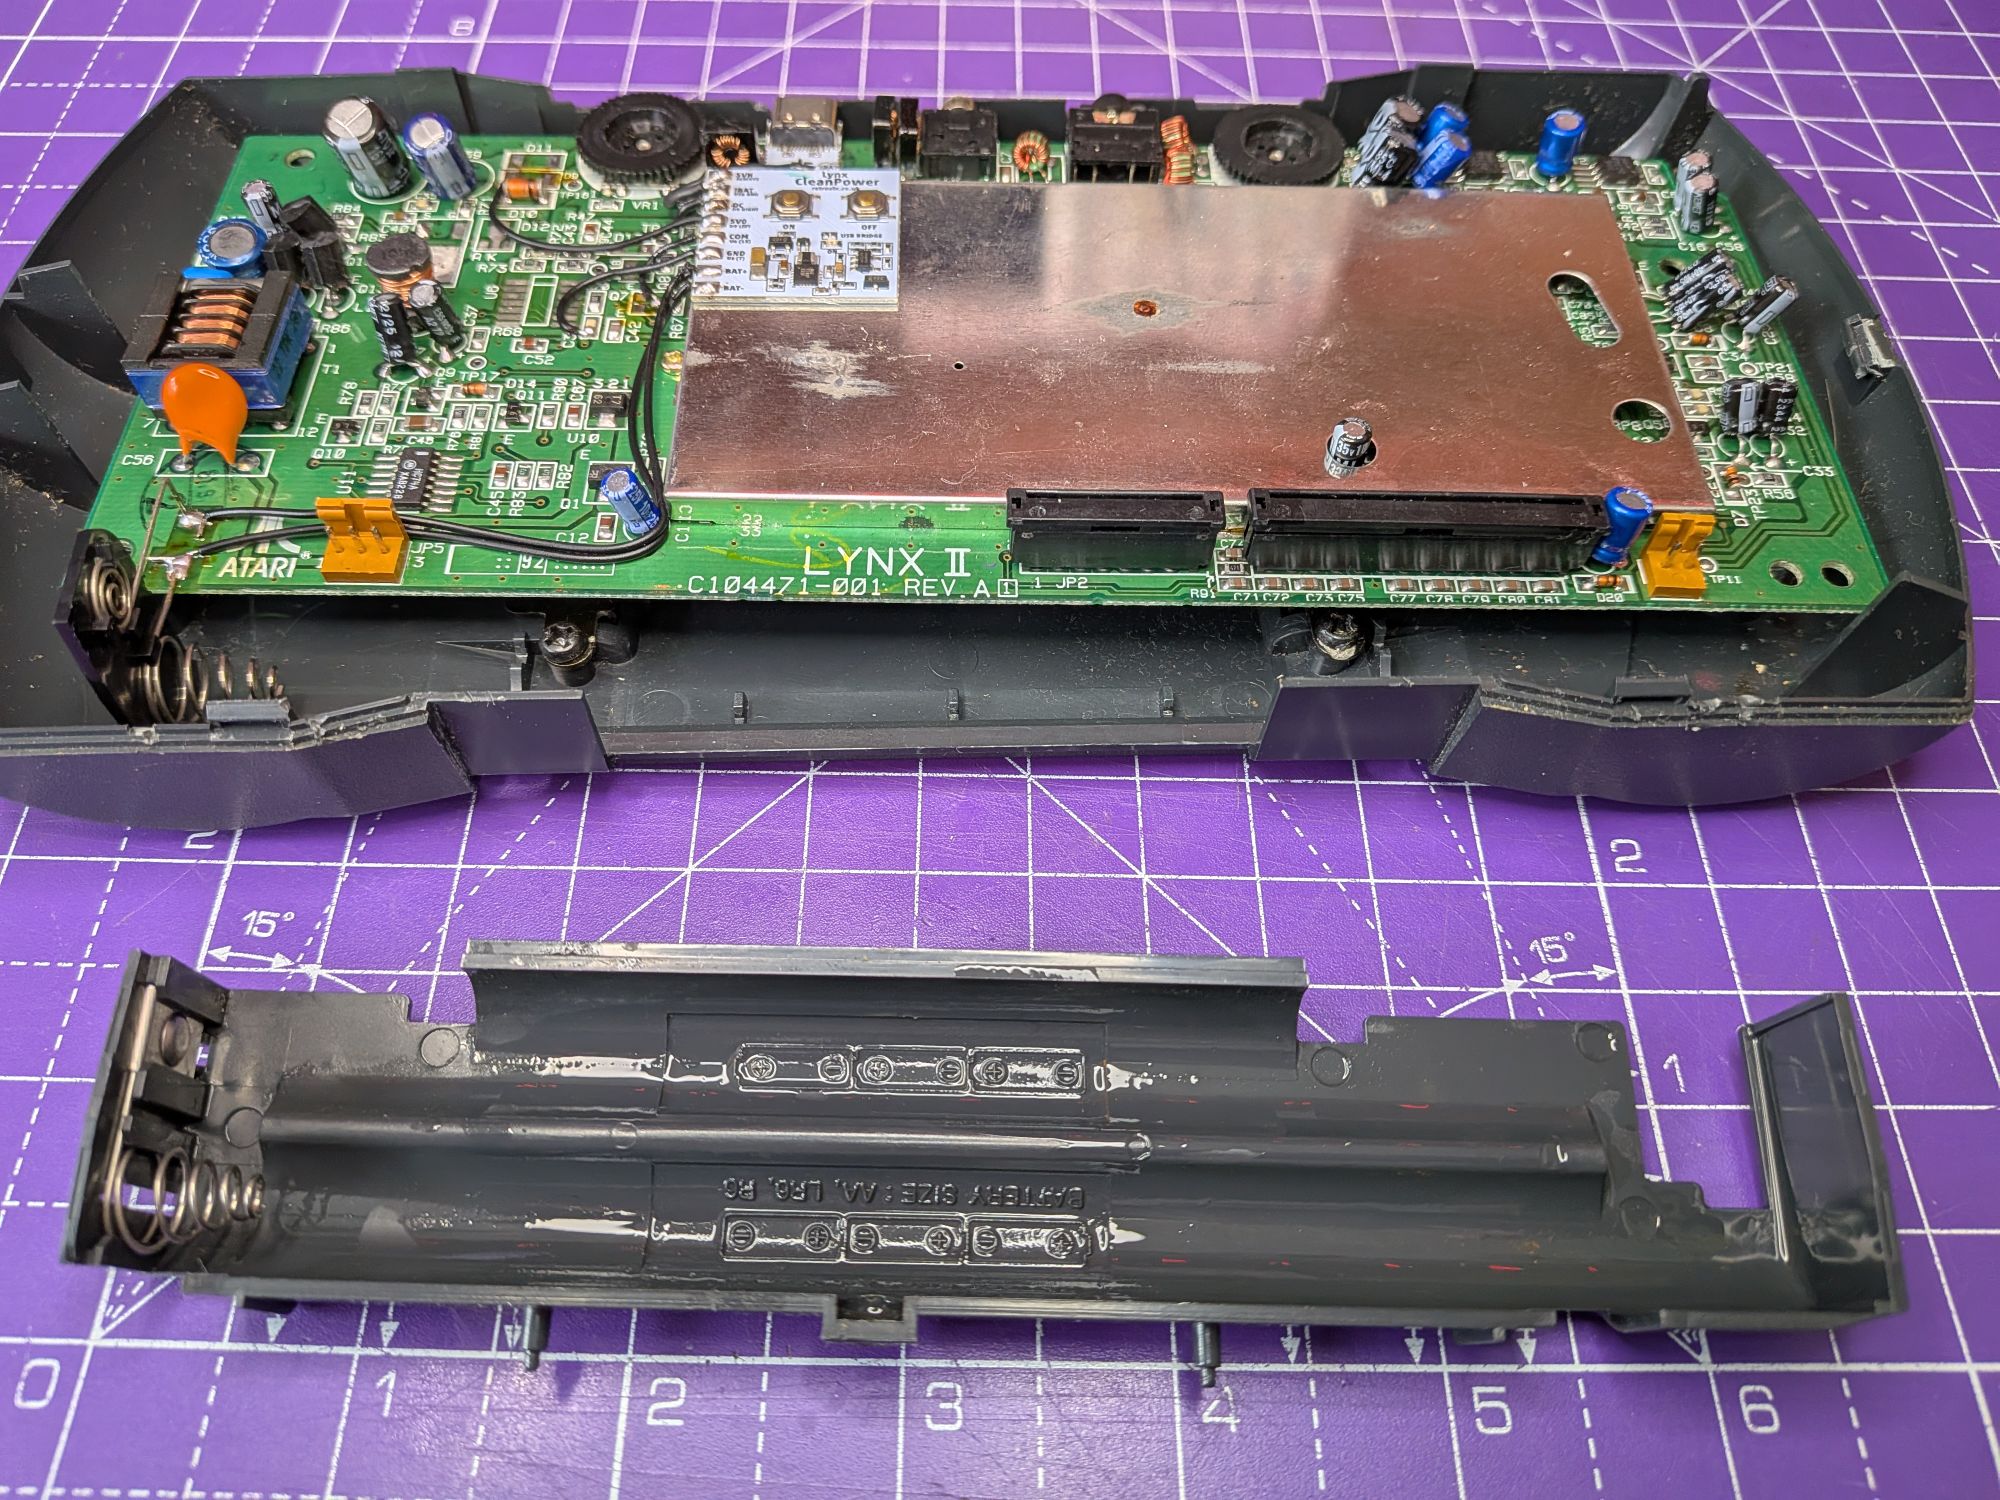
The second pic shows the ribbons that await you when you open a Lynx II. In their wisdom, Atari placed all these connection right behind the battery compartment. I don’t suppose they would have imagined in their wildest dreams that 40 years later, after a trip to the loft or the shed (possibly with batteries!), they would be cherished once again.
The brown one is the screen ribbon, green is the button membrane and the small brown plastic plug is the speaker.
The battery tray is a separate bit of plastic in these, held in place with a single screw. There was evidence of an old battery leak on the plastic and the screw, which was not a good sign.
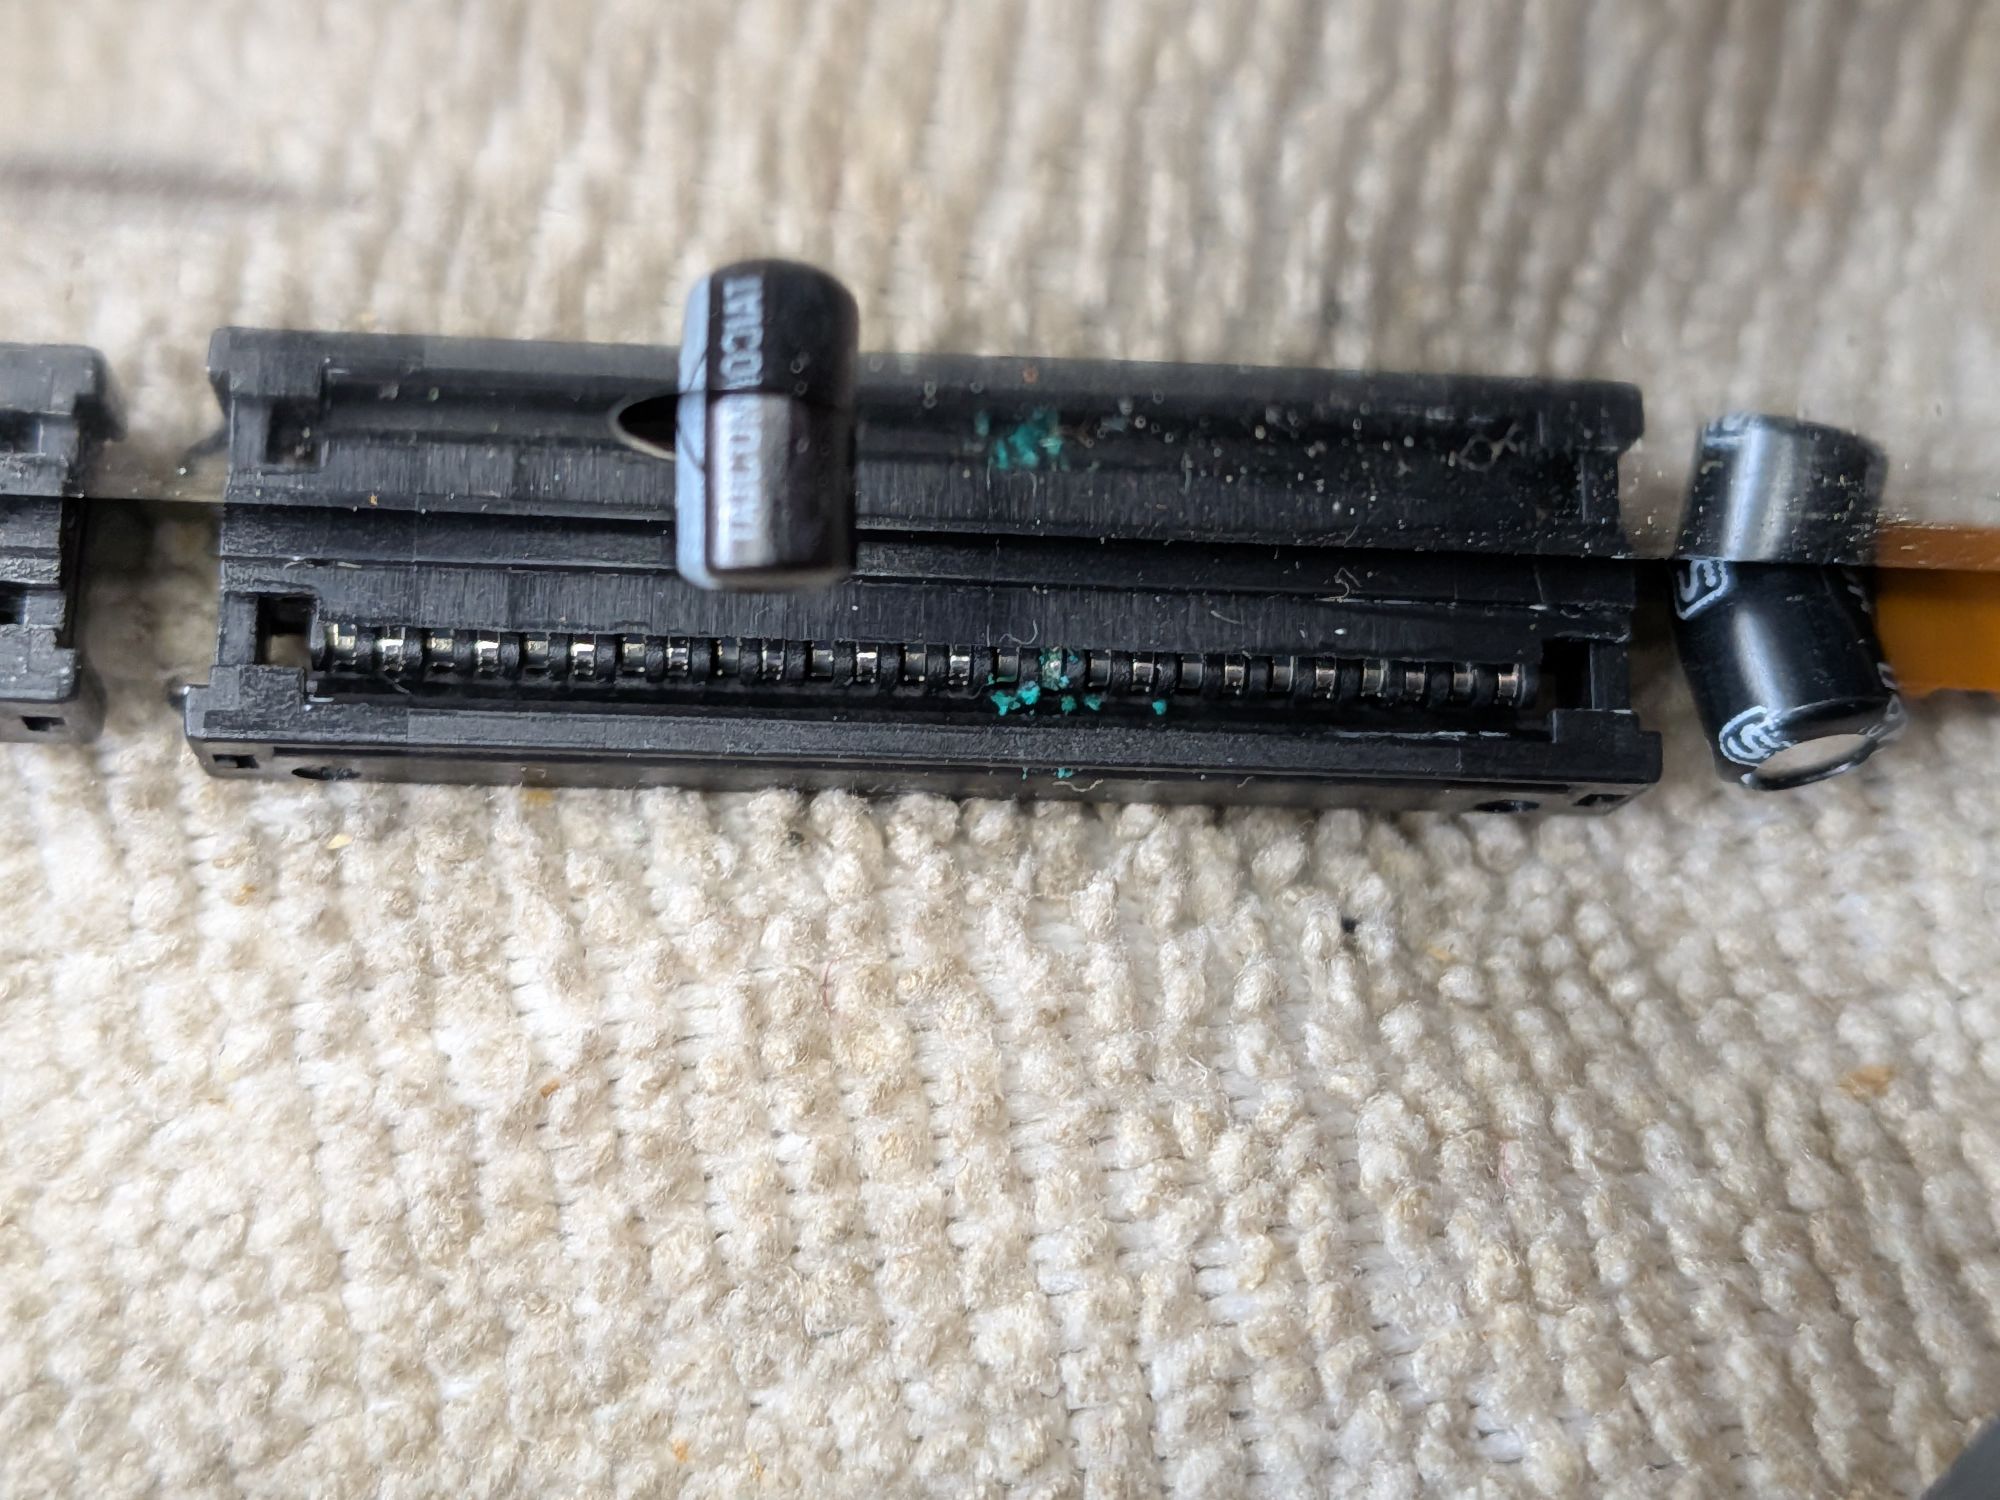
The screen ribbon was unusually difficult to remove. It became apparent just why that was when it finally released though. The battery leak had affected the screen ribbon connector and the contacts on the ribbon itself. The ribbon was being held in place by blue green corrosion. The last pic above is looking across the board into the side of the screen connector. You can see the corrosion. There is reflection from the RF shielding that makes it look odd but it is still definitely still attached 😌
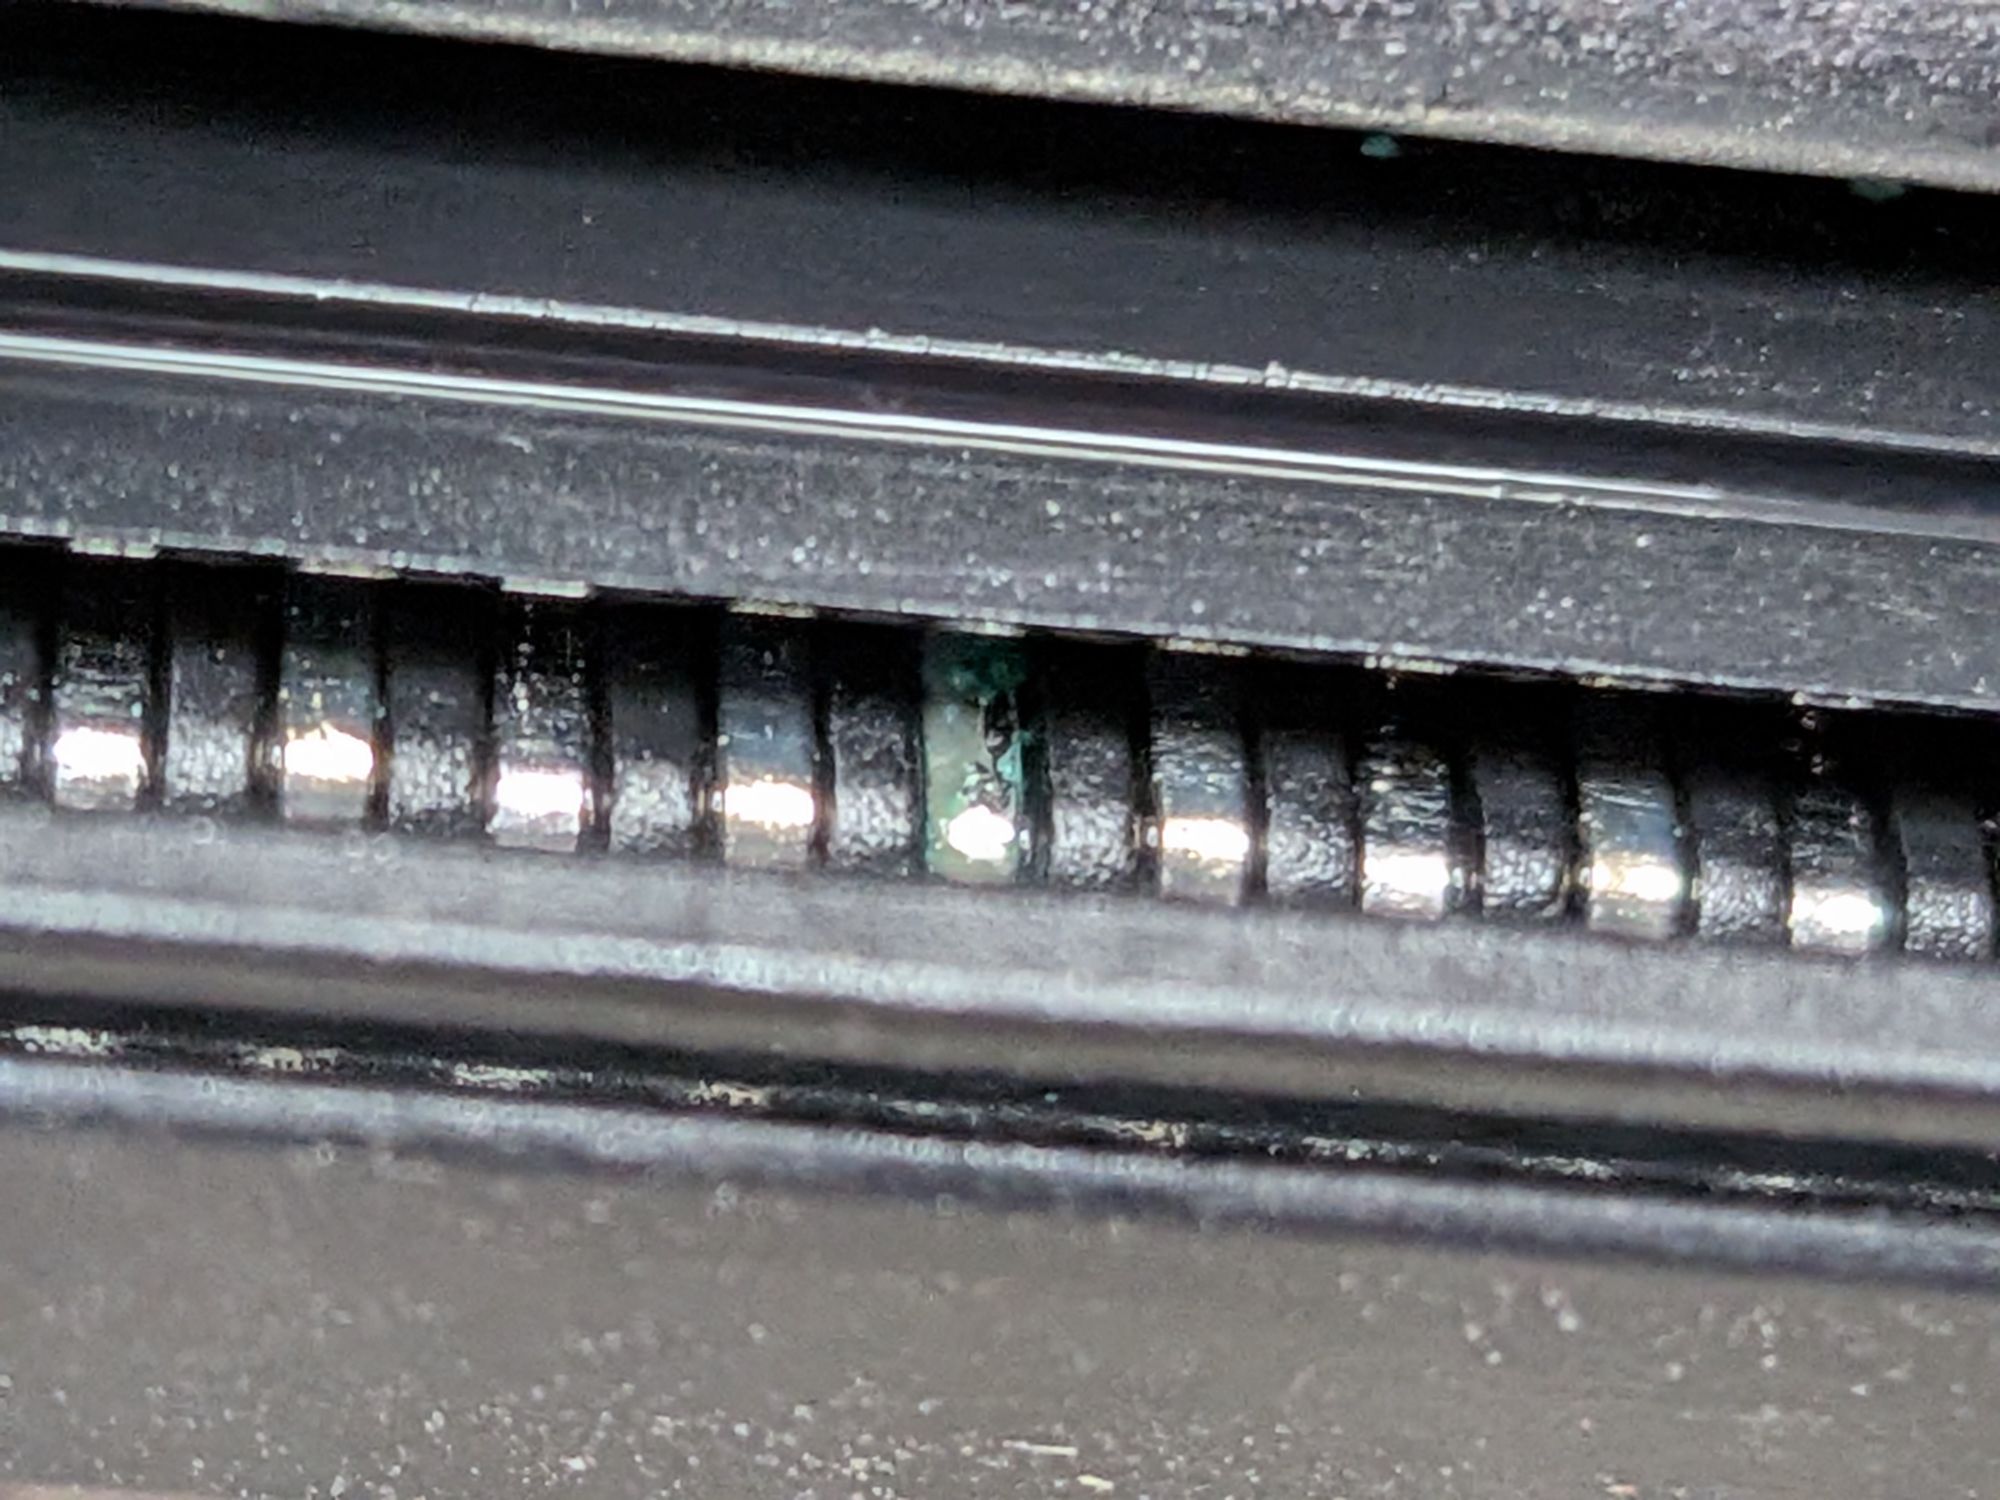
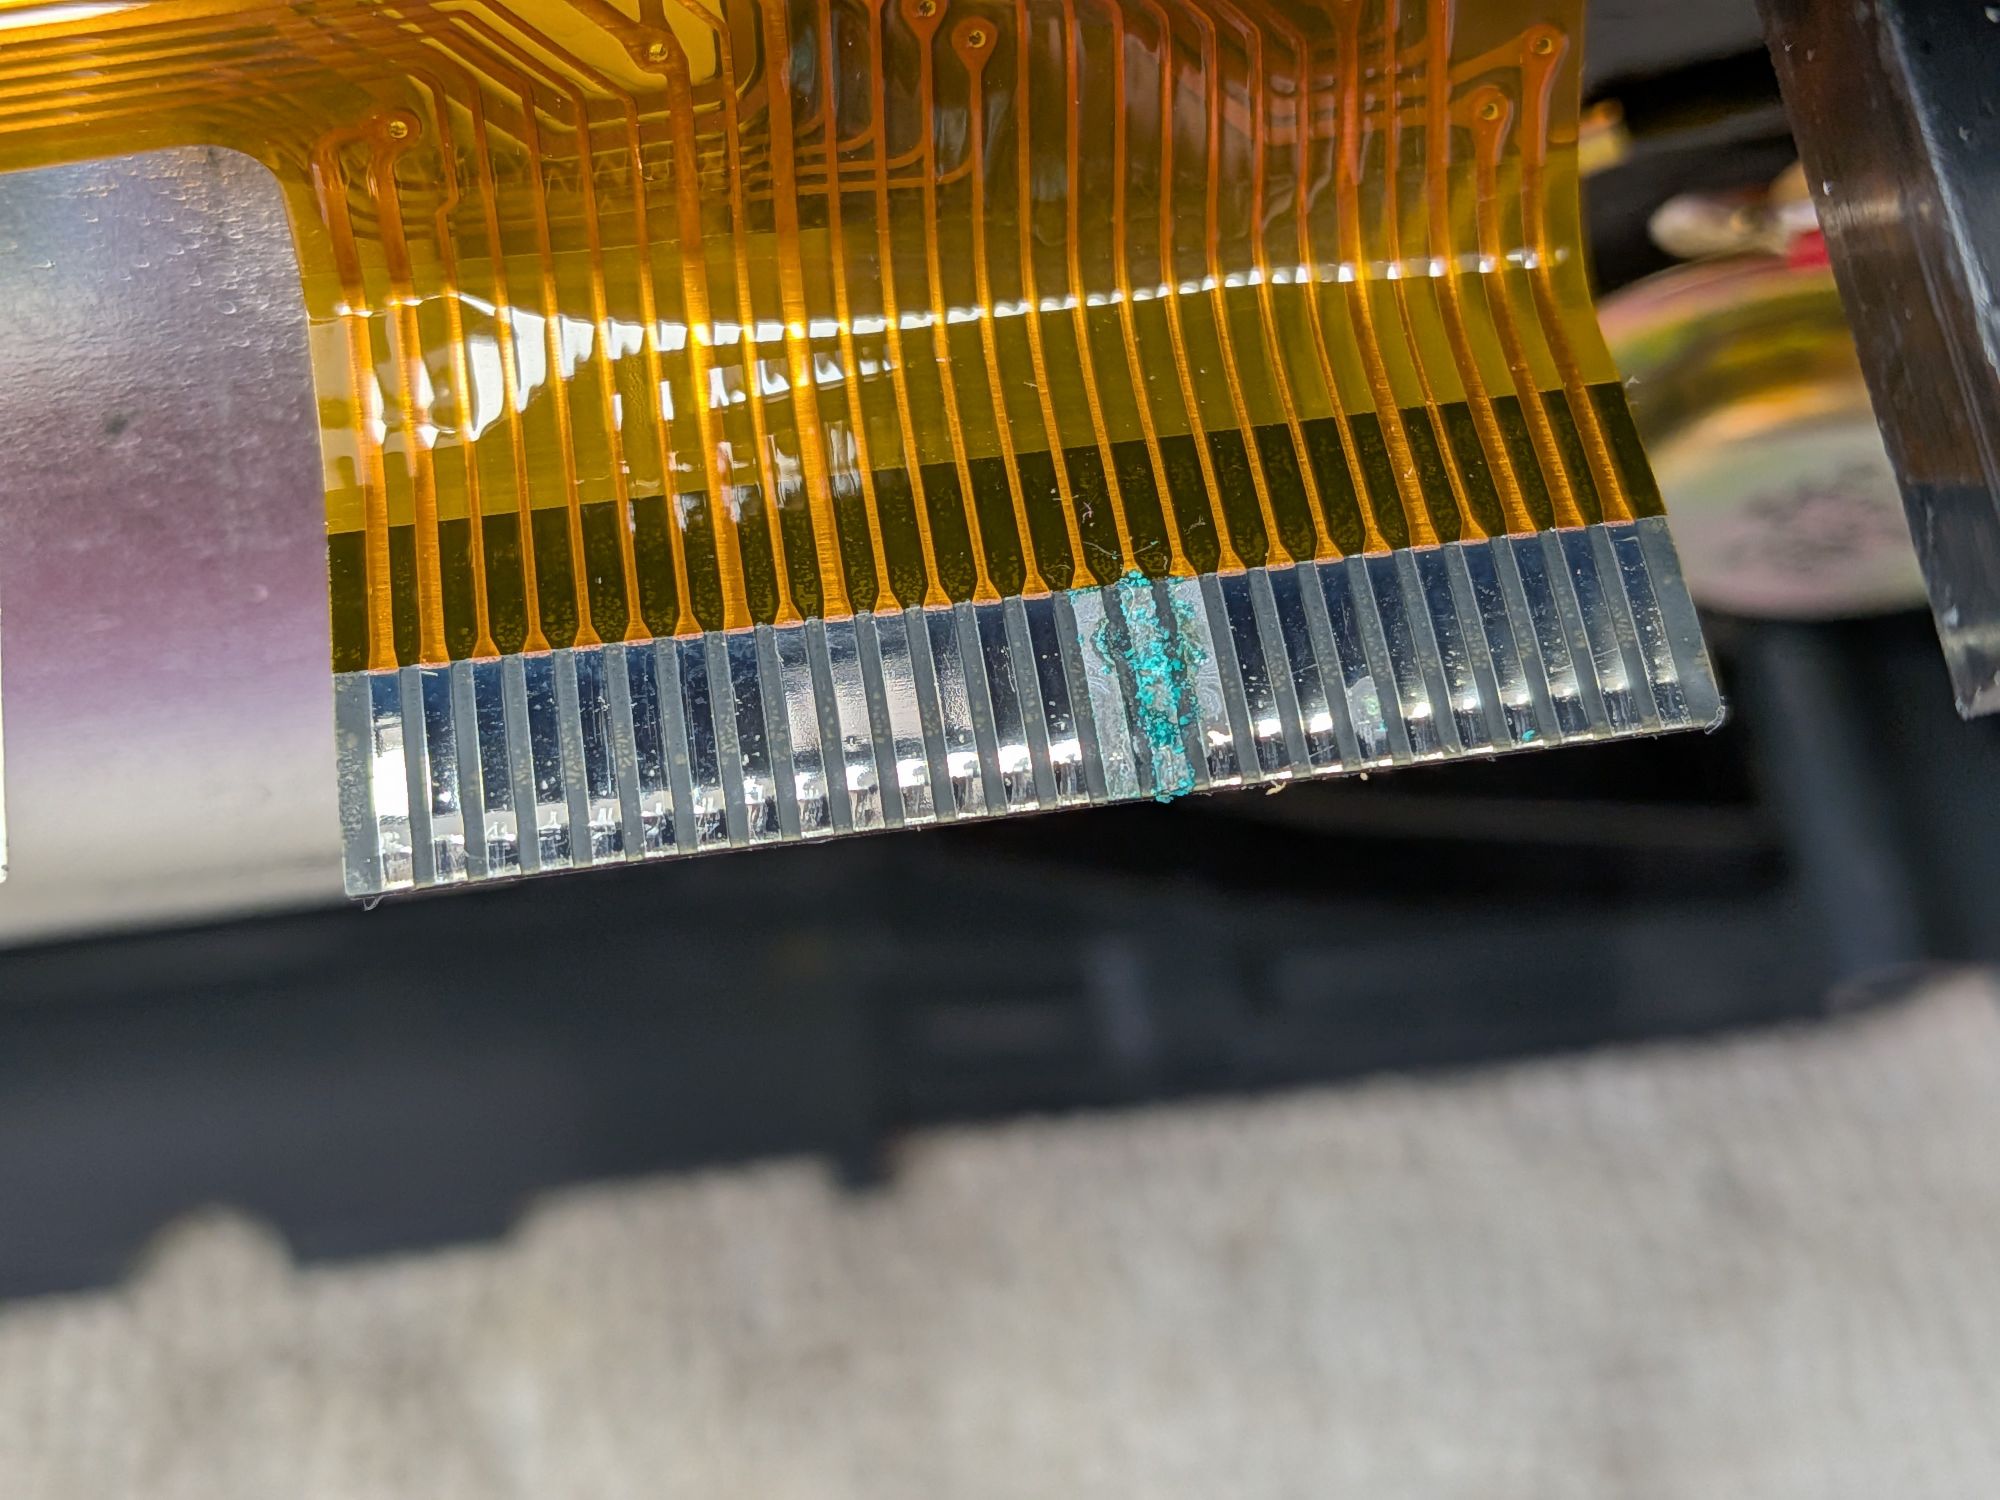
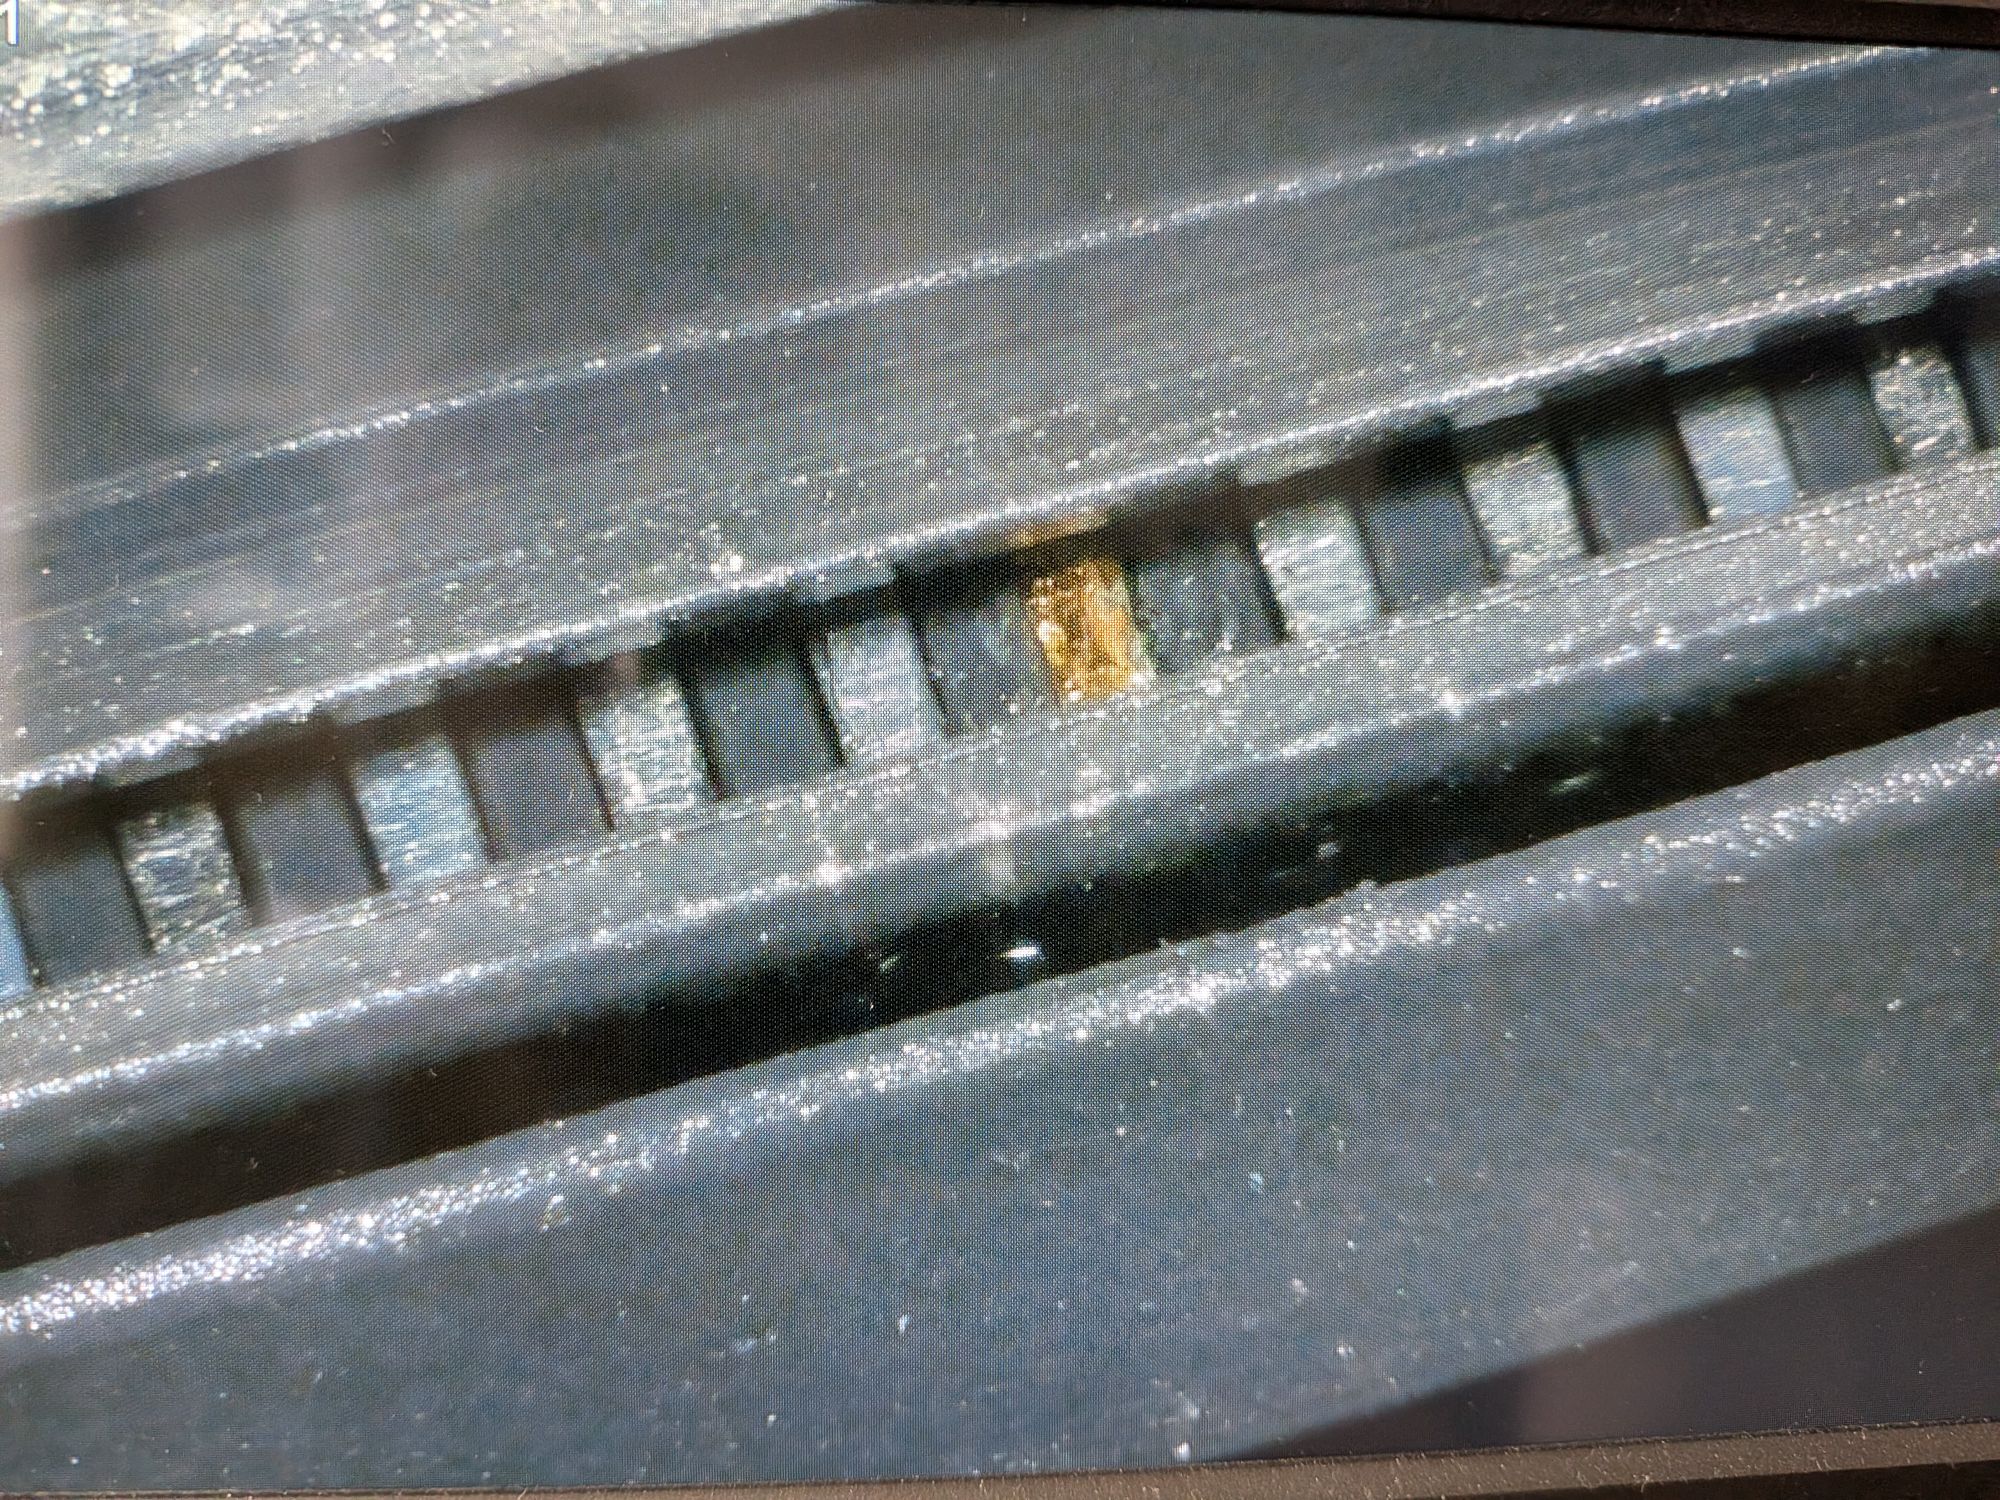
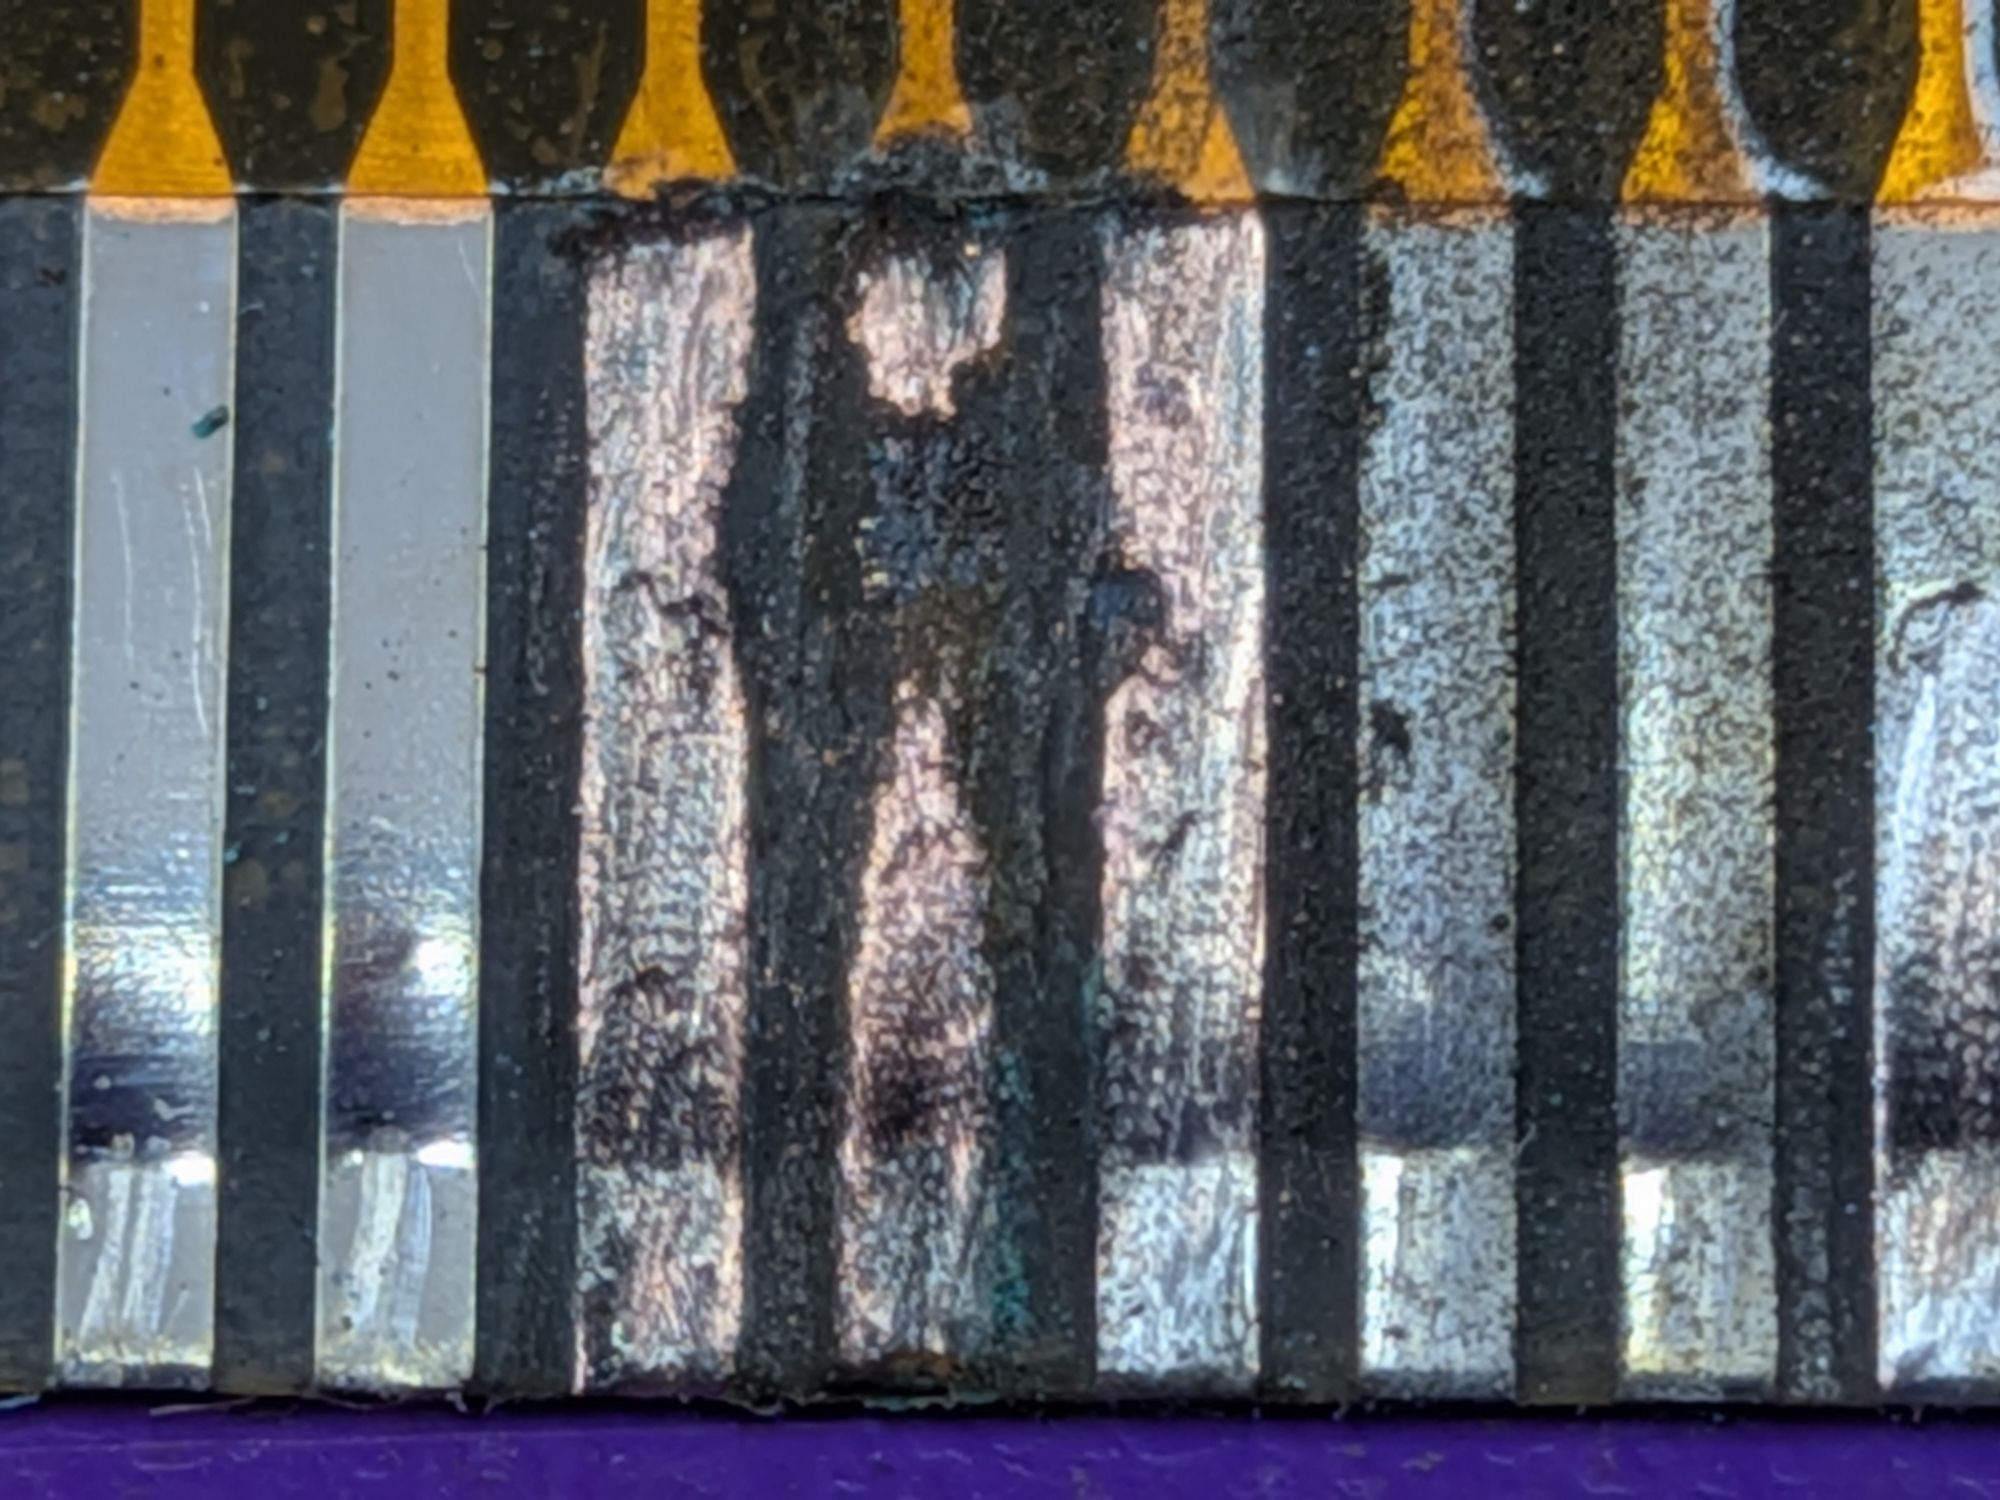
You can better see the corrosion with the ribbon removed. Thankfully we don’t need this screen but it would possibly be repairable, as long as it still fit into the connector. It’s quite a tight slot that it goes into.
The corrosion on the connector spread down along the contact, into the connector. There’s one that’s quite badly affected and after cleaning, you can see it has eaten through to the metal substrate. It should still make a good contact but will be more prone to oxidation than it otherwise would be.
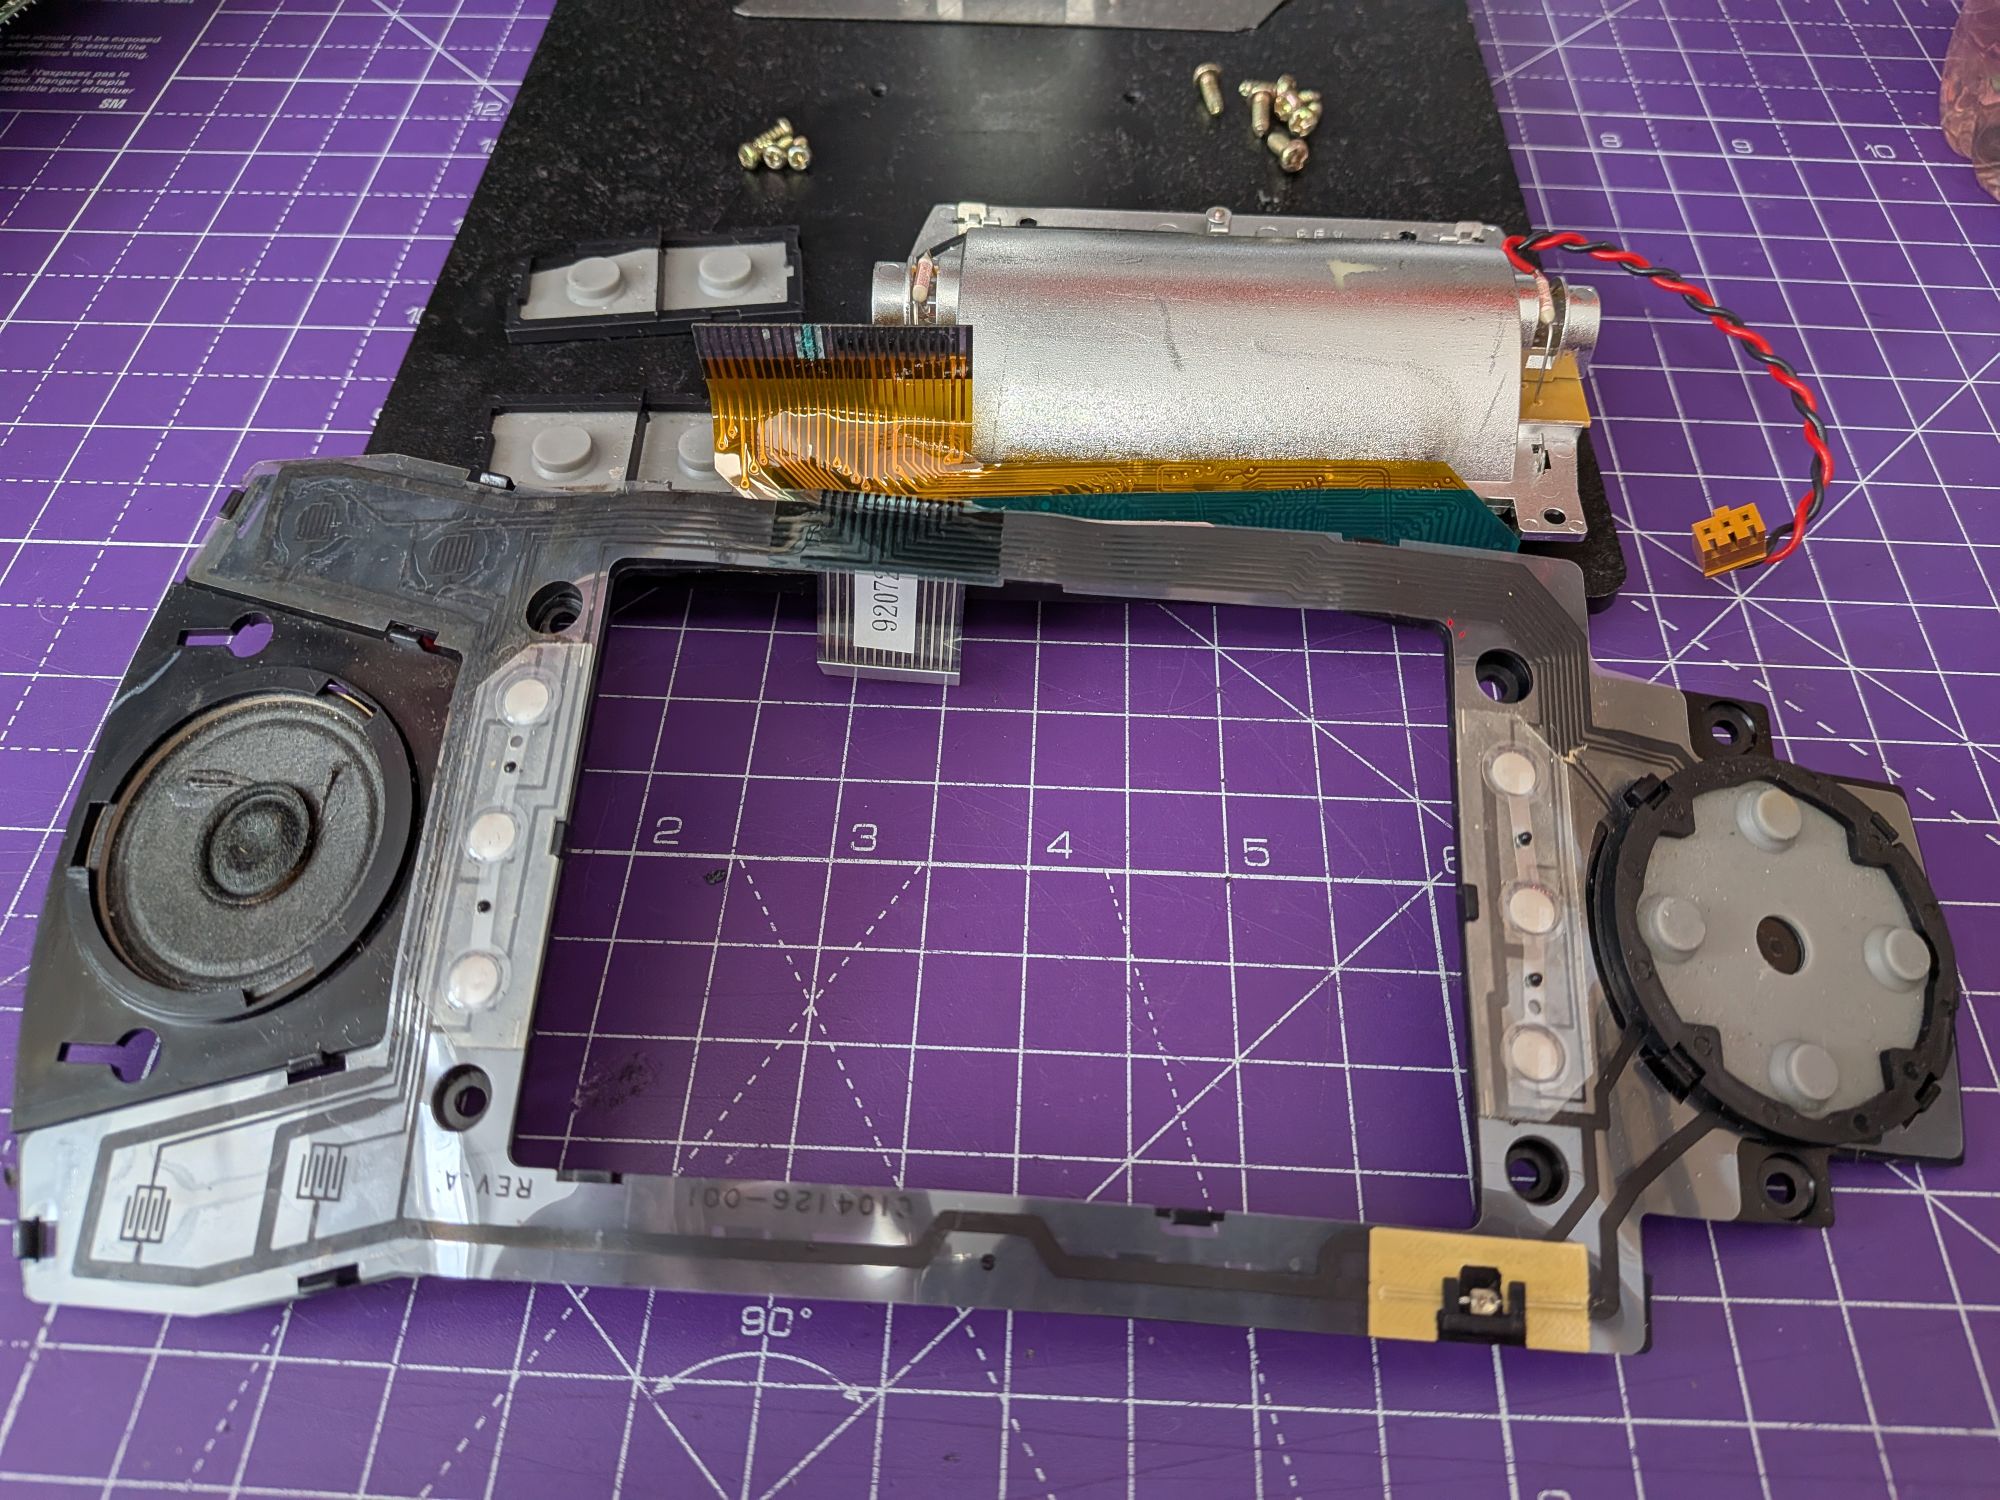
It had also affected the button membrane, which fits onto a curved mounting, that then screws inside the shell. The corrosion has eaten away at the carbon traces. Replacing the membrane is probably a good idea with these, as a matter of course, but was not expected here initially. It mostly all just clips together and once oriented properly the replacement just clips back in to place. A bit of tape helps though. Doesn’t it always?!
Moving on to the new power board and USB-C connection..
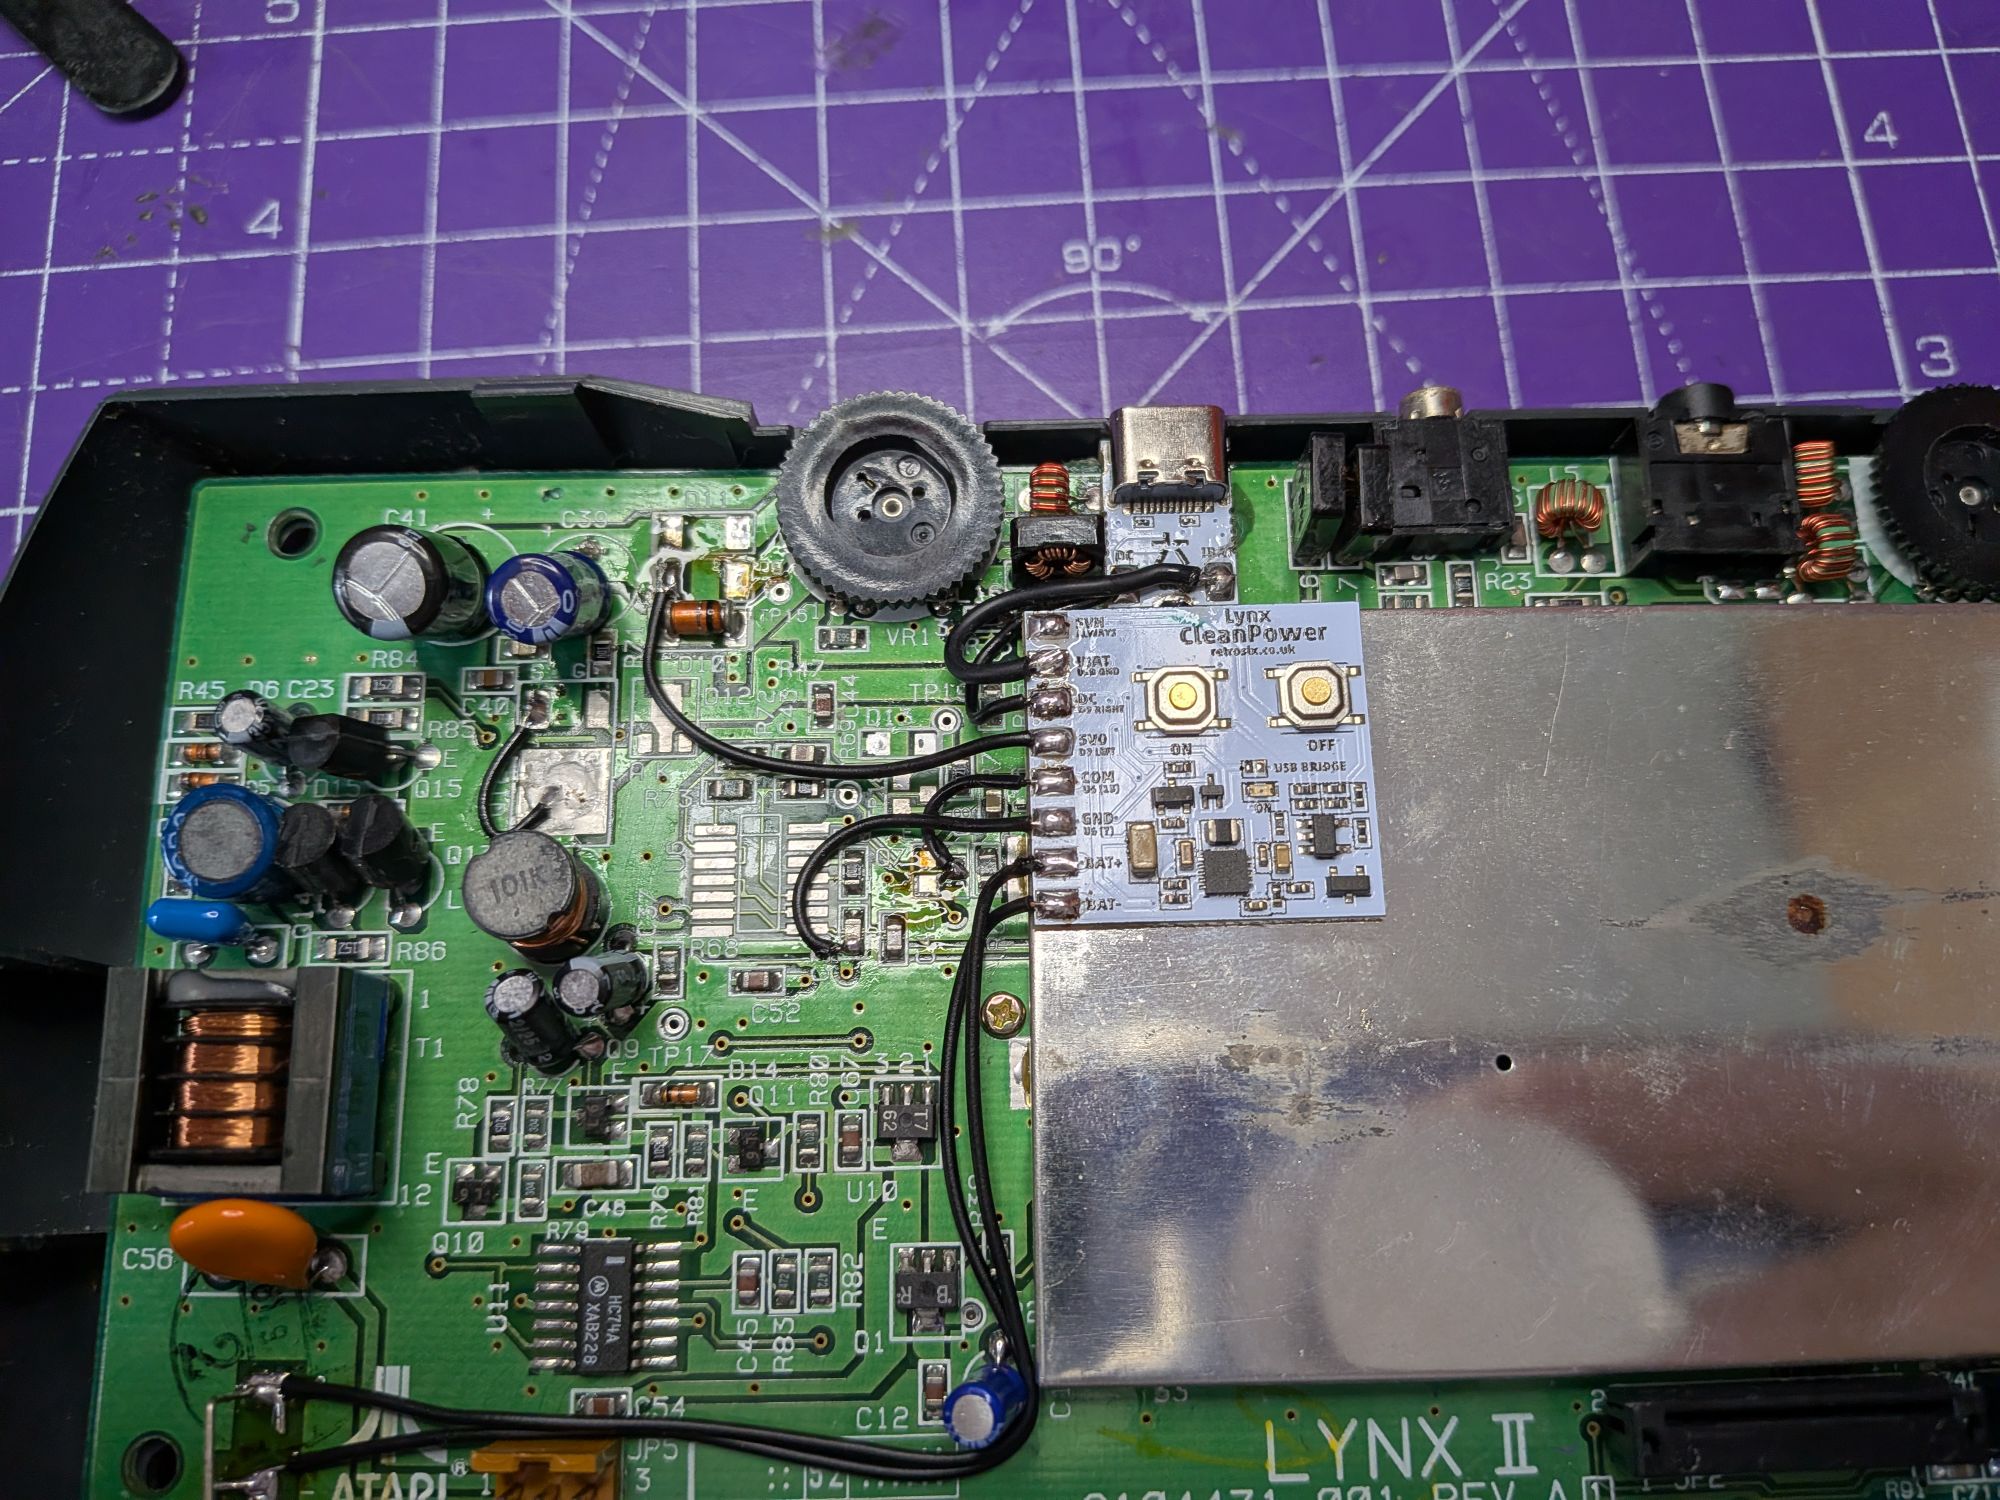
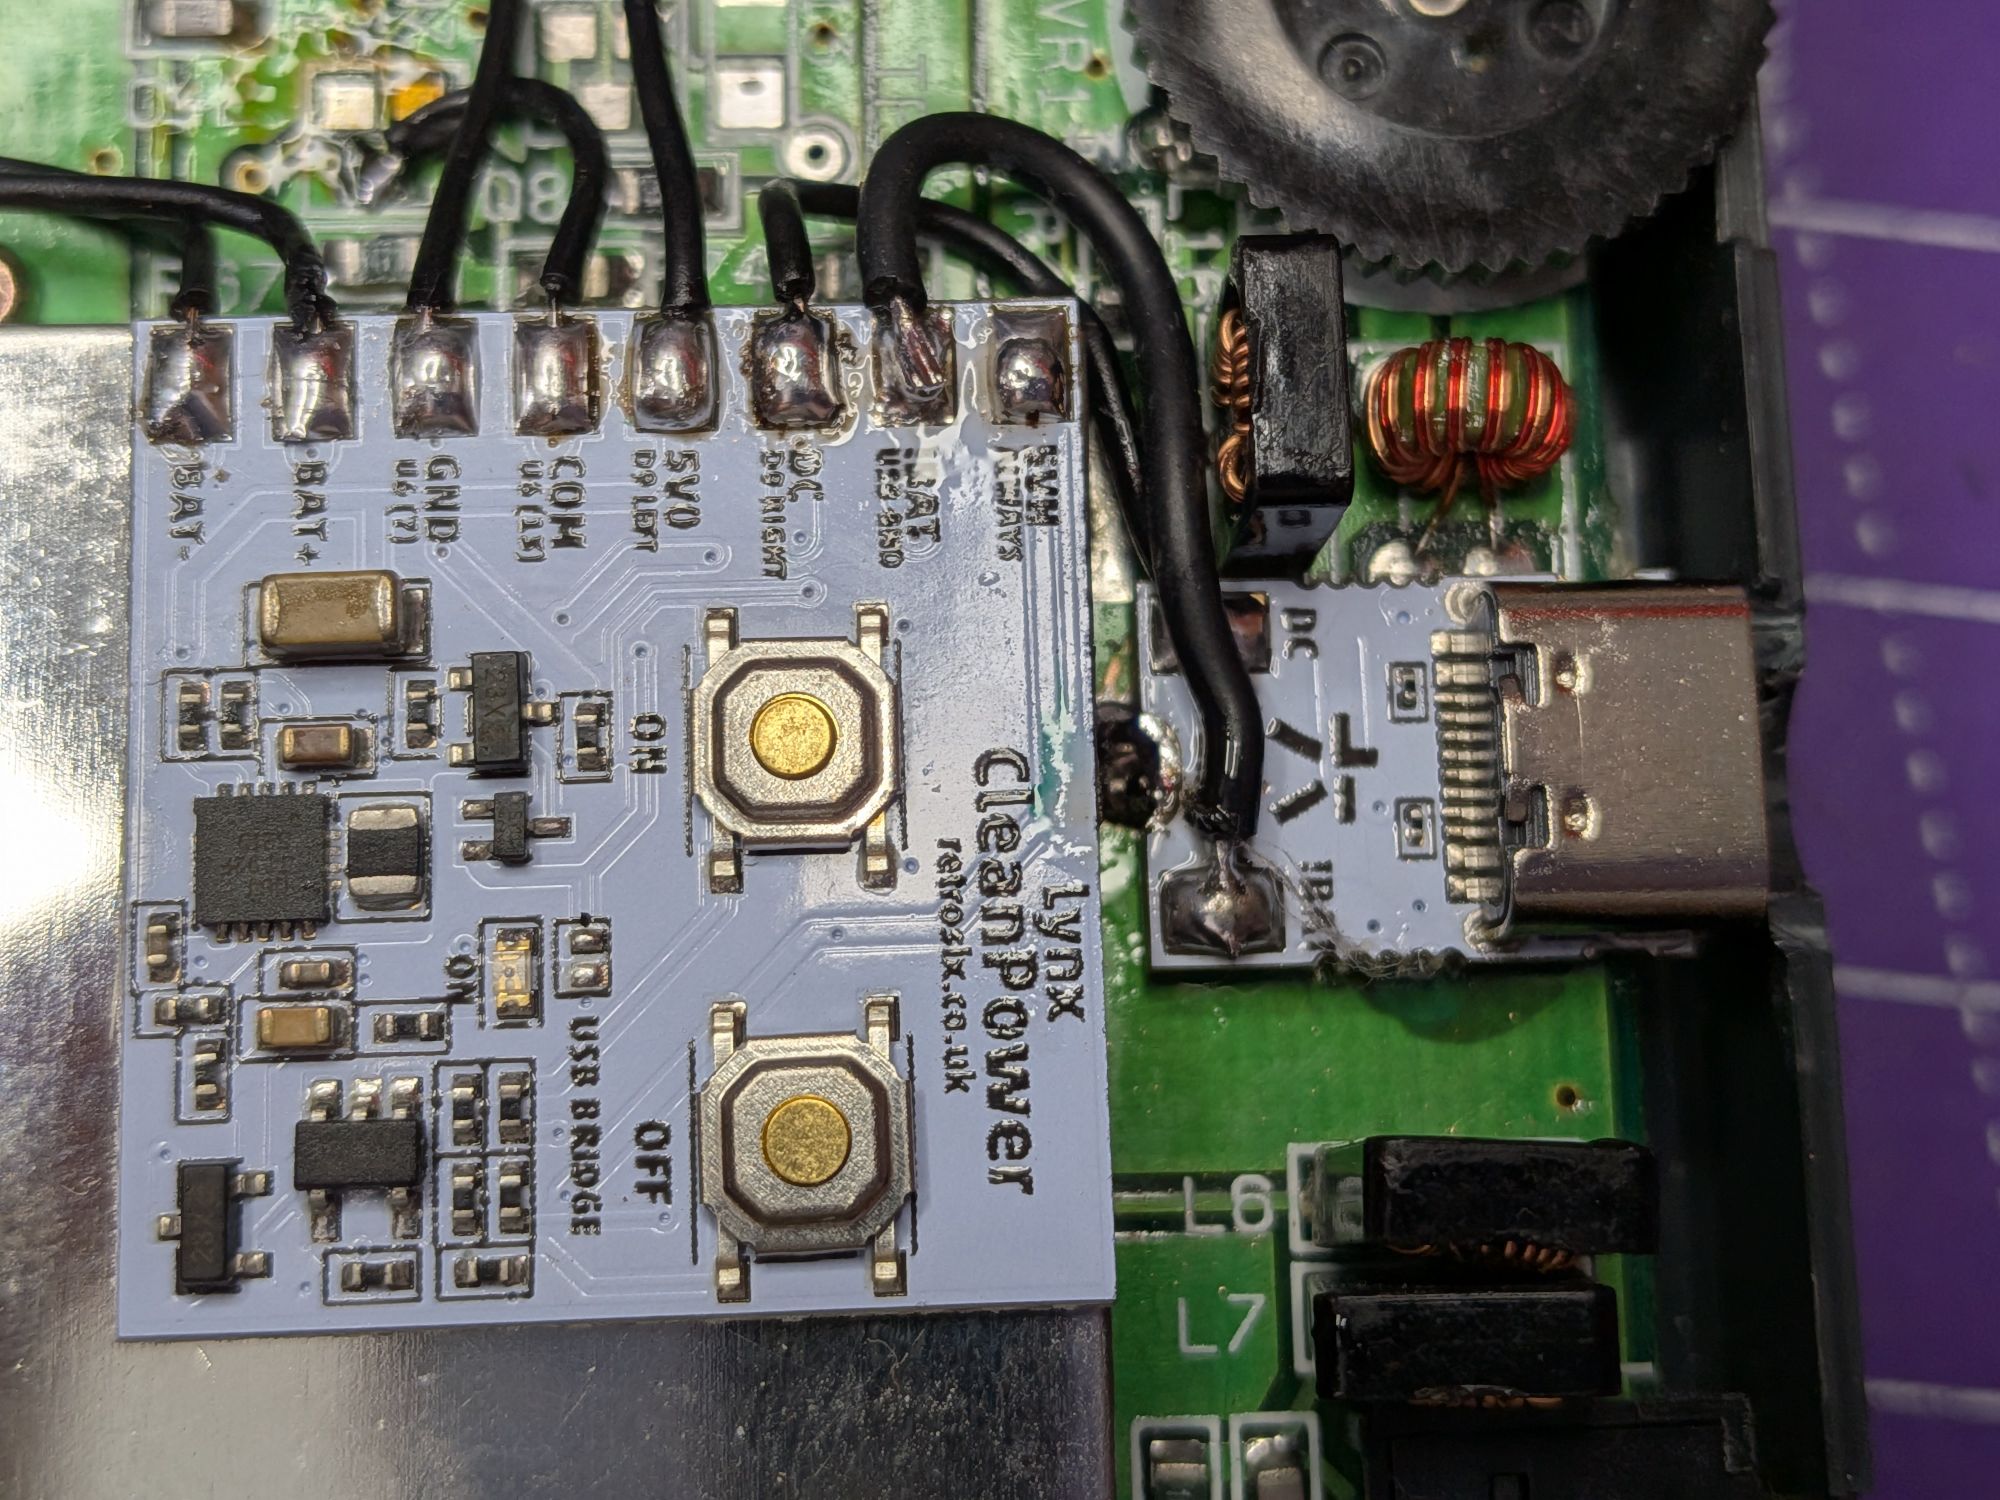
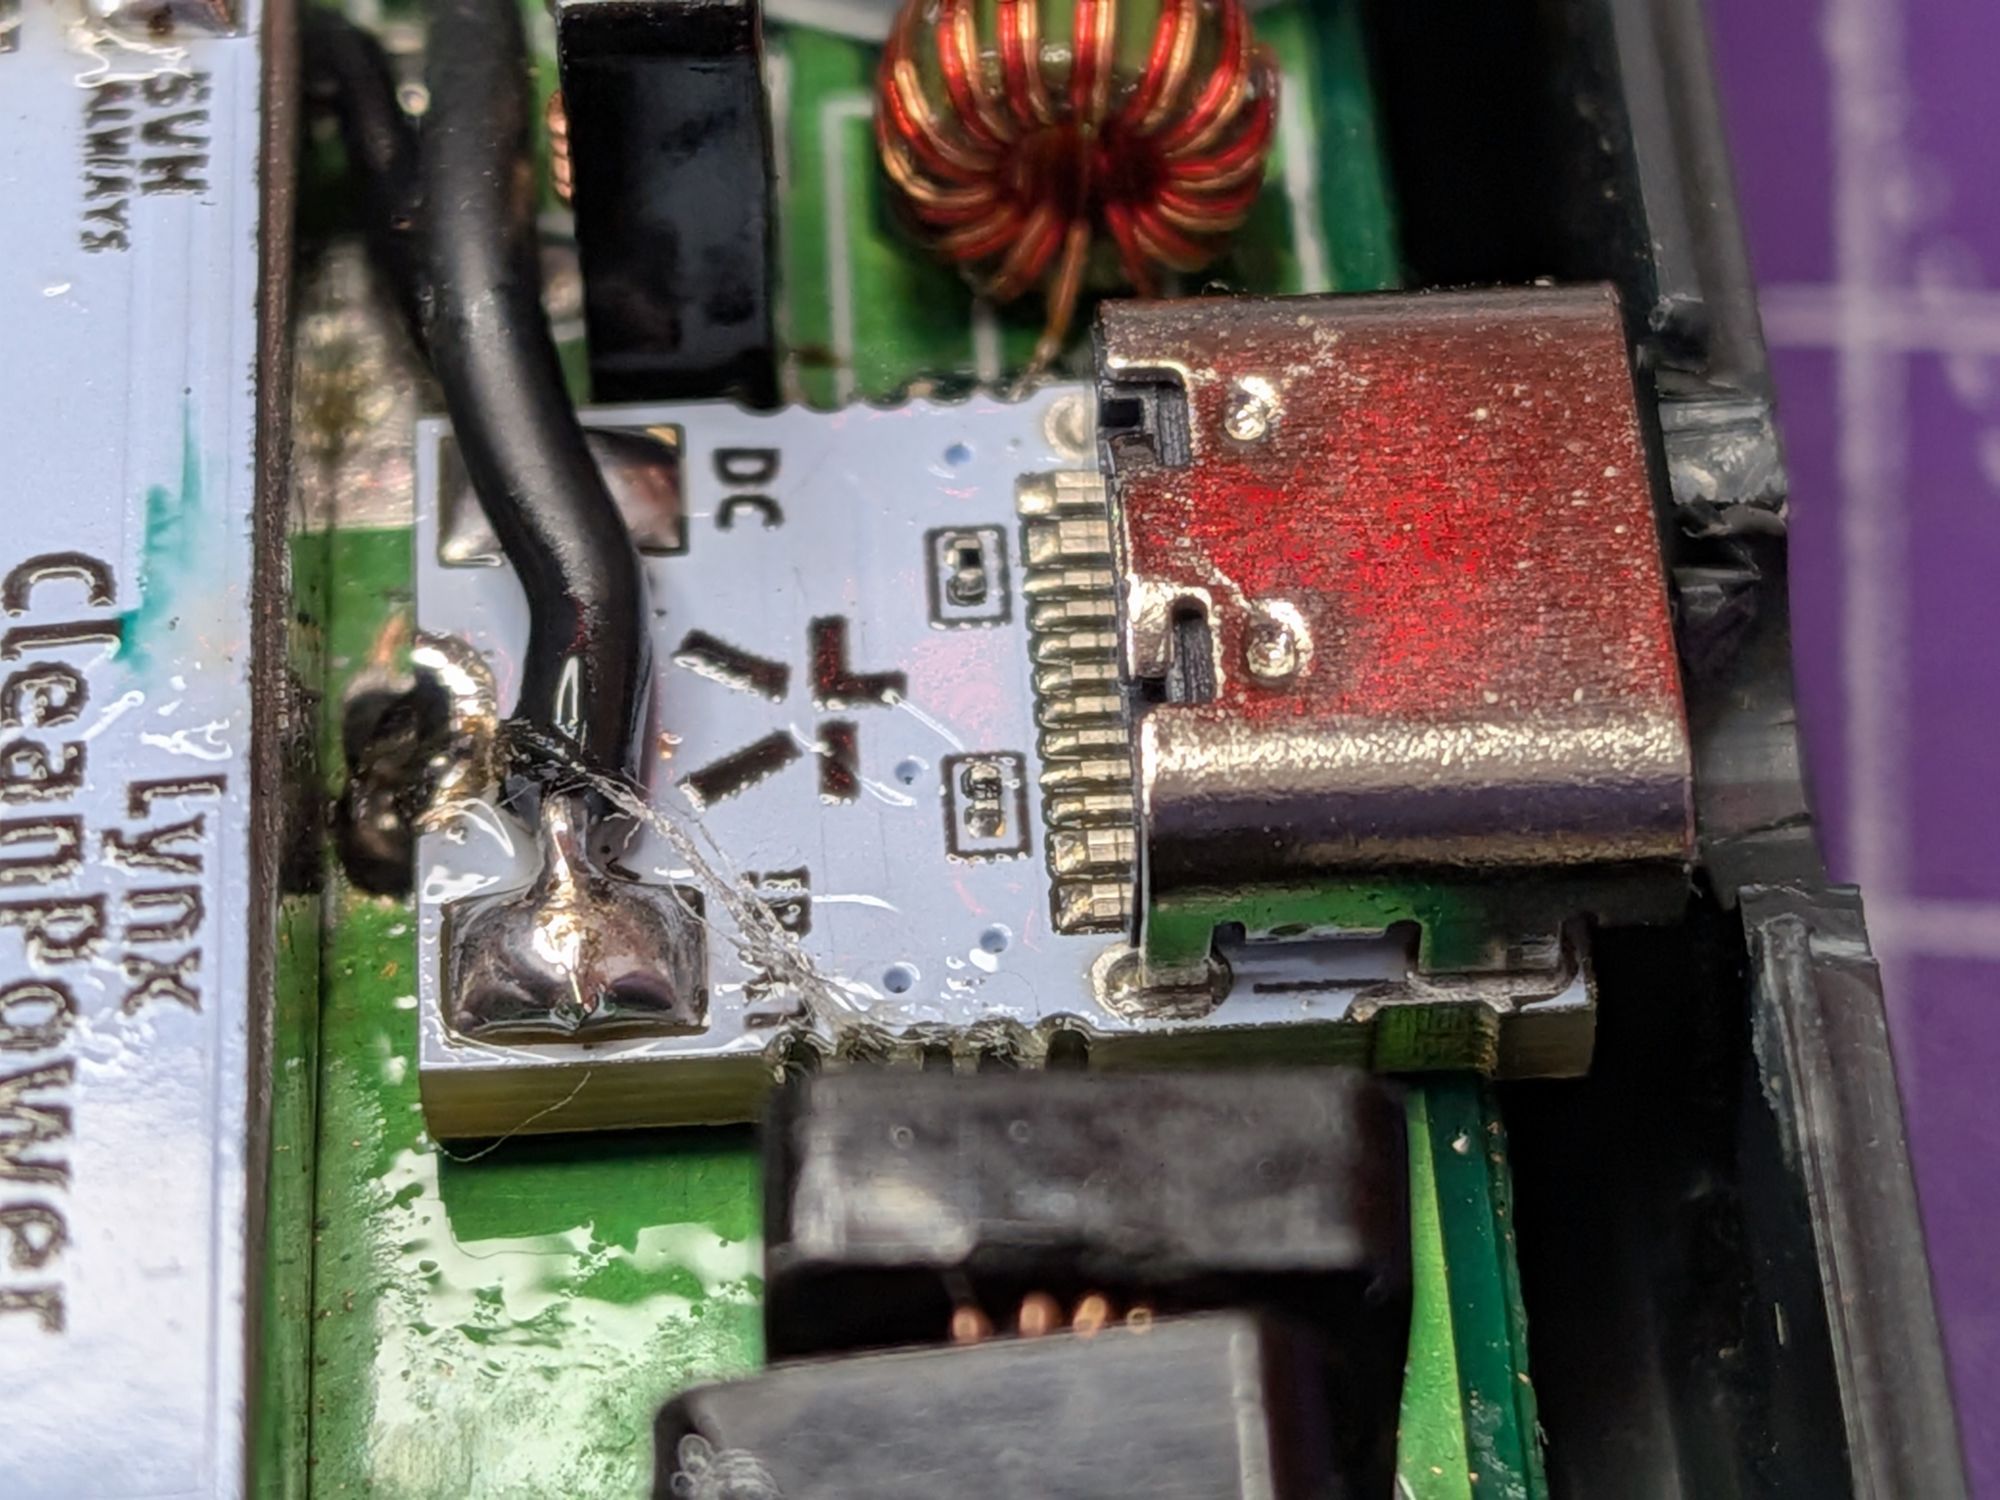
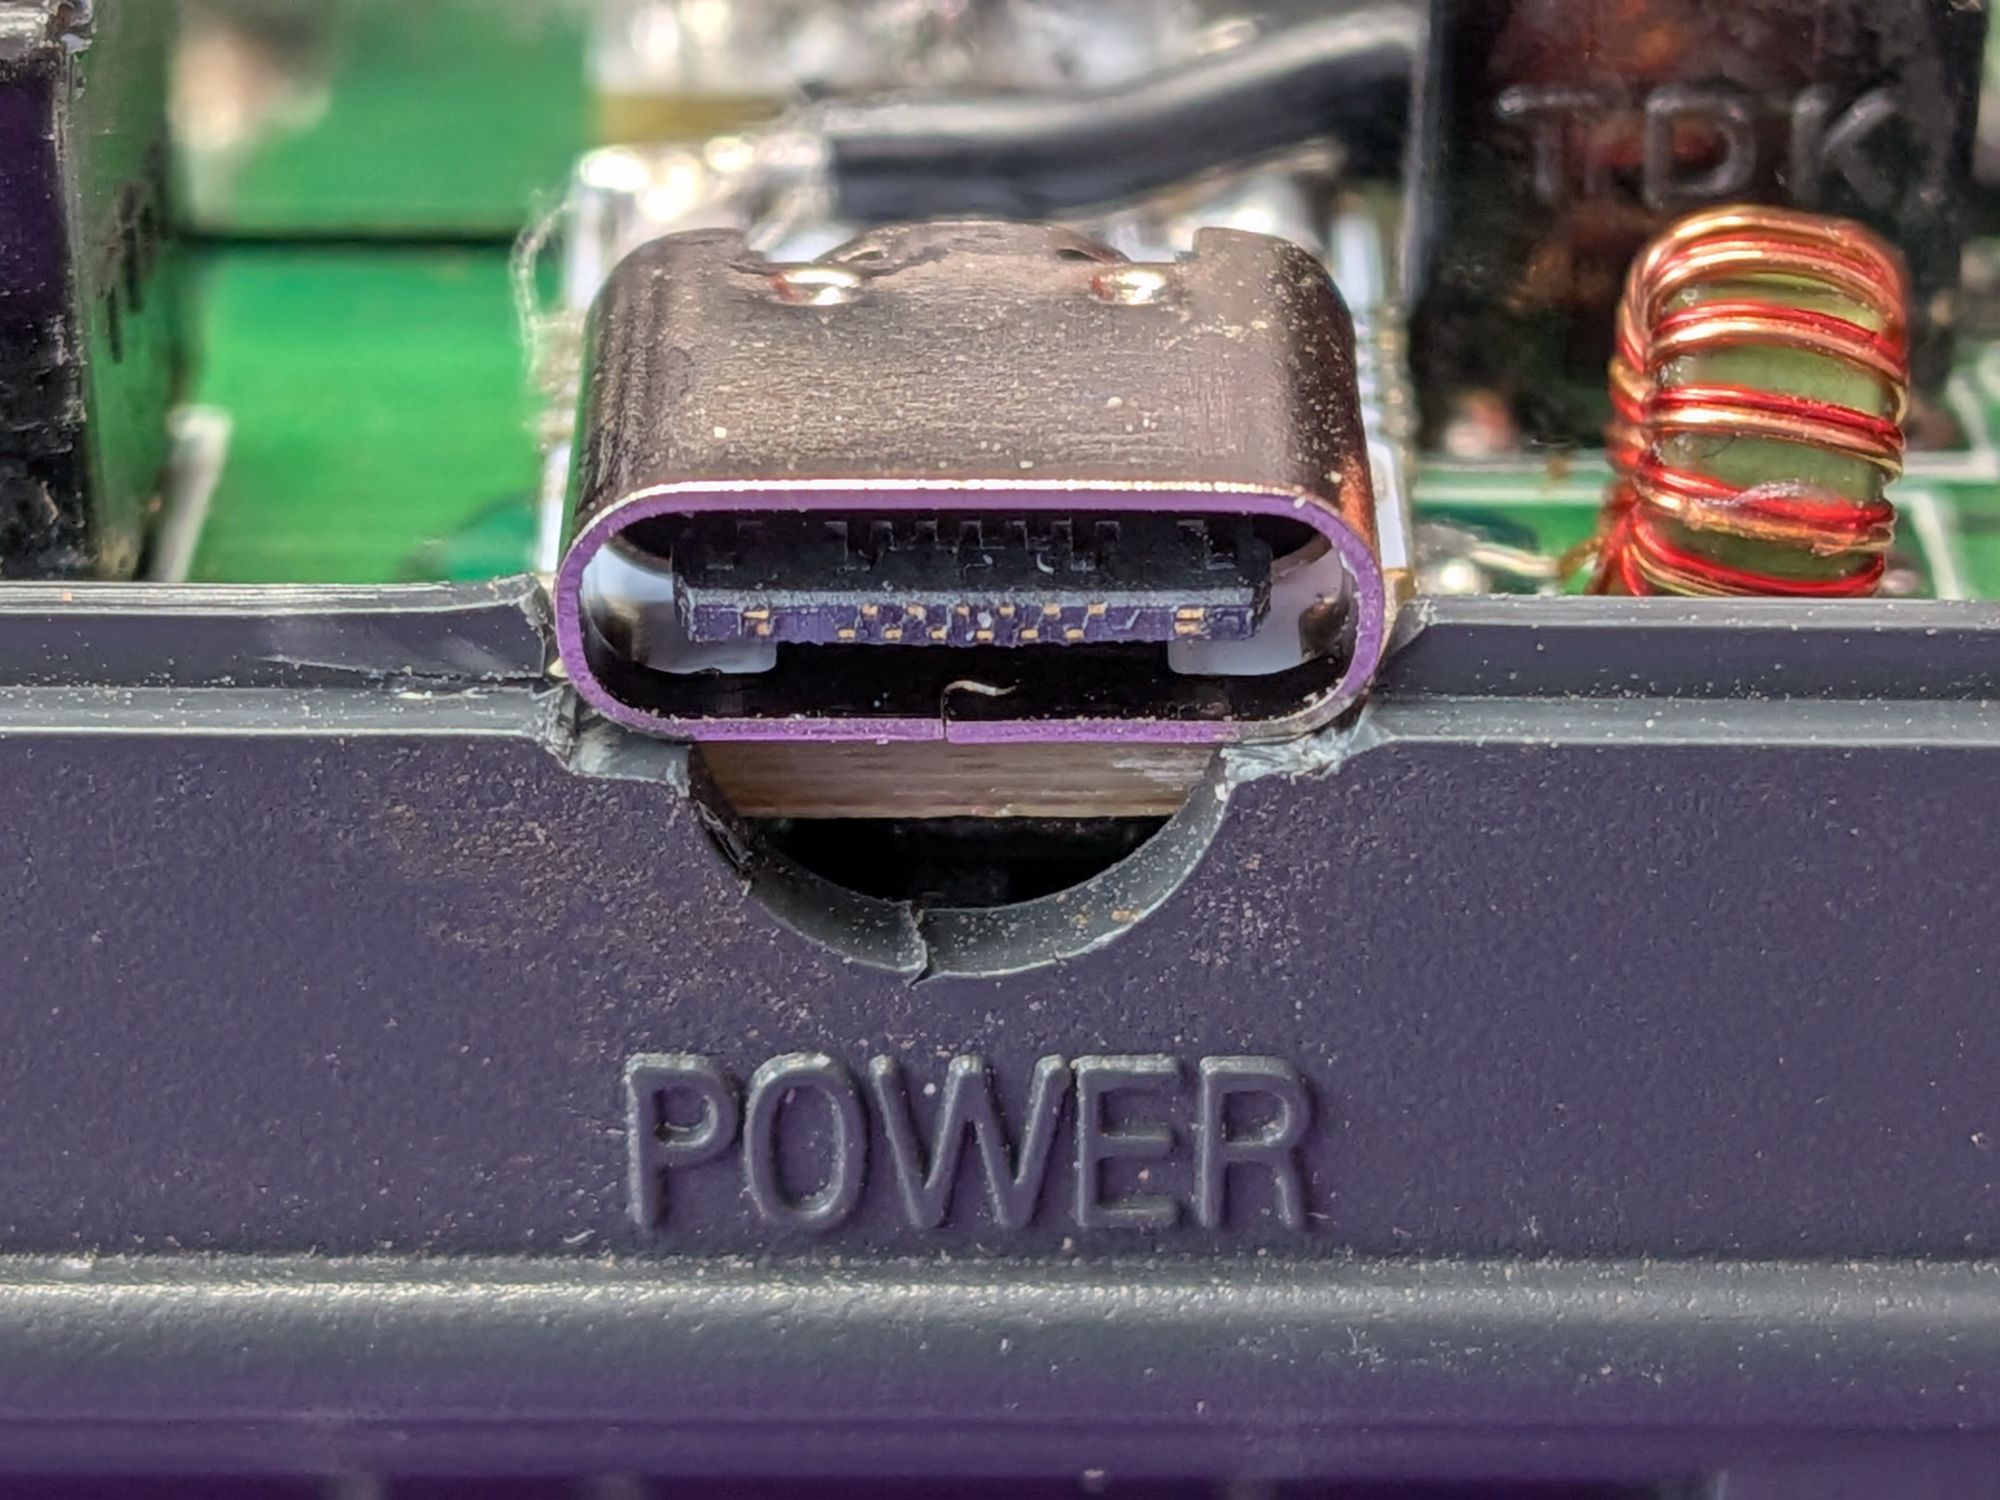
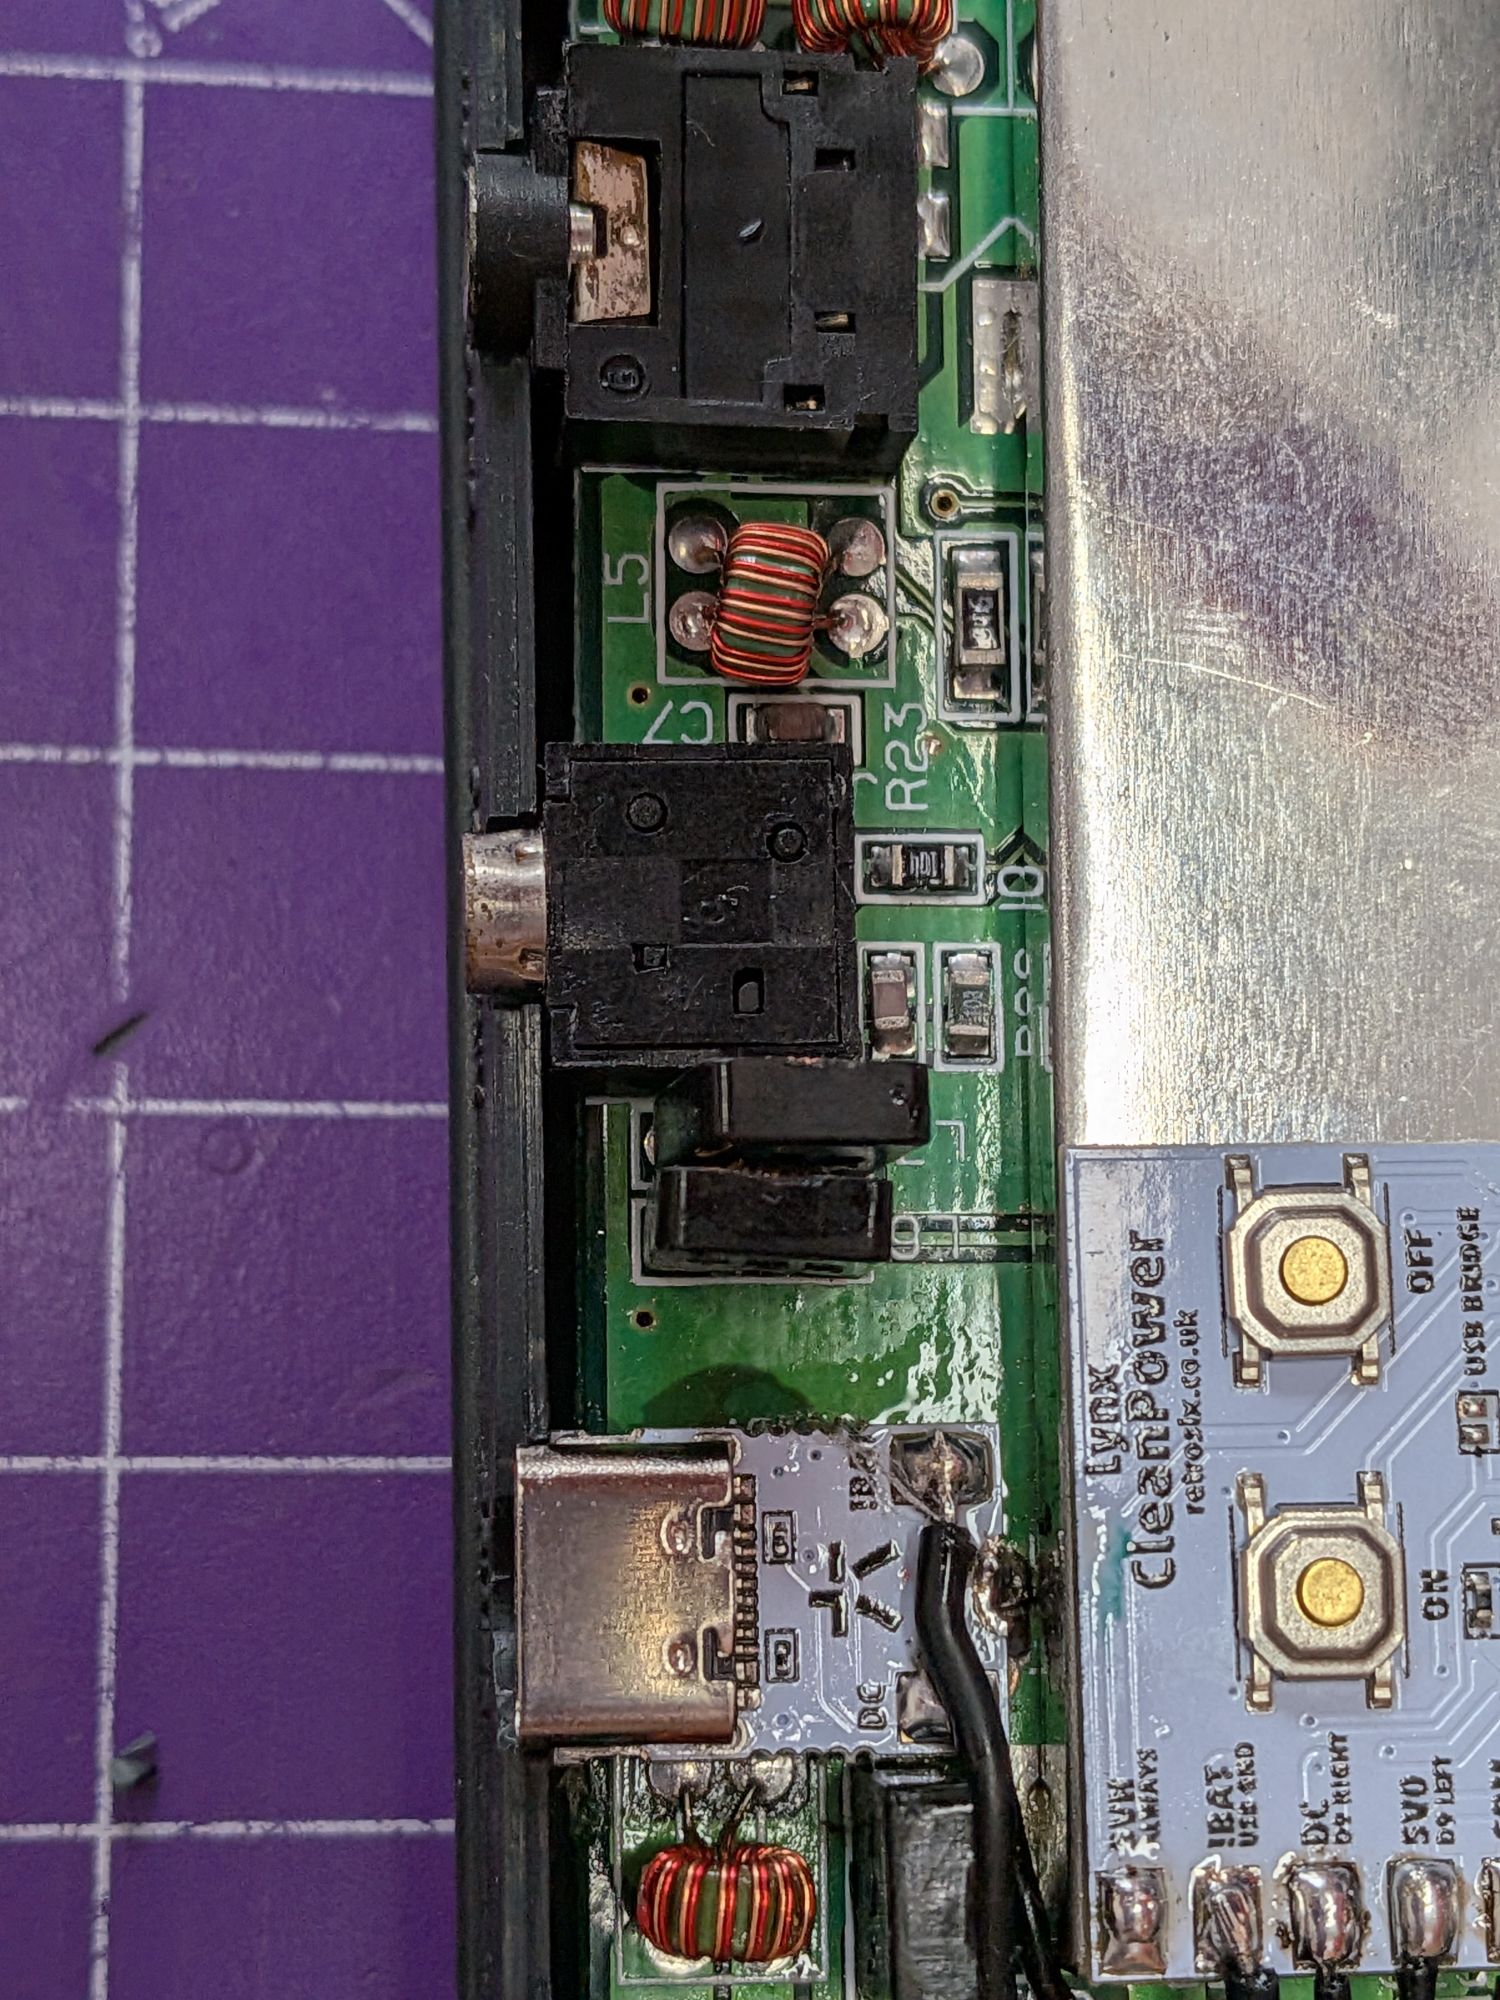
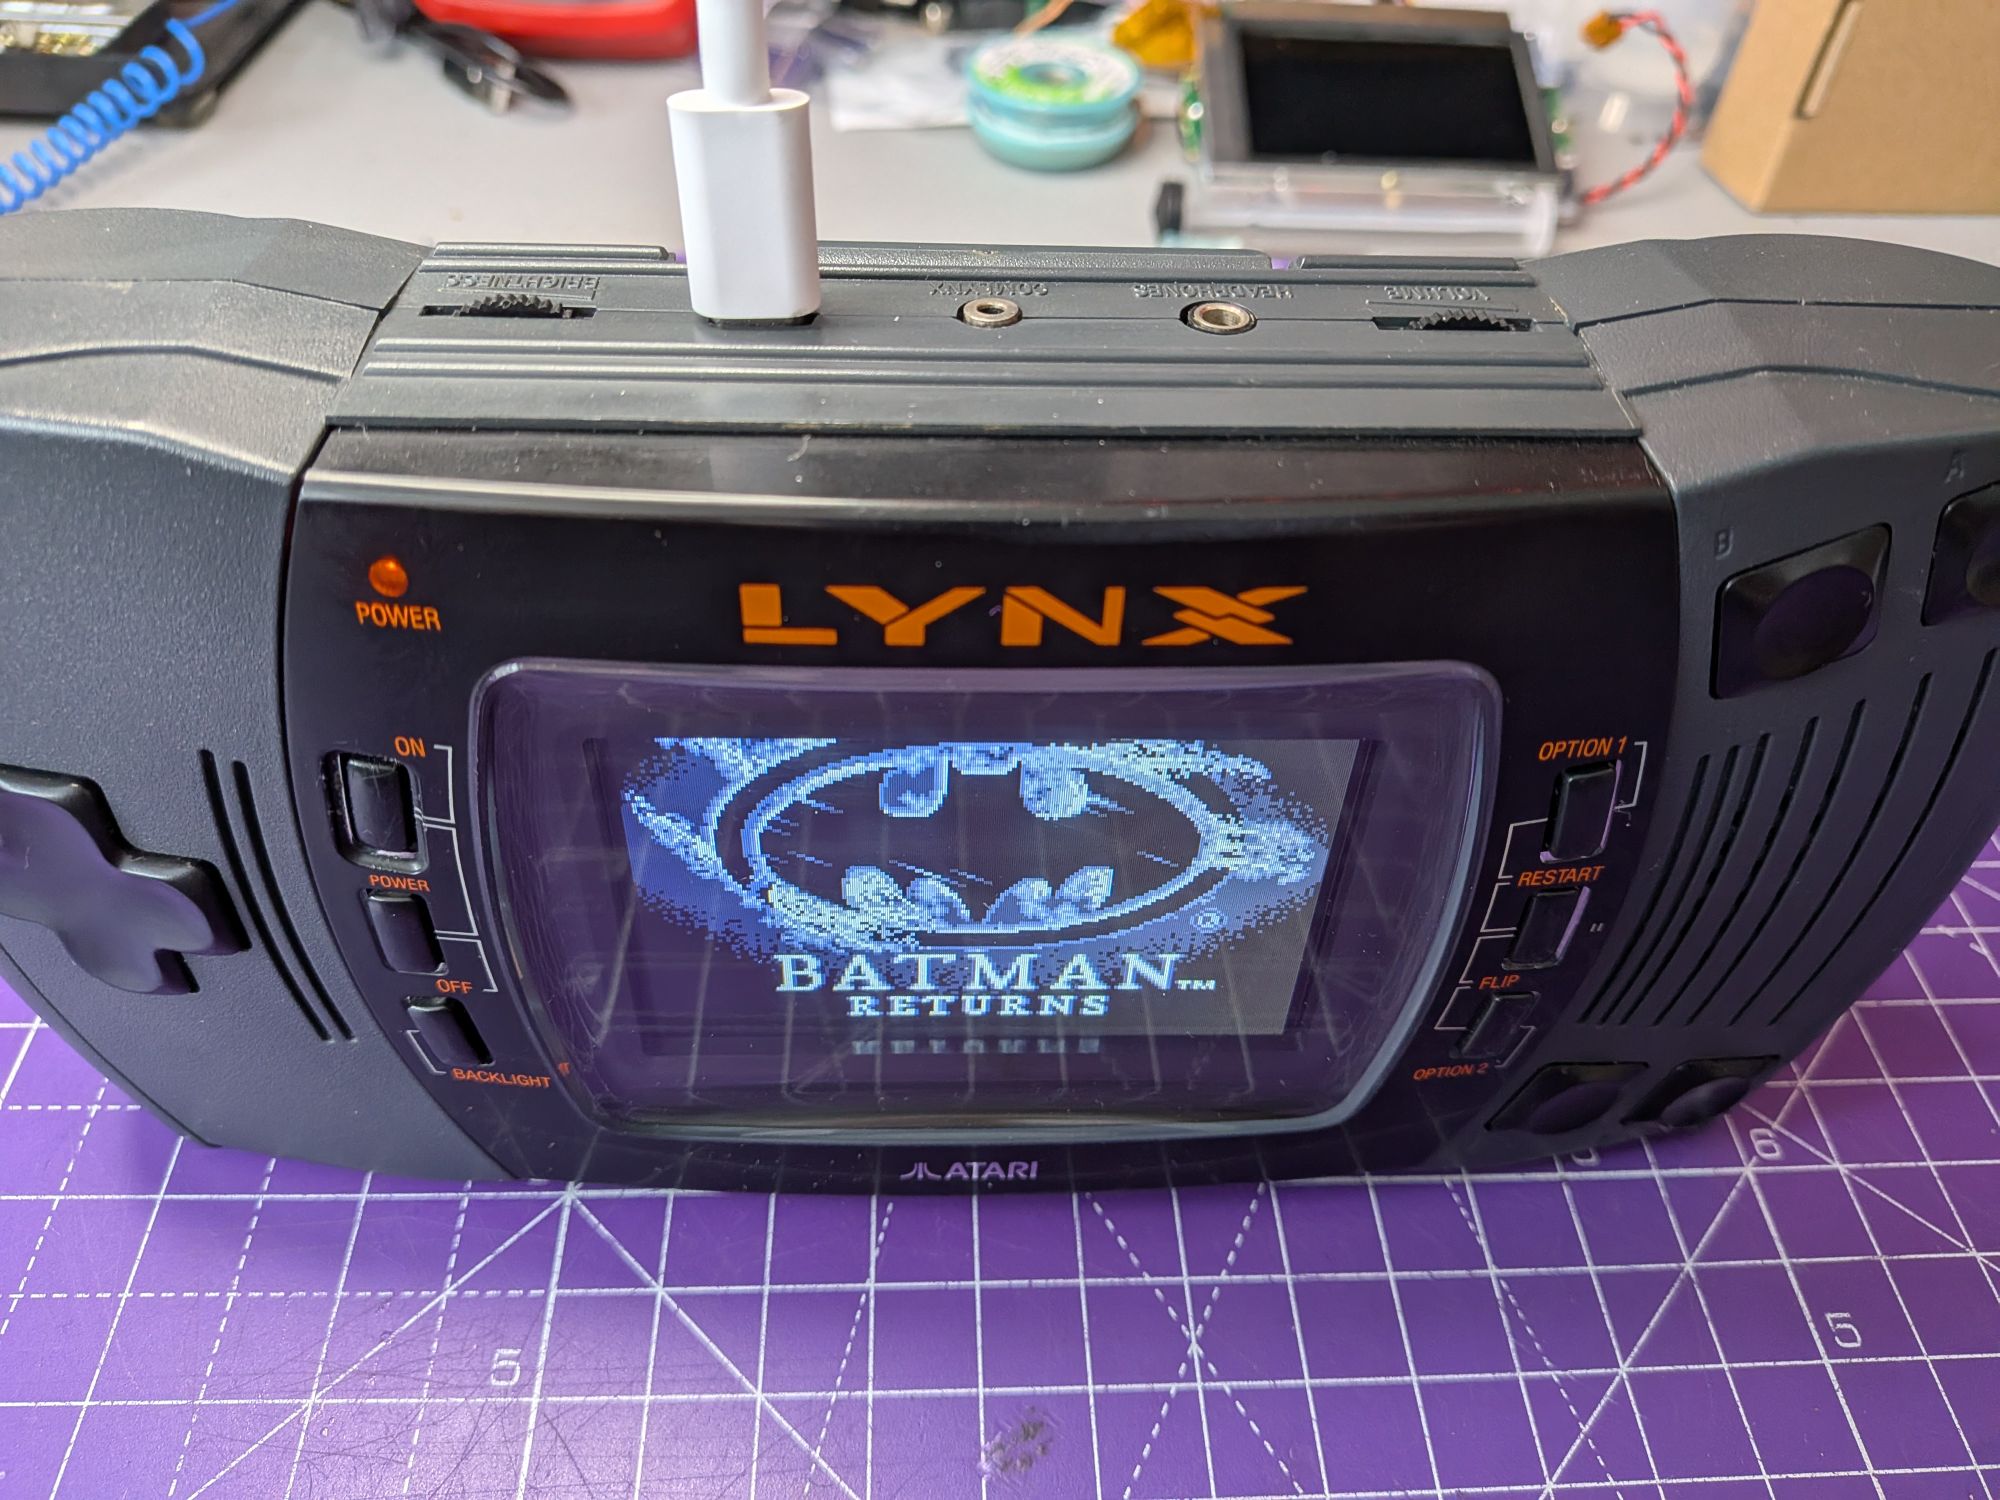
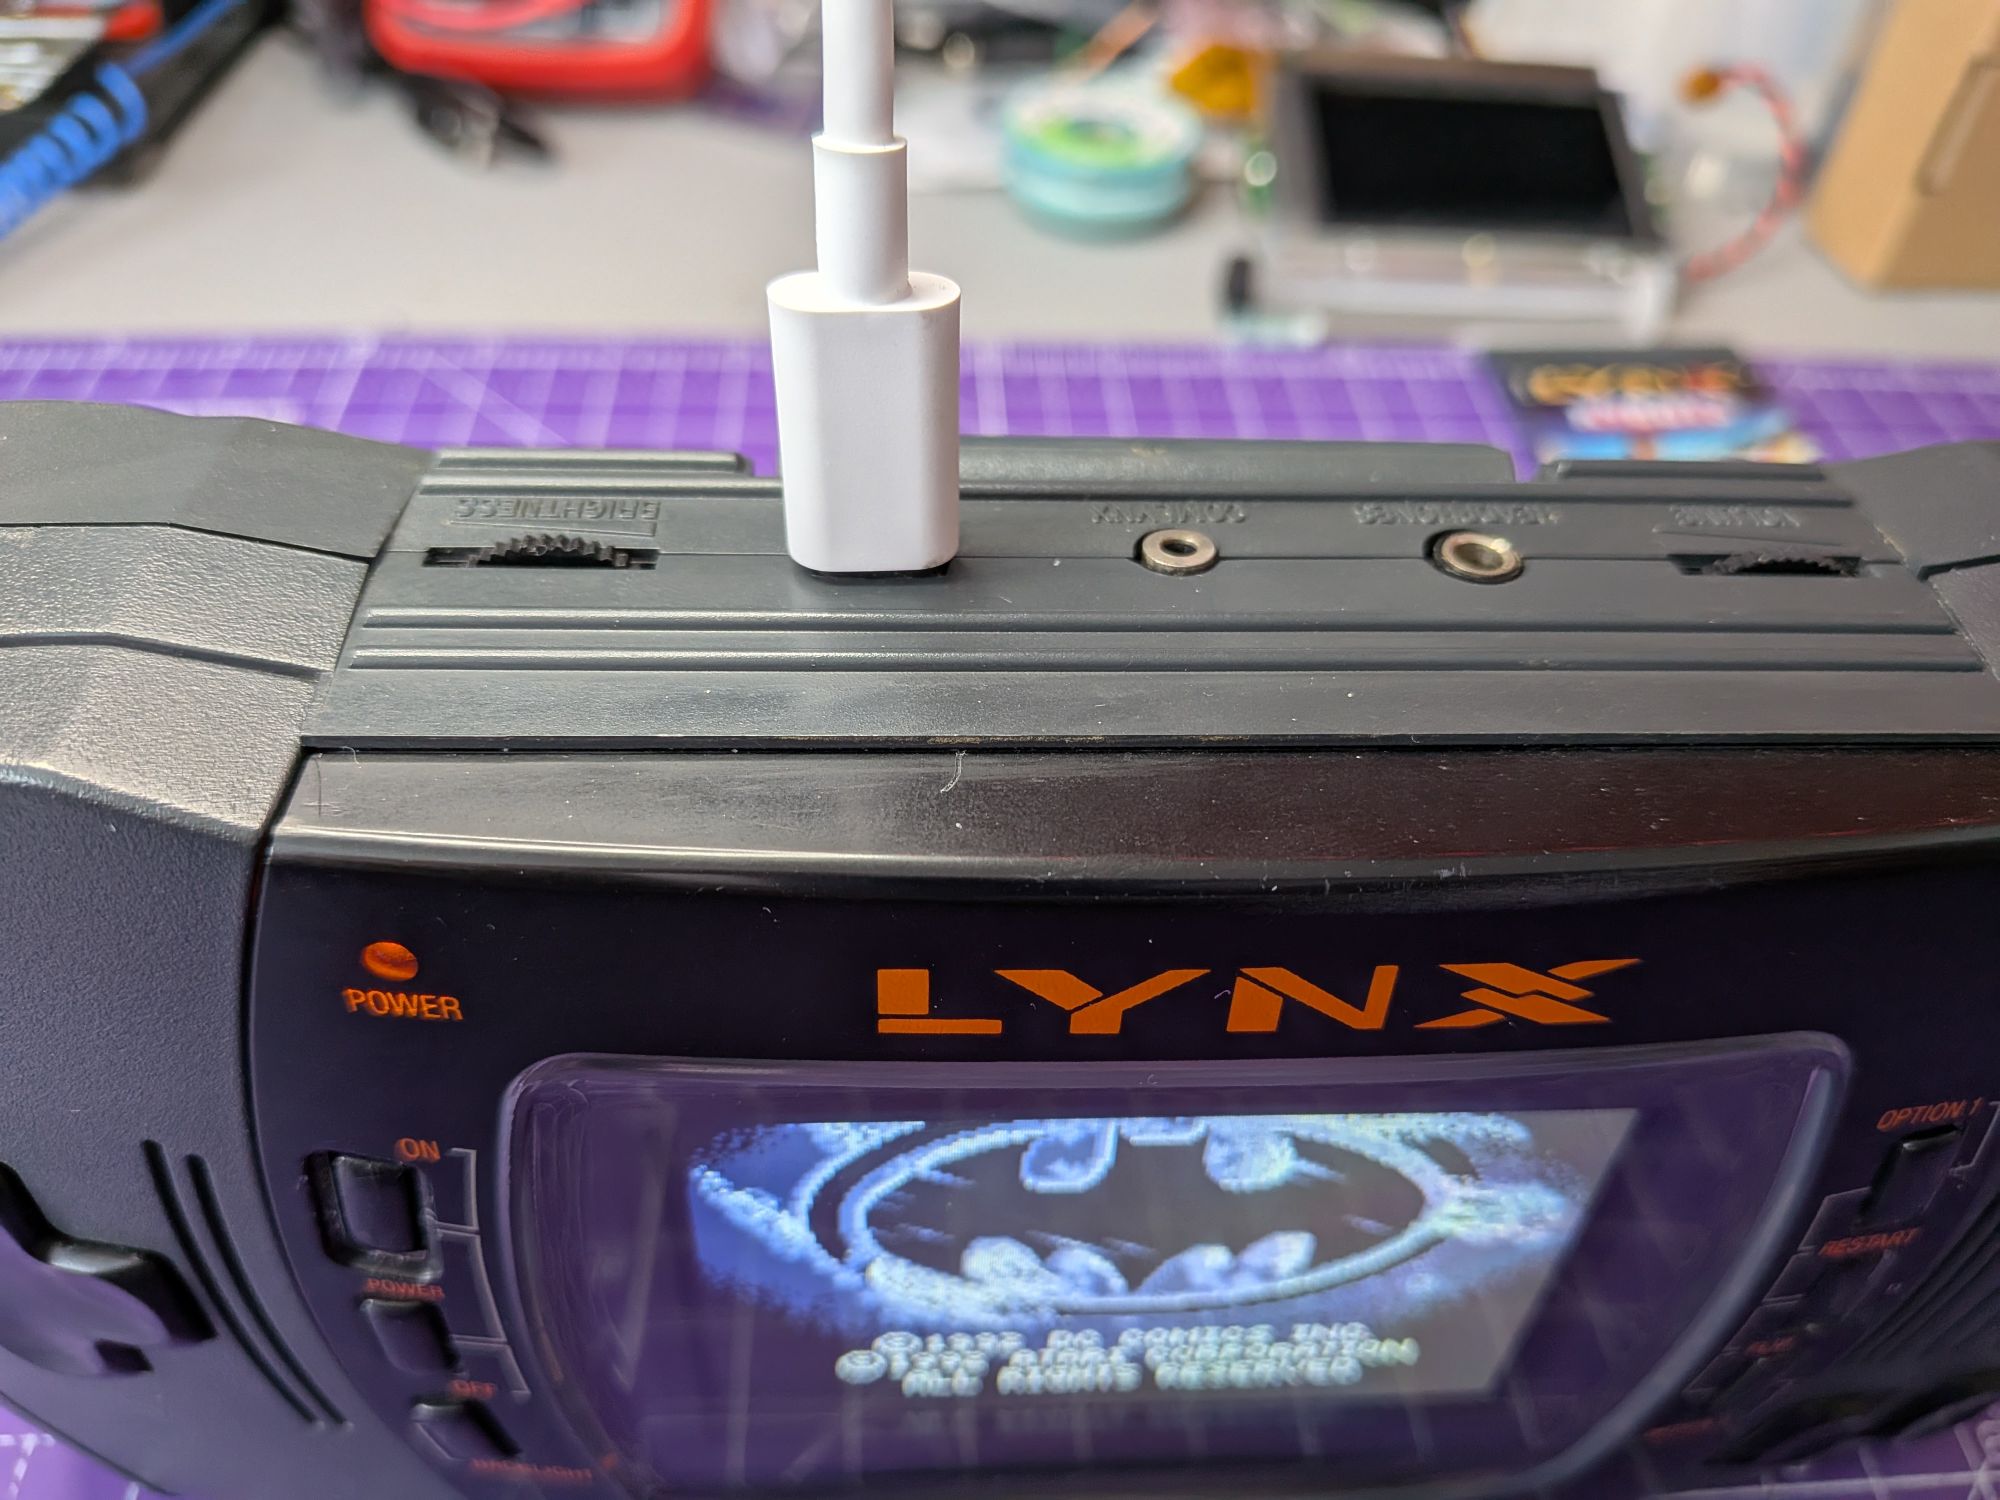
The pics show it already installed. Before connecting the USB board though and even before connecting to the main board the CleanPower board was tested, using the handy On/Off buttons to verify it was outputting the correct voltage and turning on and off as it should. Once that was OK the USB board could be connected too.
It is a good mod and does work well but it is not as well designed as some of the other replacement power boards from RetroSix.
There is very little room where the USB board sits, in place of the old power socket. The USB board is really unnecessarily big, given the constraints. It is only held in place by the solder at the back of the board which connects to the ground plain. It makes it susceptible to flexing upwards off the board.
It’s also trial and error to position it so it sticks far enough out from the edge of the board to be able to plug a USB lead into but not so far that it interferes with the outer shell. It just butts up against the black inductor, to it’s side and slightly covers the solder of the openly wound inductor there too. It’s very tight to get in with a soldering iron to be able to solder properly to a ground plain, which sucks the heat away from the iron. It is just a bit of a fiddle and took several adjustments to get it in just the right place.
Once the actual USB socket is fitted into the shell though it is held in place by that too and should be able to withstand at least gentle rage quits, if not a full blown tantrum.
Not that any of that matters once it’s in and working. It’ll no doubt be improved with new versions as time allows. It is a good upgrade to do even retaining the standard power socket. It replaces much of the power circuitry in the Lynx II which when it fails, often fails in such a way that it kills the custom Atari chips. It’s sadly game over when that happens as there’s no replacements that don’t require a working donor.
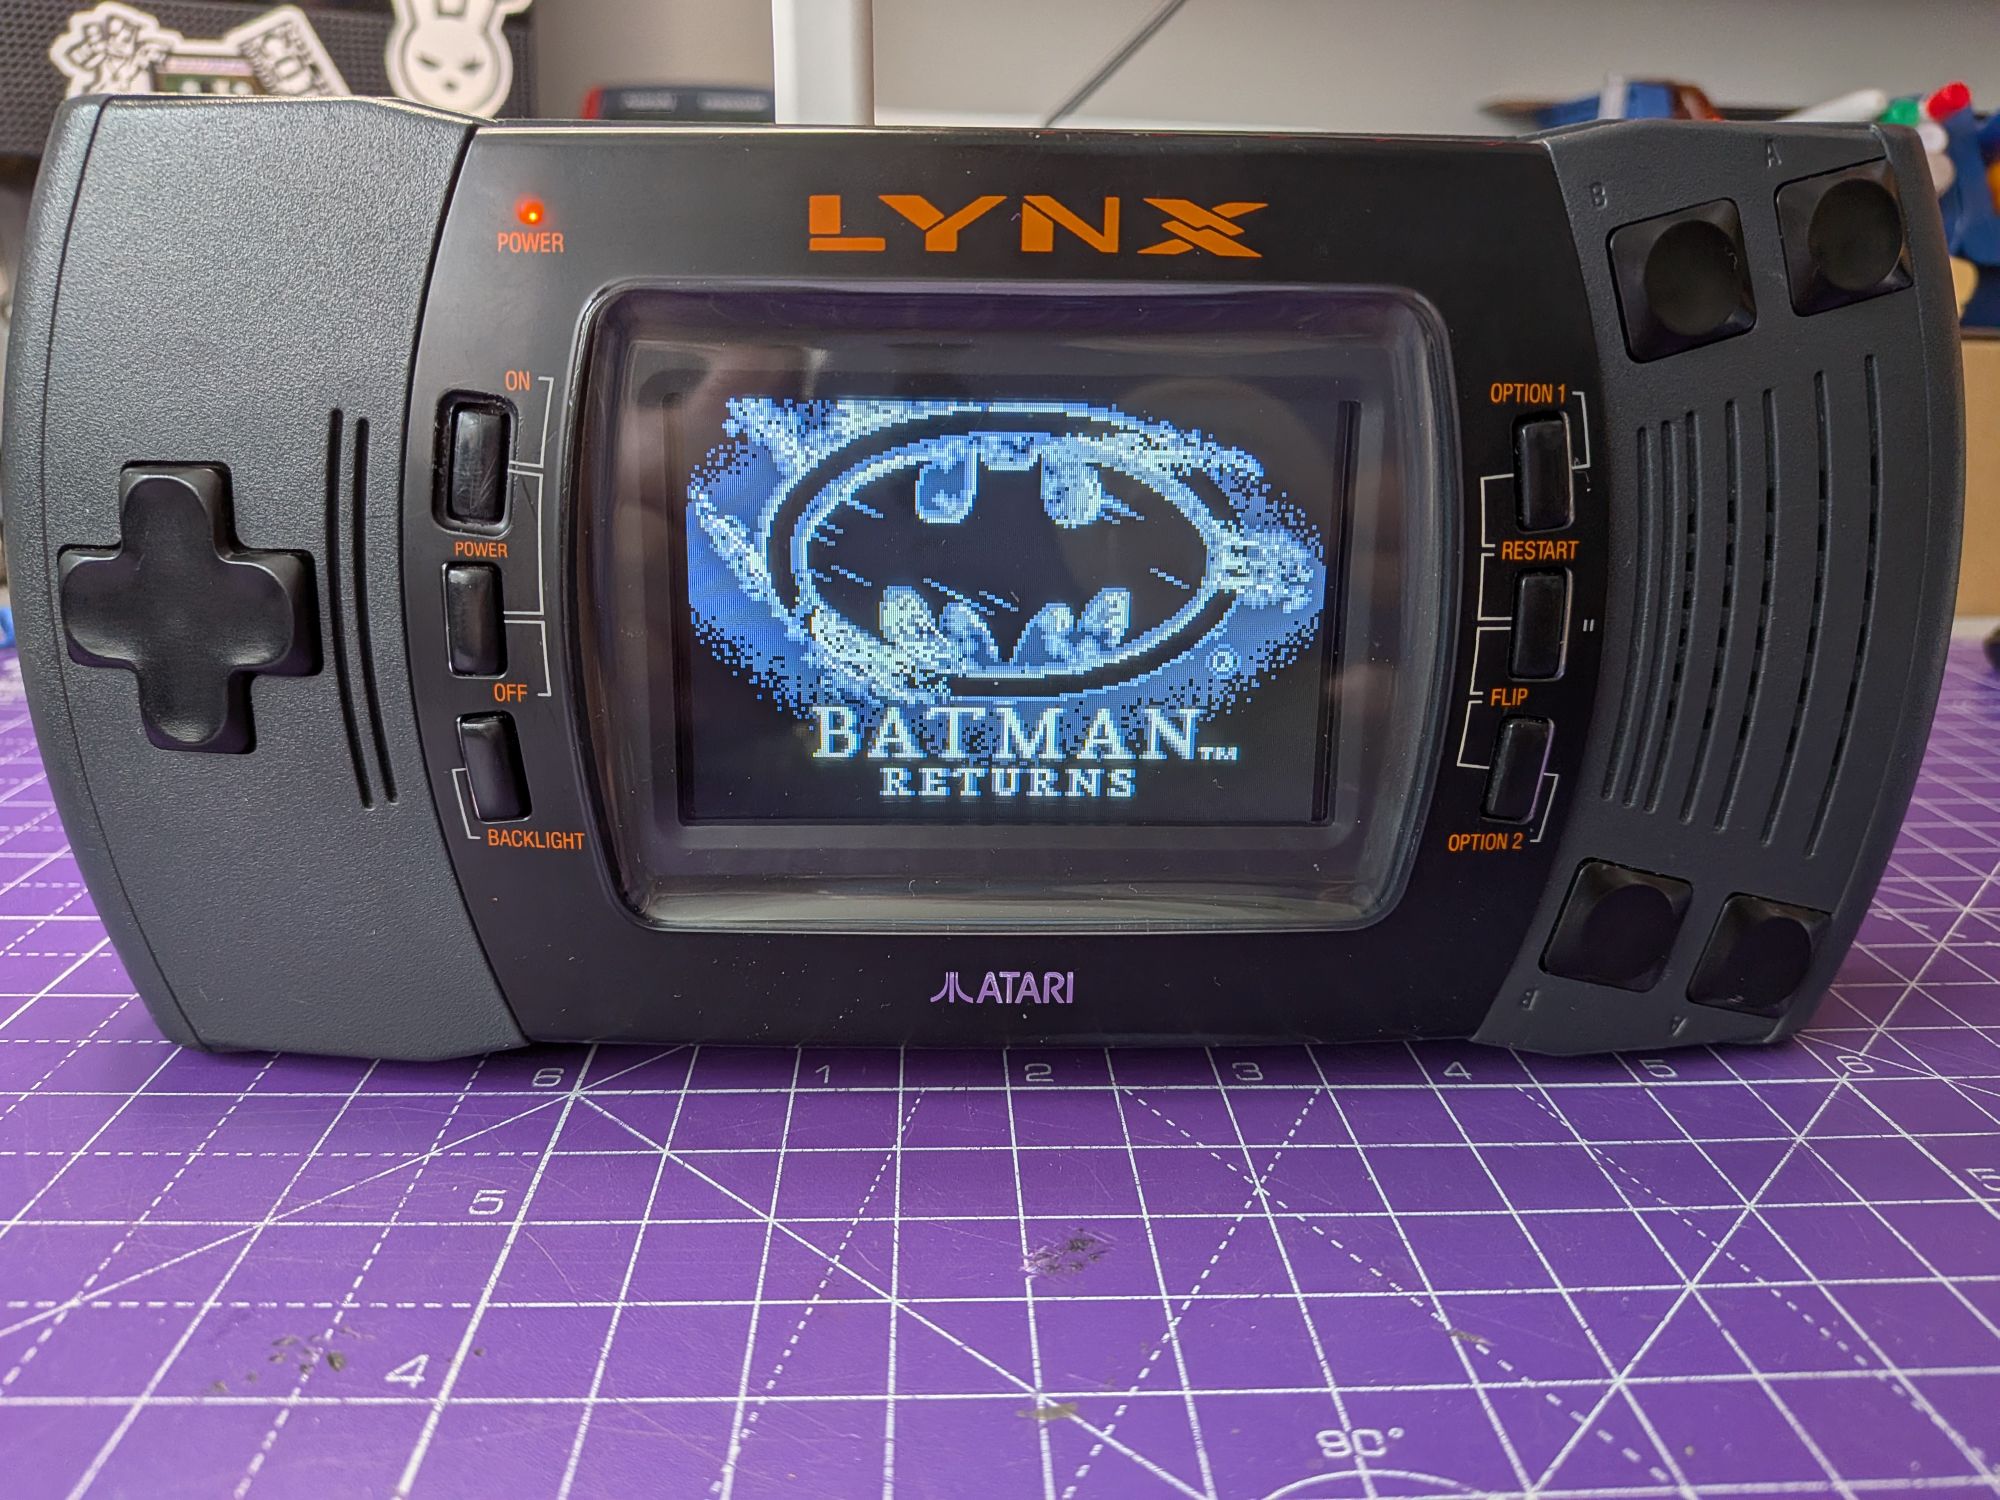
The new screen mostly just involves plugging in ribbon cables but there are a couple of wires to solder for the backlight brightness wheel.
In all its glory…